FREE Baby/Toddler Vest Pattern
There is something about babies in snuggly wooly vests…
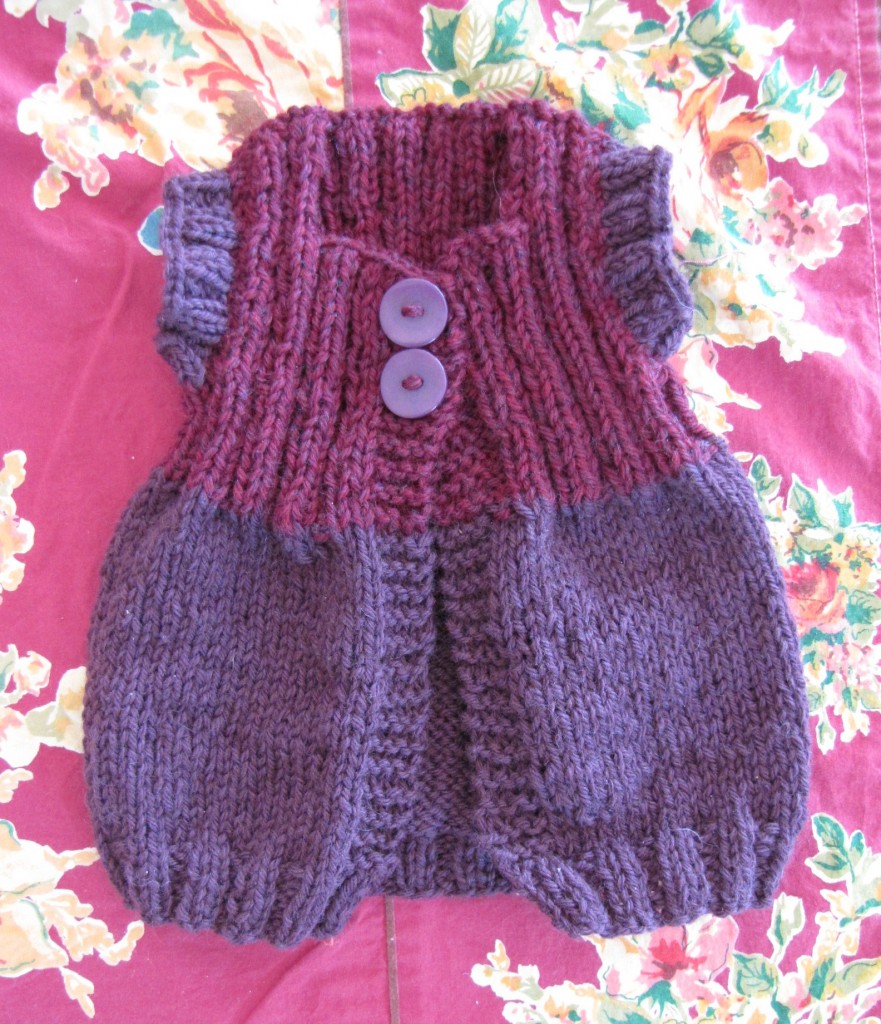
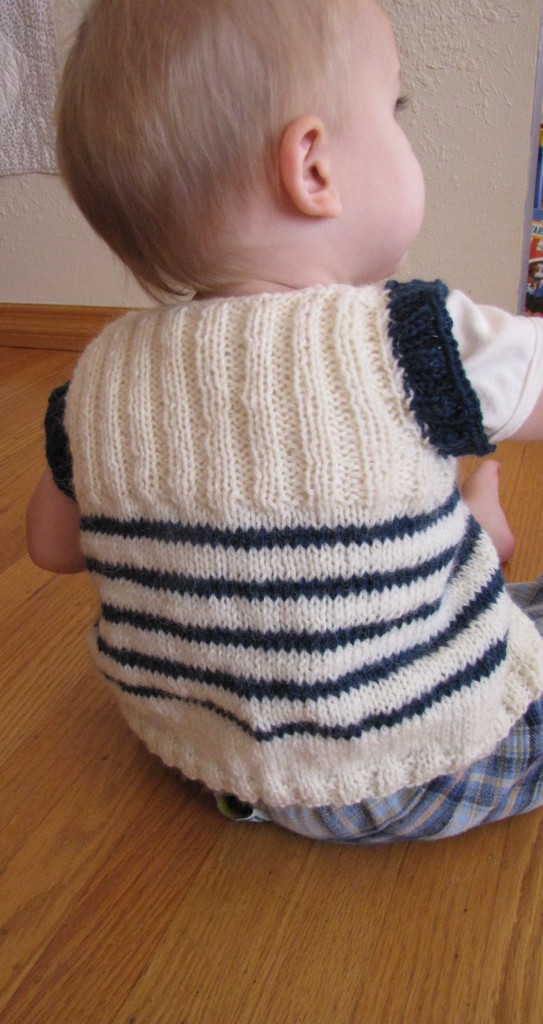
Last week’s project is finally finished, along with a smaller version (top photo). I had originally worked up a 12-18 month sized pattern to fit tricky kiddo #4 (above), but thought a 3-6 month size would be great for baby shower gifts and such, too.
I’d love to share the pattern with you. It’s free, a quick knit, fits great, and I hope to post larger sizes in the coming weeks. If you use my pattern, please give me credit and link back to this page.  This pattern is intended for personal, charity and gift use only, not pieces sold for profit. Thank you!
The vest is worked from the bottom up on straights, then the front two panels and the back are worked individually. The shoulders are worked on double-points at the very end.
The pattern is really conducive to using up leftover bits of worsted-weight yarn from other projects. The 3-6 month size uses one color of Cascade 220 for the body and shoulders, and another for the ribbed chest.
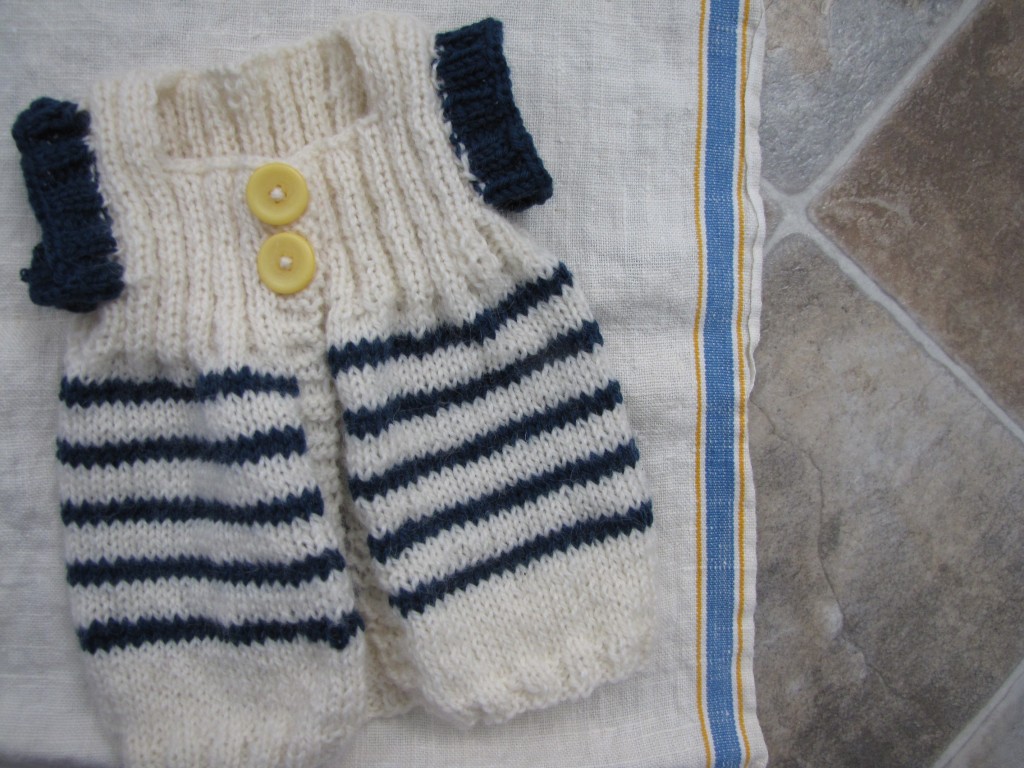
In the toddler size, I simply added stripes in the body up to, but not including, the ribbed chest. Then the blue yarn is repeated in the shoulders.
The pattern only uses two buttons for several reasons, which may sound alternately silly or practical:
1)I am chasing four kids, my life is crazy hectic, and I don’t want to corral a very squirmy toddler and attempt to get 6 or 8 buttons done.
2)Thrift-stores are great places to find just a few lovely old buttons, but rarely a large matched set.
3) If a pattern only requires two buttons, one might be more inclined to spring for a pair of beautiful handmade ones from some talented crafty mamas.
4) A swing sweater adds greater flexibility of movement for an active little one.
Hope you enjoy, and please please please, if you give my pattern a try, and have questions, comments, or want to share your project, drop me a comment (with your URL). Thank you, and many blessings on the little one warmed by your hand-knitted vest.
Copyright 2012, Angela Baker
Size: 3-6 months (12-18months)
Yarn: Cascade 220, or Lamb’s Pride Worsted, or other worsted weight wool:
less than one skein each color
Needles: Size 6 US straight, size 8 US straight, size 6 US dpns
Directions:
With Size 6 US needles, CO 90 (106) sts. This will be 24 (28) for right front, 42 (50) for back, and 24(28) for left front. You may place stitch markers at these points if desired, but it isn’t necessary.
Bottom edge: Rows 1-8: work (K2, P2) rib (last two stitches will be K2/ half a repeat)
Body (swing section): Change to size 8 US needles. For remainder of garment, the first four and last four stitches will be worked in garter (K every row) stitch. Maintaining this garter edge, work rest of piece in stockinette, until entire length (including bottom ribbed edge) equals 5 1/2 (7 1/2) inches in length.
(Note: if you choose to work in even rows of stripes in this section, use MC for first four garter sts, knit across with CC, and use a piece of scrap MC to knit the last four garter stitches. Be sure to wrap the colors of yarn where they meet to avoid gaps. This will give you a nice clean garter edge in the MC. See white and blue sweater above for example).
Ribbed chest: change back to US 6 needles. If you wish to work ribbed chest in CC, cut MC, and begin CC here.
Work 8 rows in (K2, P2) rib, maintaining the garter border on first and last four sts. You will now continue in this rib with garter border unless otherwise noted.
Work 20 (24) sts in pattern, BO 8 (8) sts, work 36 (42) in rib, BO 8 (8) sts, work 20 (24) sts in pattern (don’t forget to end with 4 sts of garter).
You will now work the front panel and back separately, still using size 6s. You can either work one section at a time, leaving the other two on the back end of one needle, or if you find this cumbersome, you can transfer two unworked sections to stitch holders.
Front left of cardigan: work 10 (12) rows in pattern (beginning with the garter border). BO the 12 (14) sts on the inside of the garment (starting with the four garter stitches). You will now have 8 (10) sts to work for the shoulder. Knit remaining stitches in (K2, P2) rib for 8 rows (10). BO.
Right cardigan panel: Attaching a new length of yarn, work as for left panel, but in reverse, binding off at the garter edge again, and working the shoulder, but this time add two button holes as you go on rows 2 and 8 (10) In the garter edge, K1, K2tog, YO, K1 to form the button hole.
Back: Reattach yarn, and work in (K2, P2) rib (no garter border!) until piece is same length as front panels (including shoulder. BO.
Seam shoulder sts to back.
Shoulder bands: Using size 6US dpns, evenly PU and K 40 (48) sts around arm hole. Be sure to twist picked up stitches as you knit them to avoid gaps/holes around the edge. Work 4 (6) additional rounds in (K2, P2) rib. BO loosely. Repeat with other arm hole.
Block sweater and sew on buttons. You’re finished!
(Oh, yes, joining with Small Things and Frontier Dreams and Tami’s Amis for this post.)


