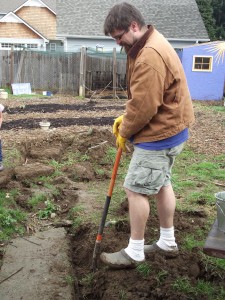
Last year, we discovered a long line cutting through our entire yard (back door all the way to the far fenceline), where plants did not grow well. A little digging turned up a concrete pathway about 3 inches under the sod (9-12 inches under the sheet-mulched beds). We assume it was a path going back to where a garden shed or some other structure once stood (our house was built in 1922, so who knows how long ago this was put in.)
We had been attempting to remove the concrete bit by bit last summer, but it was very slow going. My husband finally got fed up, and two weekends ago, began digging up the path and busting up the concrete with a sledge hammer for 8 hours/day. We ended up with about 1200 lbs of concrete chunks.
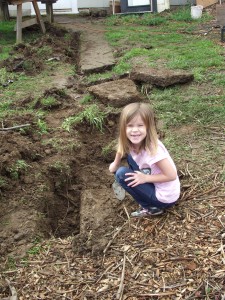
Were we upset that we now had a huge pile of concrete to deal with? Heck, no! We turned it into an opportunity to build an urbanite back patio off the mudroom door!
Here’s what we did to build our $32 salvaged patio:
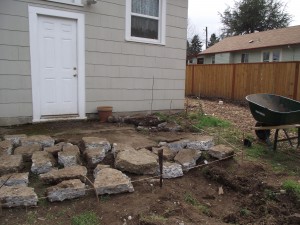
An existing 4×5 ft concrete pad sat directly off the back door. We left this, and the beginning part of the mystery path in place, and then laid out blocks in an organic, undulating shape around this area to create the patio outline. (This area had previously been almost permanently muddy – it’s very shady, gets heavy foot traffic, and with all our NW rain, no grass ever grew there.)
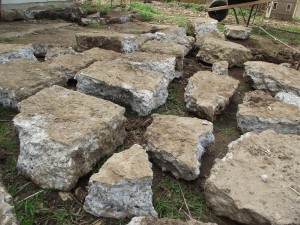
You can see that the urbanite chunks were varying thicknesses. This created a little more work on our part to get the 2% slope properly set up.
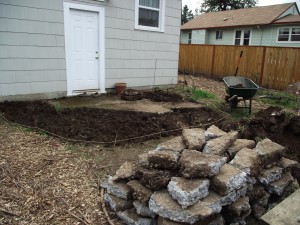
After laying out the general shape and making it with string, we stacked the blocks and began removing soil to create a bed for the sand (the soil was relocated to the holes made by removing the concrete from the yard.)
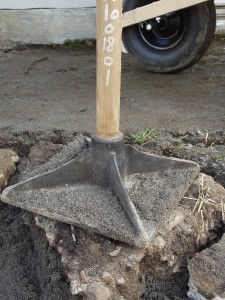
We laid down 4 inches of sand (hence the $42 price tag – it was 1.5 yds), and then used a level and a tamper to create a 2% grade away from the house for water drainage.

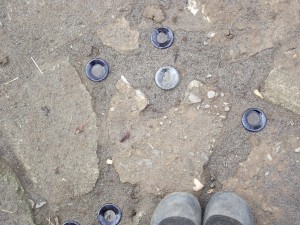
We had three big boxes of blue glass bottles sitting in the basement, and thought they’d be perfect for accent points and filler between the blocks (we had originally collected them from friends in the hopes of using them for brewing, but they were small bottles, and we couldn’t find corks or caps to fit).
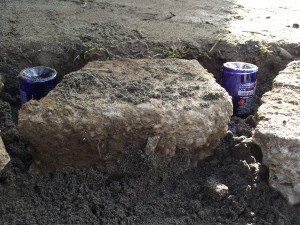
Concrete blocks were laid down with bottles to fill in the holes (a lot of wiggling and adjusting was needed since the blocks varied so much in thickness).

We then backfilled the cracks with more sand, and swept off the excess. (This step is a little messy, since it was pouring down rain by this time, and it’s hard to sweep of wet sand from the blocks!)
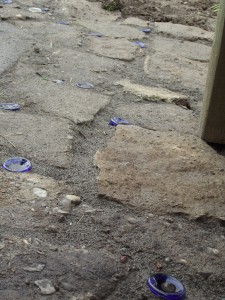
The surface is not perfectly even (we knew there was no way it could be!), but we carefully checked to make sure that no lips existed where one could catch a toe at the point where any blocks met.)
We hope to plant creeping thyme and other foot-traffic friendly herbs in the cracks when the weather warms a bit, but for now are VERY happy to have a space right out our back door that is not a mud pit! And doubly happy to have found a way to reuse items (concrete/urbanite and used glass bottles) that would have otherwise ended up in the landfill.
Working on any thrifty, re-purposed, scrounged projects at your place? If you blogged about them, send me the link, I’d love to include it here!  Thanks!
We hacked out stepping stones from lumpy concrete and used them for the shed floor. The foot square stepping stones make a great floor and make the shed sweepable. Nice job on your new patio. Jenni B