WordPress is being a little wonky, and wouldn’t let me put everything in one post – so now we conclude our impromptu doll making.
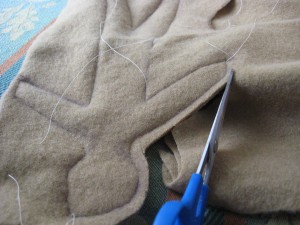
Where were we? Oh, yes - next we cut the doll out of the fabric, leaving a 1/4″ seam allowance, and using a spoon handle and tweezers, we turned the dolls right sideout, stuffed them, and hand stitched the side closed.Â
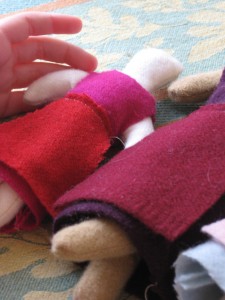
After that, we laid the dolls down on top of the dress fabric, and free-handed a dress out of the main fabric, and an apron out of the contrast fabric (for little girls fascinated with Little House on the Prairie, aprons are as much a fixture around here as bonnets.) We sewed the aprons to the front of the dress, then sewed the two dress pieces together, flipped them right side out, and slid them onto the doll.
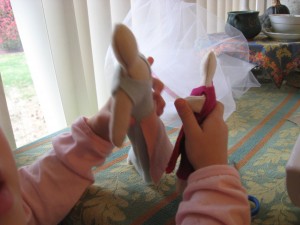
We may eventually add some wool roving for hair, but for right now, we all liked the very simple look of the dolls. Little Hen likes her’s so much, she took it to homeschool group for her show and tell.Â
Firecracker’s little doll with the bright pink dress has been named Mary, Little Hen’s with the pale blue dress is Lucy, and the girls named my doll Caroline (I guess I don’t get a say in these matters).
Overall, I don’t think this was a bad way to spend the afternoon. Next time I’d make larger dolls (it was hard to turn the thick wool fabric right side out on those skinny arms and legs), and we might get brave enough to try making a Daddy and a brother doll dressed in pants and shirts.


I’m so glad you posted about making dolls. I have been thinking about a project like that. Course, I haven’t sewn in a few years, and i don’t have any of the materials, but it gives me more confidence seeing what you have done. Thank you so much for sharing this!