Locally grown

If you live in a temperate climate, what should you plant in your food forest?

Food Forests are human-designed garden systems utilizing patterns found in nature.
Whether your food forest is small like mine (1/4 acre or even smaller) or expansive (5-100 acres!), there are key trees that you can consider adding to your forest design this year. I’ve got 3 trees that work for ANY size temperate (zones 4/5-10) forest garden, 3 trees reserved for larger designs, AND 2 bonus trees for those of us in warmer temperate zones (7-10).

YouTube player

Fresh Elderberry Syrup

One of my favorite fall activities is harvesting elderberries to make elderberry syrup.

I have two black elders (Sambucus nigra) and one blue elder (S. nigra ssp. cerulea), and most years can harvest 40 lbs or more of fruit from these three shrubs.


Most of the fruit can be reached from the ground, but I have a pole-pruner to help me access the large clusters up high.

We had a heavy rain which washed all of the forest-fire ash off, so it seemed like a good time to harvest the second round of fruit.


I let the poultry out of their run, so they could hunt for worms and bugs in the rain-soaked mulch.   Ducks don’t like elderberries, and the chickens will only clean up a few.  They would much rather go for the protein-rich invertebrates which abound in the shade garden.

One of the black elders makes smaller clusters than the other, but each individual berry in the umbel is larger.

All parts of the elder contain cyanogenic glycosides. The berries contain the least amount, which dissipates during cooking.   However, stems, leaves, and roots contain toxic amounts.  Elderberries need to be removed from the stems which hold them in a cluster before they can be cooked.   Even the small stems which hold the berries together in their characteristic umbel shape need to be removed before cooking.


The berries stain clothes and skin, and can be fiddly to remove from the stems.   I use a fork.  Freezing the berries first can make it easier to remove them from the stems, as well.

After the berries are de-stemmed, they are washed to remove any grit, bugs, spider webs, and dried flowers.   I then make a batch of fresh syrup, and freeze the rest in packages to make more syrup throughout the winter.   I have dried them in the past, but feel that freezing better preserves the flavor and nutrition.


I take elderberry syrup regularly during cold and flu season – straight, stirred into hot tea, or even mixed with seltzer water.  Elderberries contain very high quantities of vitamin C, and are rich in vit A, iron, B6, and potassium.  They are a nutritional powerhouse, and I feel very privileged to be able to grow them at home, where I can control how the fruit is produced.  The berries and plants are never sprayed.  The shrubs are fed with rock dust minerals, organic poultry manure,  worm castings, comfrey and compost tea.  I know that I am feeding the soil so the plant can benefit and produce for me the most nutritionally-dense berries possible.

If you’re local and interested in some of my all-organic elderberry syrup, please check out the order form HERE (details are on the form). I will be making a batch that will be ready for pickup (or delivery to Oaks Park for derby folks) on Sept 27.  Because I’ve had issues with folks ordering and not paying in the past, I’m going to take payment before I make a batch this time around.

If you have any questions about growing elders or making syrup, feel free to shoot me an email at angela@ParkrosePermaculture.com or leave a comment below. Thanks!

Tea and a Visitor

dsc_0855

One of my kids’ favorite rituals is afternoon tea.  We used to have a high tea on Thursdays, but as the kids have grown and their needs have changed, we’ve shifted to having a casual afternoon tea any day of the week they want to sit down and have it.

dsc_0879George inevitably wants to have tea every day, whether or not his siblings want to.  He loves getting out the china and his favorite mint tea and feeling very grown up.

dsc_0853

With our tea, we had the last of the Seckel pears from our tree, and the first of the medlars (well, I enjoyed them.  George wasn’t so keen.  He did like the pears – I don’t think anyone can resist a pear whose taste matches its nickname,”sugar pear”.)

dsc_0871

While George enjoyed his tea, Hal got some snuggle time with our favorite houseguest: Annabelle the Pionus parrot.  She is the most sweet-tempered, gentle parrot I’ve ever known (and I’ve known a lot of parrots).  She has such a calm demeanor and likes hanging out with the kids, although she seems to prefer Hal to everyone else – which is a good thing, because he absolutely adores her.

dsc_0857

One thing I really enjoy about tea-time is that I can sit and knit while George and I chit-chat.  Today I finished a remnant hat while we were hanging out.  I seem to have lots of small balls of various greys and yellows  in worsted weight and have made a few hats with grey and yellow stripes – I really like the combination.  I’ve now worked through all my grey odds and ends and George has asked me to make him a cotton hat with red in it, so that’s next on the list for knitting projects.  (I also have a shawl on the needles, but I usually like a mindless, easy project to fall back on at the same time, and hats or socks always fit that bill.)

dsc_0876

I’ll be back tomorrow for Ginny’s Yarn Along.

Magic Potion Kit


dsc_0809

We’re hunkered down at home today thanks to the weather.  All derby practices and scrimmages have been called-off on account of the wind storms and flooding in Portland.   All my big garden projects for the afternoon are similarly on hold.  But we have found plenty to keep us busy in the hosue today.

Hal has a birthday party for a close friend from his ReWild Nature Immersion program, and I asked him what his friend might want for his birthday.  He replied, “Carmine’s really into Minecraft, and I think a magic potion kit would be a cool gift.  Let’s make it a ReWild-style kit, though, okay?”

dsc_0803Every magic potion kit needs something in which to grind the ingredients.  We started wtih a wooden mortar + pestle set I found online.  We polished it with some of our Beeswax Polish, and set about finding potion ingredients that could be ground in it.

dsc_0797

George helped pack dried flowers (calendula, lavender) and herbs in babyfood jars (I had picked up a bunch on Freecycle for the kids’ craft projects).

dsc_0794I added sweet myrrh resin (Opoponax, from Somalia), which smells amazing and is fun to grind up.

dsc_0800I lined a thrifted wooden box with some gardeny-herby fabric cut to fit, then Hal helped arrange the jars of herbs and flowers and magical-doo-dads and dropper bottles and wrap it all up.

dsc_0808


dsc_0805

I know Hal was really proud of his homemade gift and I hope Carmine likes the finished kit and he gets a chance to create all sorts of messy magical projects and potions!

End of Summer Salad

dsc_0597

A friend from derby is recovering from a broken leg and I’m taking her tomato bisque and homemade bread for dinner and needed a salad for the side dish. The garden is bursting with tomatoes and peppers, the mint has spread everywhere, and the fall curly kale is ready to start harvesting.  I have a big block of feta in my fridge and a lot of Israeli couscous in my pantry.  And thus, this salad came together.

(Note: The recipe serves four, but some of the quantities look large in the photos because I made a quadruple batch to share with my parents and so our family could have some for dinner, too.)

End of Summer Israeli Couscous Salad

Serves four

2 cups Israeli couscous (sometimes sold as “pearl couscous”)

2 1/2 C water

2 tsp salt (I prefer pink Himalayan)

1 1/2 Tbsp extra virgin olive oil

2 C chopped tomatoes (I used a mix of cherry and beefsteak tomatoes)

1/2 C finely chopped sweet peppers (I used pimiento and part of a yellow bell pepper)

1/4 sweet onion, very finely chopped

2 large pieces curly Scotch kale, washed, ribs removed, and chopped

2 tsp fresh mint, cut in a fine chiffonade

2 tsp red wine vinegar

1/8 tsp cracked black pepper

6 ounces feta, crumbled

Directions:

  1.  In a medium saucepan, bring the water and salt to a boil.  Add the couscous, cover and cook for 8-10 minutes or until couscous is tender and cooked through.  Remove from heat, remove lid, toss gently with the olive oil, and allow to cool to room temperature.

dsc_0592

2.  In a large bowl, combine all chopped veggies, mint, pepper, vinegar, and feta and gently toss.

3.  Gently fold the cooled couscous into the bowl of veggies. Add salt and additional pepper to taste.  Garnish with sprigs of mint, and serve at room temperature or chilled – your choice. Enjoy!

dsc_0602


Parkrose Market

IMG_2511

I have had much time to blog the last several days, I’m working on stocking our Etsy store (Parkrose Market) with salves and balms and knitted things.  Trying to juggle all of my obligations at the moment is proving challenging, and I’m dropping a few balls here and there.  But, I’m still making progress and being anything less than busy doesn’t come naturally to me.

I grow all of the herbs here (with the exception of myrrh), dry them in our solar dehydrator, and then infuse them into organic unrefined coconut oil and organic olive oil.  We use only local beeswax from natural beekeepers (learn more about natural beekeeping here).  Right now, I’m making four kinds:

IMG_2519

Soothe Salve has calendula and plantain, which have been used for ages as first-aid for skin conditions, rashes, bug bites.

IMG_2541

Besides being great for medicinal purposes, calendula is a long-blooming, repeat-blooming bee-loving plant.  Even now, in late October, it is a steady source of food for our honeybees.  It also self-sows readily.

IMG_2526

We’re a roller derby family, and in the derby world, arnica is the favorite herb for the endless succession of bruises that come with the sport.  Vervain (also called Juno’s Tears) is purported to help with inflammation.  Together, the two herbs make for good care for bumps and bruises.

(Note, if you decide to grow Arnica montana in your garden – it is toxic and absolutely should not be ingested.  And while it is a great bee-plant with lovely yellow flowers, it has a habit of spreading, so don’t put it in unless you can keep it controlled.)

IMG_2518

Comfrey’s other name is Knit-Bone.  It is an age-old treatment for broken bones, sprains, etc – typically used as a poultice, but also in salves.  There is some dispute as to whether drinking quantities of comfrey tea can cause liver problems, so I only use it topically.  I do use comfrey salve twice a day, every day, since I broke my ankle last summer.

Comfrey is one of the best herbaceous perennial plants for the permaculture garden, orchard, or farm.  I’ve written a lot about it, and we stock sterile Russian Bocking comfrey plants for sale here.  Shoot us an email if you’re interested in growing comfrey in your garden.

IMG_2538

At the request of several folks, I’m also making a general all-purpose balm as we head into winter, specifically geared for supporting and protecting skin.  As a farmer who doesn’t wear gloves as much as she should, this has been a big help to my dry hands.

I’ll be back later in the week with more, and will let y’all know when our Parkrose Market Etsy store is ready to open up.

Autumn Gifts

IMG_2488

I’ve been busy the last few days making things for loved ones.  I have lots more to share, but am behind on uploading and editing photos.  So, for now, a few pictures of the gifts We’ve been making this week.

Above:  A little indoor fairy garden as an early birthday present for Bea, who maintains the fairy garden outside in the yard, and is always sad to see it go dormant over the winter.  Now she’ll have her own little garden to tend to right in the windowsill.

IMG_2457

I have an abundance of beets, and my dad really loves beet salad.  George helped me make him this one with candied nuts, bleu cheese, and a balsamic dressing.


IMG_2496

IMG_2498

Lastly, I finished and blocked a shawl for a friend who is going through a difficult time right now.  It’s a prayer shawl, made in 100% Brown Sheep wool.

More soon.  Hope your weekend is filled with good things.

Herbal Salves


IMG_2339

The past few weeks, I’ve been working on batches of healing salves, both for custom orders and to stock our soon-to-open Etsy store.  We grow the herbs with all organic methods (of course!), and dry them in a solar dehydrator, utilizing only the energy of the sun. Other ingredients in the salves include local beeswax from natural beekeepers, and organic oils.

IMG_2223

IMG_2325

The herbs (such as calendula, above) are infused into organic coconut oil and organic olive oil by sun-infusion or by simmering in a double boiler for 6-8 hours.  Don’t the blossoms turn the oil a lovely sunny shade?

IMG_2316

All of the salves are made in small batches with custom essential oil scents.  As of right now, I’m making four types of salves:

Calendula-Plantain Soothe Salve for rashes, ezcema, and dry irritated skin.

Arnica-Vervain Bruise Balm for bumps, bruises and sports injuries.

Comfrey Bone Balm for broken bones, bone bruises, sprains.

All-purpose Healing Salve with Calendula, Lavender, Plantain, Rosemary, Yarrow.

IMG_2322

While the salves are cooling and setting up on the counter (and filling the house with the soothing scent of sweet orange oil and cedarwood), I’m off to print labels for the tins.  The rest of the day is filled with prep for homeschool co-op tomorrow, Life of Fred mathematics, and some fall clean-up garden projects.

Blessings on your weekend!

Fall Fruit, Fall Projects

IMG_2295

Enjoying some of the last of the fall fruit coming from the garden this week:

IMG_2275

George helped me pick quince, which we turned into membrillo.

IMG_2226

Ground cherries (Physalis spp.) that didn’t get eaten straight off the plants went into a tart with plums.  The tartness of the ground cherries melded very well with sweetness of prune plums.

IMG_2291

George picking an apple for an afternoon snack.

IMG_2218

Our newest apple tree, a little Liberty, produced exactly one apple this year.  Next year there will be lots of Liberty apples, and even more for many, many years thereafter, but this year that one fruit felt very special, and perhaps that’s why it tasted extra delicious.

The next few weeks are intensely busy around here.  The girls’ home team season for roller derby starts this weekend, and I’m going back to weekly sports rehab for my ankle to try and overcome some mobility issues that make certain movements in skating difficult or impossible.  This weekend we also have a garlic cultivation workshop that’s been in the works for quite some time. I’m finishing up an order of custom herbal salves (made with herbs we grow and dry) and making all sorts of good things to stock up in preparation for opening an Etsy store.  I’m taking on more gardening clients, doing fall clean-up and garden consulting and whatever they need done. And last but not least, I’ve been working on a book for quite a while, and have been spending every spare minute editing chapters, test-knitting patterns, test-baking recipes, and writing a book proposal.  Just when it feels like life in the garden is winding down, the rest of it ramps up.  I’m excited about all of the projects, but attempting to not feel overwhelmed by them all at the same time.

More tomorrow from my kitchen!

Eve of Autumn

Eve of Autumn

Today we said goodbye to summer and anticipate the impending arrival of autumn.  It has been warm and sunny during the day, but the crispness of fall has definitely made itself felt in the air.

We’ve been pulling out pants (only to discover George has outgrown every pair that fit this spring) and mittens and vests and rain jackets.  The kitchen has been really chilly in the mornings, and it gives me an excuse to bake:  I’ve made bread two days in a row, and have plans to get up before the children to bake banana bread for breakfast tomorrow.

IMG_1974

Speaking of mornings, The Hudson’s Golden Gem apples are ready right in time to welcome in fall.  I’ve been eating one off the tree every morning with my coffee, and Ruth and George have been enjoying them with dinner.

IMG_1971

The young tree sits right outside our front door, planted in a polyculture with rhubarb, comfrey, clove currant, Egyptian walking onions, blood sorrel, rosemary, English lavender, bearded iris, calendula, and Oregon iris.  Around the perimeter – in an area amended with pine needles – are highbush blueberry and lowbush blueberry and red currant.  This weekend I also added a Haku Botan pomegranate – prized for being very dwarf, cold hardy, and producing double-ruffled white flowers which set into white fruit.

IMG_2126

If you need another apple to add to the family garden, the Hudson’s Golden Gem is an excellent choice.  The fruit is yellow and heavily russeted – nothing much to look at.  But the flesh is creamy white, and very crisp, but with an exceptionally buttery quality – not grainy or gritty or mealy at all.  The flavor is a good balance of sweet and acid with undertones of butter and hazelnuts.  It’s an apple that children and adults can both enjoy very much.

IMG_2106

IMG_2109

To mark the shift of seasons, we had mint tea this afternoon and burnt a little myrrh in the hour or so before dinner.  In studying ancient Egypt, the children had become interested in what myrrh actually smelled like (we’d burned frankincense at Christmas before).  I had to order a few things from Mountain Rose Herbs, and included myrrh (Commiphora myrrha) and sweet myrrh (Commiphora opoponax), which have markedly different scents.  They arrived in plenty of time to test them out today.

IMG_2104

You can’t simply light myrrh unless you want it to smell, well, burnt.  (It’s like the difference between a great cup of coffee and a scorched cup that’s sat in the pot with the burner on – they’re both coffee, but one is the right way to appreciate it, and the other is a waste of coffee.)  Instead (a video tutorial is here), light a disc of charcoal, place it in salt or sand, sprinkle it with more salt (to form a buffer layer between the charcoal and the myrrh), and then place a very small piece of resin on top.  It will slowly melt and darken, trailing up a wisp of intensely fragrant smoke as it does so.  Two tiny half-pea sized pieces were enough to fill the whole house with the soothing aroma.

IMG_2110

While the kids drank their tea and made dragons before dinner, I finished a few pairs of children’s’ mitts.  I’m working on stocking up handmade goods to open a little Etsy store before Thanksgiving.  Something about the chill in the air, the winding down of the garden, the early-setting-sun that makes fiber-folk want to knit and spin in earnest.  So the turn of the season seems like a good time to get things finished up and get that Etsy store open.

IMG_2097

Hope to be back later in the week with some of our unschooly activities and setting the fall Nature Table.

Blessings on your family as you settle into the rhythms of the new season.


Elderberry Harvest

IMG_1847

This morning I had three brand-new hardworking volunteers helping us pick product for Birch Community Services.  We spent a good chunk of time picking hard-to-reach elderberries, which are in full production.

IMG_1889

IMG_1888


Fresh organically-grown elderberries go for $3-6 dollars/lb, and we picked about 25 lbs today.

IMG_1804

We also picked tomatoes, green beans, and a big flat of plums.  Sungold cherry tomatoes are my long-standing favorite.  They produce reliable, very sweet and split-resistant fruit over a long period and in great quantities.

IMG_1892

This is the first year we’ve gotten plums off a tree I grafted as a tiny little twig four and a half years ago.  I estimate around 25 lbs of plums and another 30 lbs left on the tree.

IMG_1896

Here you can see what the four of us picked in a short period of time.  Glad to get the beefsteak tomatoes off the vines before the much-needed rain rolls in tomorrow.  Not sure how much more “summer” we will have for the garden, but we are most certainly enjoying it today.

Solar Dehydrator

IMG_1806

A friend recently gave me her well-loved solar dehydrator.  I have been chomping at the bit to try it out, and yesterday picked a bunch of herbs (that will eventually go into salves) and set to drying them.

IMG_1799

I spent some time in the evening gathering calendula blossoms and comfrey (shown here), broad-leaf plantain, raspberry leaves, rosemary, lavender, and costmary.  The calendula blossoms come in an array of peaches, yellows, oranges since I let them freely self-sow around the garden and express their natural genetic diversity.

IMG_1816

I have two electric dehydrators and make a lot of dried fruit and herbs in them.  However, electric dehydrators use a LOT of power and must run for eight or more hours.  This adds cost and produces heat indoors as well as any environmental impact that comes with plugging in an appliance.

The permaculture way to preserve via dehydrating is to utilize the natural energy of the sun (Principle 2: Catch and Store Energy) to dry food and herbs without costly use of electricity and all the waste products and impacts that come from using the grid (Principle 6: Produce No Waste).

IMG_1815

The dehydrator is made with a series of screens stacked into a wooden box. There is air space between the screens and around their edges.  The top of the box is glass, and as the sun’s rays are harnessed, hot air builds up in the box and circulates around, drying the herbs without any work from me, save rotating the screens a couple of times over the course of the day.  It is extremely efficient if the day is sunny.

IMG_1818

Looking forward to making a batch of salves soon, and hoping for more sunny days in the next week so I can dry prune plums next!

Produce Picked

IMG_1744

So, I haven’t been blogging much lately.  We’ve been in summer overdrive – husband job-hunting (he starts his new job Monday!), ferrying kids to summer camps, derby derby and more derby, sewing and knitting like crazy in preparation for opening my Etsy store this fall, and most of all: harvesting produce twice a week with volunteers in our garden.

IMG_1794

Before I start back to regular posting, I wanted to share some pictures of the harvests over the past couple of weeks.  We’ve had all sorts of new volunteers helping, most of whom have almost no previous garden experience.  It’s been so much fun to work with them, and seeing men and women get excited about all the possibilites that exist in a permacultuer garden.  Have also loved seeing their kids to snack on ground cherries and golden raspberries, play with the ducks, and watch the observation window in the beehive while we pick fruits and veggies.

A glimpse of a portion of what we’ve been picking lately for Birch Community Services:

IMG_1750

IMG_1746

IMG_1783

IMG_1767

IMG_1761

IMG_1796

IMG_1787

IMG_1856

IMG_1850

IMG_1849

Back tomorrow with a post on my new favorite permaculture tool:  a hand-me-down solar dehydrator!


Harvests


IMG_1479

Sharing a few shots of some of the crates of produce we’ve picked in the last two weeks.  Our gardens grow organic produce for Birch Community Services, and volunteers come twice a week to learn about gardening, harvest and do a little weeding with me.  It’s still early in the year, but there is a fair amount to pick.

IMG_1328

IMG_1486

The herbs are loving the warm weather!  Lavender is a high-value crop, and we grow a lot of it – 6 edible varieties as well as 3 types of Spanish lavender for the bees.  This time of year, all of our 8 varieties of mint are producing heavily, too.

IMG_1359

IMG_1327

We have three varieties of rhubarb – 9 plants total – so we pick quite a bit of rhubarb every Monday and Friday this time of year.  In the winter, I frequently give volunteers crown divisions so they can start their own rhubarb patches.

IMG_1326

IMG_1482

Hope you’re enjoying the weekend.  This afternoon is dedicated to mulch-spreading, which is just as necessary a job as picking produce, if less glamorous. I know I’m looking forward to volunteers coming to help harvest first thing tomorrow morning.

Early June Garden

IMG_1398

After a few months on break (WordPress troubles, another surgery), I’m back to blogging.

A few shots around the garden yesterday (the one above shows part of our new rain garden).   Early June is so lovely.  Everything still tidy and unfurling.

IMG_1401       IMG_1402

IMG_1410

IMG_1437

It’s shaping up to be a very good year for berries.  The kids have been picking a basket of berries to accompany every meal, and snacking on them in between.

IMG_1404

All of the apples have set very heavily this year.  I did a lot of hand-thinning after the natural fruit drop at the beginning of the month.


IMG_1429

IMG_1443

The grapes, too, have set heavily, and the vines provide lush shade.

IMG_1432

Back with more posts over the next two weeks – a little catch-up on what we’ve been doing for the past month, some new recipes and a sewing tutorial!


Healing Salve Recipe

IMG_0459[1]

‘Tis the Season to make Christmas gifts, and Bea and I started yesterday morning, making another, larger batch of comfrey-rosemary salve.  (Joining the KCCO today.)

Comfrey, also known as knit-bone, is touted as having strong healing properties.   I have used it daily on my broken ankle once the stitches healed (don’t use the salve on open wounds), but it is also commonly used on bruises and other injuries.  It is a soothing salve to rub onto bumps, bruises, sore muscles, etc – all of which are common place in a house with 3 roller derby girls and very active, energetic kids.

IMG_0426[1]

Bea and I made this batch early in the morning before the other kids woke up.  At ten years-old, she can work with the hot wax and oil safely (with a little supervision, of course).

We have a $0.25 pot from the thrift store that is used only for beeswax-based projects.  Most of the jars were also from the thrift store, as well as some baby food jars given to me by a friend.

IMG_9869[1]

I grow loads of Russian Bocking Comfrey in my garden because it is a dynamic accumulator and sequesters all sorts of minerals in its leaves – thereby making it a great fertilizer in the garden, as well as excellent duck forage.  It has deep tap roots (up to 12 feet deep!), which help break up our dense clay soil, and its delicate purple flowers are a favorite of bees – blooming for a long stretch.

I had picked the comfrey and rosemary a few months ago and dried them, but you can also order the dried herbs online if you don’t have a source in your yard.

Once you have the ingredients gathered, the salve takes only about 15 minutes to make.  Here’s our recipe:

IMG_0460[1]

Comfrey-Rosemary Salve

3/4 cup organic olive oil 

4 Tbsp dried comfrey leaves

3 sprigs dried rosemary (you can substitute 2 Tbsp dried lavender if you prefer)

1 Tbsp vitamin E oil

3/4 cup organic coconut oil

6 Tbsp chopped beeswax

10 drops tangerine or 4 drops patchouli oil (if using dried lavender, substitute with lavender oil)

Directions:

– Infuse the dried herbs in the olive oil.  This can be done two ways:  either place the herbs and oil in a double boiler and heat gently over water (do not boil the oil over direct heat) for 30-45 minutes, or place dried herbs in the oil, cover and store in a dark place for 3-4 weeks.  (Note: Do NOT use fresh herbs – the water in them will cause your oil/finish salve to mold.  Herbs must be thoroughly dried.)

-Strain the dried herbs from the finished olive oil and discard them in the compost.

-Place the chopped beeswax, infused olive oil, coconut oil, and vitamin E oil in a pan.  Heat on medium-low heat, stirring constantly until all ingredients are completely melted.

– Immediately remove from the heat, and stir in the tangerine oil.

– Pour into jars, and let cool with the lids off.  Once thoroughly solidified, the salve will keep in a dark place at room temperature for 6 months or more. (Our kitchen was very cold when we made the salve, and it cooled very rapidly, resulting in cracks on the surface of the salve.  Next time, I will wrap towels around the jars or perhaps cover them with a pot so they cool more slowly.)

Back tomorrow for the Yarn Along!

Oregon Autumn Tart

IMG_0287[1]

Sometimes, an abundance of ingredients in the pantry necessitates the creation of a new recipe.  We had bag of fresh local cranberries in the fridge, a few handfuls of lingonberries from the garden, and a glut of locally-grown hazelnuts.  A perfect collection of ingredients for a truly Oregonian Autumnal tart.

IMG_0296[1]

Oregon Autumn Tart

Ingredients:

1 sheet puff pastry

For the filling:

2 1/2 C fresh cranberries and lingonberries, washed 

1 1/2 C granulated or unrefined natural sugar (you can use 1 C for a more-tart dessert)

zest of one orange (I prefer to use a microplane for a very fine zest)

For the topping:

1/2 C unsalted butter, softened

1/2 C light brown sugar

1/2 C granulated sugar

2/3 C unbleached flour

pinch of salt

1/4 tsp nutmeg

1 heaping C hazelnuts, coarsely chopped

IMG_0297[1]

Directions:

In a large bowl, combine butter, sugars, flour, salt and nutmeg.  Using a pastry cutter or a clean hand, cut butter into other ingredients until it is in pea-sized pieces.  Then, fold in hazelnuts.  Set aside. (Can be made one day in advance and refridgerated.)

IMG_0288[1]

In a large skillet, combine berries, orange zest, and sugar.  Cook on medium heat, stirring often.  (As the berries pop, their juices will dissolve the sugar.)  Use the back of your spatula to crush the cranberries as the cook, and continue to simmer until mixture is thickened and all berries are beginning to cook down.  Remove from heat and allow to cool completely. 

While berries are cooking, roll out puff pastry to fill a jellyroll pan.  Place on parchment paper, and then in jellyroll pan.  Roll the edges of the puff pastry over and use a fork to crimp them down.

Preheat oven to 375F.  Spread cooled berry mixture evenly over the pastry with a spatula.  

Sprinkle streusel-nut topping over the berries, pressing it down gently.

IMG_0304[1]

Bake for 25-30 minutes until pastry is puffed and golden, berries are bubbling, and streusel topping is begins to turn golden.

IMG_0303[1]

Allow the tart to cool thoroughly before cutting into squares.  Serve with whipped cream if desired.

I confess, leftovers of this tart made for a pretty darn good November breakfast with a cup of coffee.

Hope you are enjoying all the good things of the season, too.


Elderberry-Rose Hip Syrup

IMG_0073[1]

A friend very kindly picked me loads of wild rose hips.  These red-orange fruits of fall are loaded with vitamin C, lycopene and beta-carotene.  They can be dried for tea, or used fresh for syrup and jam.  (Take note – the seeds inside are covered with irritating hairs, and if the fruits are cut up, the hairs need to be removed.  The seeds and outside of the fruit are edible.)IMG_0069[1]

Late in the summer, when our elderberries were in full production (and I was still out of commission), my husband picked and froze loads of berries for me.    Adding the rose hips to my elderberry syrup seemed like a great way to boost the health-benefits of this winter-time supplement.

Here’s my updated recipe:

Elderberry Rose Hip Syrup

Ingredients:

5 cups fresh or frozen elderberries (see prep below)

2 cups fresh unsprayed (preferably wild) rose hips (see prep below)

thumb-sized piece of ginger, skin peeled off

5 cups water

4-5 cups organic unrefined sugar

1/4 cup balsamic vinegar

IMG_0062[1]

Step 1: Remove all stems – even the smallest ones – from the berries (see my notes on elderberries and cyanide here.  (If using frozen berries: Let the berries thaw slightly (as seen above),  then use a fork to easily knock them from the stems.  Discard all stems and leaves in the compost.  Rinse berries to remove any debris or spiders.

IMG_0089[1]

Step 2: Rinse the rosehips, and remove any that are soft and mushy.  With your fingers, pull off the dried brown petals from the blossom end of the hip (also called a “haw”).  Measure out two cups of whole hips (the hips will not burst when cooked, so I don’t cut them open and remove the hairs/seeds for this recipe).

Step 3: Add berries, hips, ginger, and 5 cups water to a heavy-bottomed pan.  Bring mixture to a boil, then reduce to a simmer with the lid off, for 45 minutes.

Step 4: Strain the liquid ad berries, using a fine strainer or clean tea towel, carefully crushing the hot fruit pulp as you do so.  Discard the mashed fruit.  Measure the quantity of juice.  It should be around 5 cups.

Step 5:  Add strained juice back to the pan.  For every cup of juice, stir in 2/3-1 cup of sugar (less sugar will yield a runnier final product).  Bring mixture to a boil, and boil, stirring frequently, until mixture is reduced by one-third to one-half, and thickens to desired viscosity.

Step 6: Add balsamic vinegar (or substitute with 1/3 cup apple cider vinegar for a brighter flavor), and stir.  Ladle hot syrup into jars, and store in the refrigerator for up to six months, or process in a hot-water bath canner.
IMG_0097[1]

The syrup is very good over ice cream, or pound cake, or mixed with a little hot tea or brandy.

IMG_0100[1]


As a health supplement, the syrup is commonly taken as 1/2- 1 tsp daily in the fall and winter.  My children enjoy it in a small glass of seltzer or orange juice.

Back tomorrow with some garden work from today.  Hope you had a restful weekend.

Hop Blossoms and Dragonfly Wings

IMG_9857[1]

A few pictures from the last two days:

The boys helped me pick hops this afternoon, which we will dry for tea.  Usually, we pick them for brewing beer, but I’m told a few blossoms steeped in hot water with a little honey makes a very soothing bedtime tea, so we are going to try it this winter.

IMG_9803[1]

IMG_9808[1]

Baking sesame-oat and shredded-wheat spelt breads yesterday so the kids could have a snack before derby scrimmage.

IMG_9798[1]

My ankle swells very quickly, and I spent a lot of time with my foot propped up, reading to the children and knitting Christmas presents.  Dragonfly Wings is off the needles, but still needs to be blocked.  I enjoyed this pattern very much – it was easy and quick to knit.   Looking forward to see how it blocks up.

IMG_9870[1]

Before the weather gets too cold and the comfrey dies back, I have begun collecting the leaves to dry, in order to make a batch of comfrey-rosemary salve.

More soon, including a recipe for the comfrey salve.


First Day of Autumn

IMG_9690[1]

It has been three months since I last posted an update.  Three months ago tomorrow, I broke my leg quite badly at derby practice, and have spent the summer recovering from two subsequent reconstructive surgeries.

Hard Wear

They tell me it takes a full year to be back (as close) to normal (as the ankle can get).  In the last two weeks, I’ve finally been able to get out in the garden for a few hours each day.  While I have some complications, and still have a brace and need to use one crutch, being back in the garden has done wonders for my recovery.  It is such a gift to be able to get around outdoors – however slowly – and tend to the garden – however wild it has become.  It is so so good to get back to any measure of garden work.

A quick glimpse at our morning in the garden:  (Bea, our resident shutterbug, took all of these pictures, as I was ecstatically hobbling around the yard with a crutch in one hand and pruners in the other.):

IMG_9577[1]The last of the plums were picked today.  They are “Stanley” prune plums in the front yard.  They are ready a full month after the other plums in the yard, so we have had fresh plums throughout the summer.

IMG_9723[1]

IMG_9736[1]The Swiss Chard is a bit out of control in the front beds.  I allow the brightest and most vigorous plants to bolt and then let them self-sow every year.  The result has been bigger plants each year and deep bright pink or red stems in most of the plants.

IMG_9666[1]

The Cox’s Orange Pippin apples are beginning to blush a bit of red.  I am anxious for them to ripen!

IMG_9694[1]

I can never resist snacking on Cape Gooseberries (Physalis peruviana, which are also known as Inca berries).  They always ripen at the very end of summer after most fruits have peaked.  The late ripening, plus their sweet-tart exotic flavor makes them worth growing, no matter how small the crop.

IMG_9752[2]

September also yields a flush of tomatillos.  Much like green beans, the fruit loves to hide:  you can pick a plant through, come back five minutes later and pick another full basket worth.

IMG_9697[1]

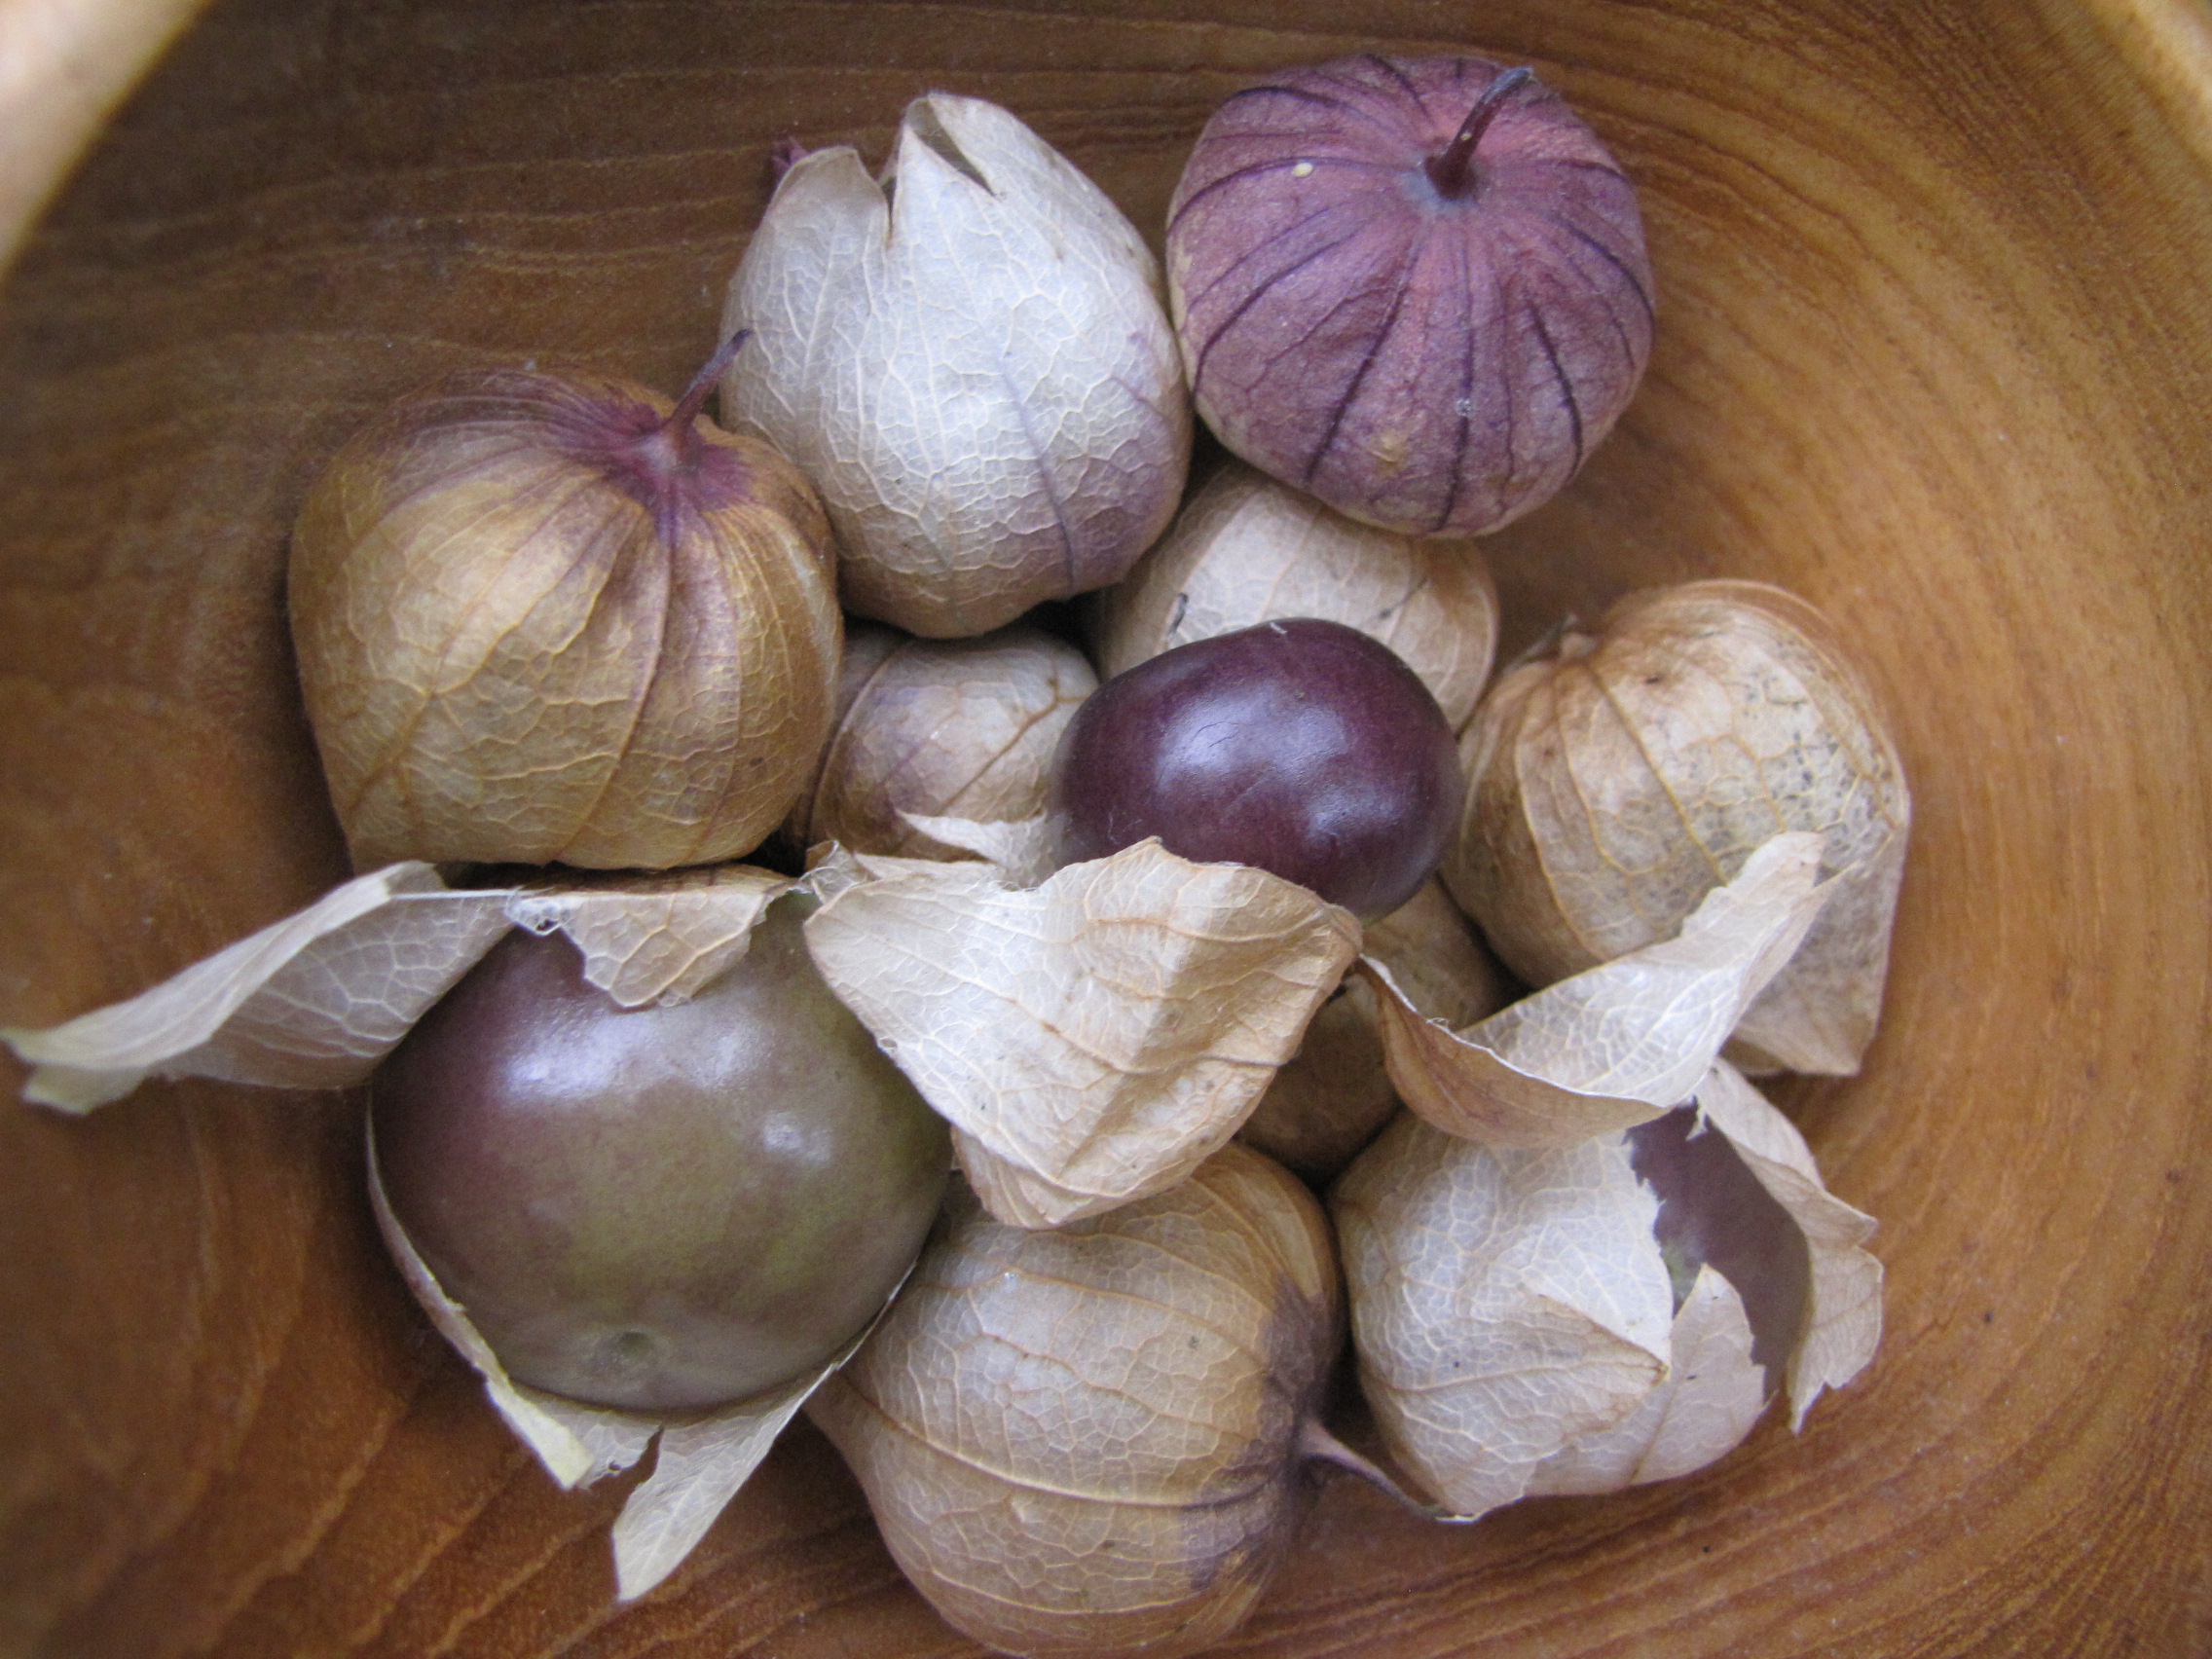
When placed together, it is easy to see that the tomatillo (“De Milpa” variety), Cape Gooseberry, and ground cherry all belong to the genus Physalis.  Their papery husks keep the fruit clean, even when it falls from the plant at peak ripeness.

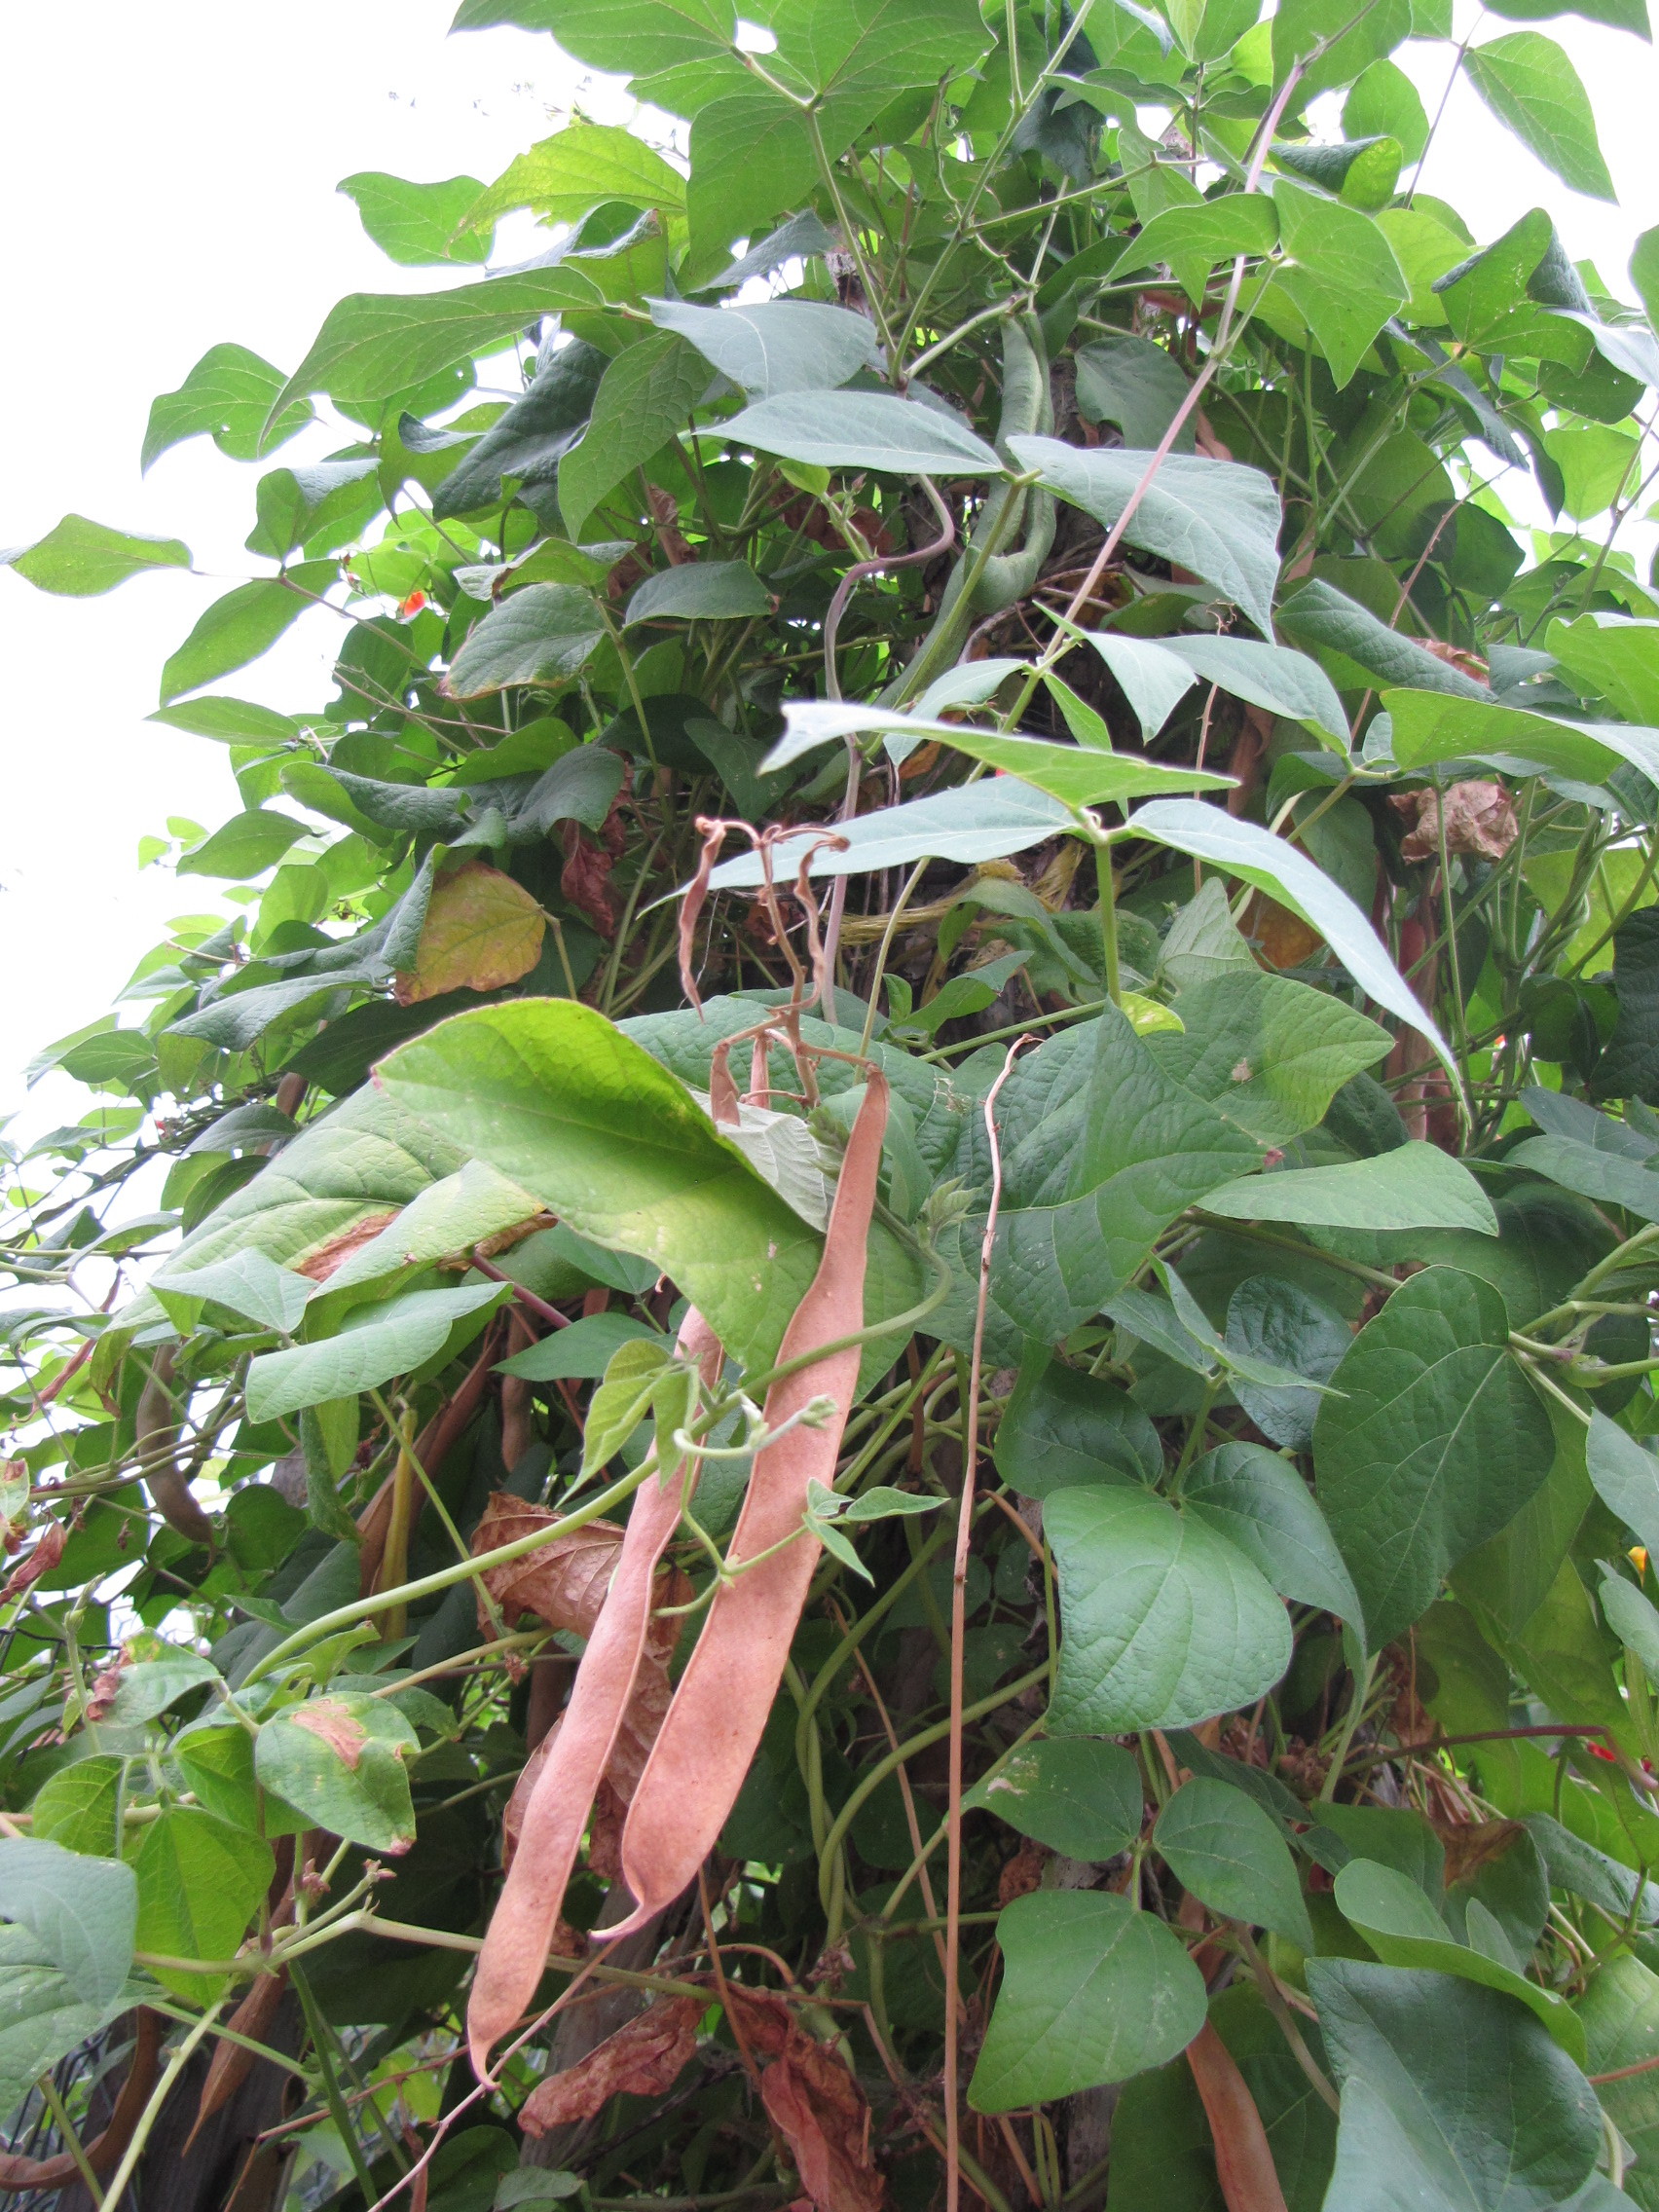
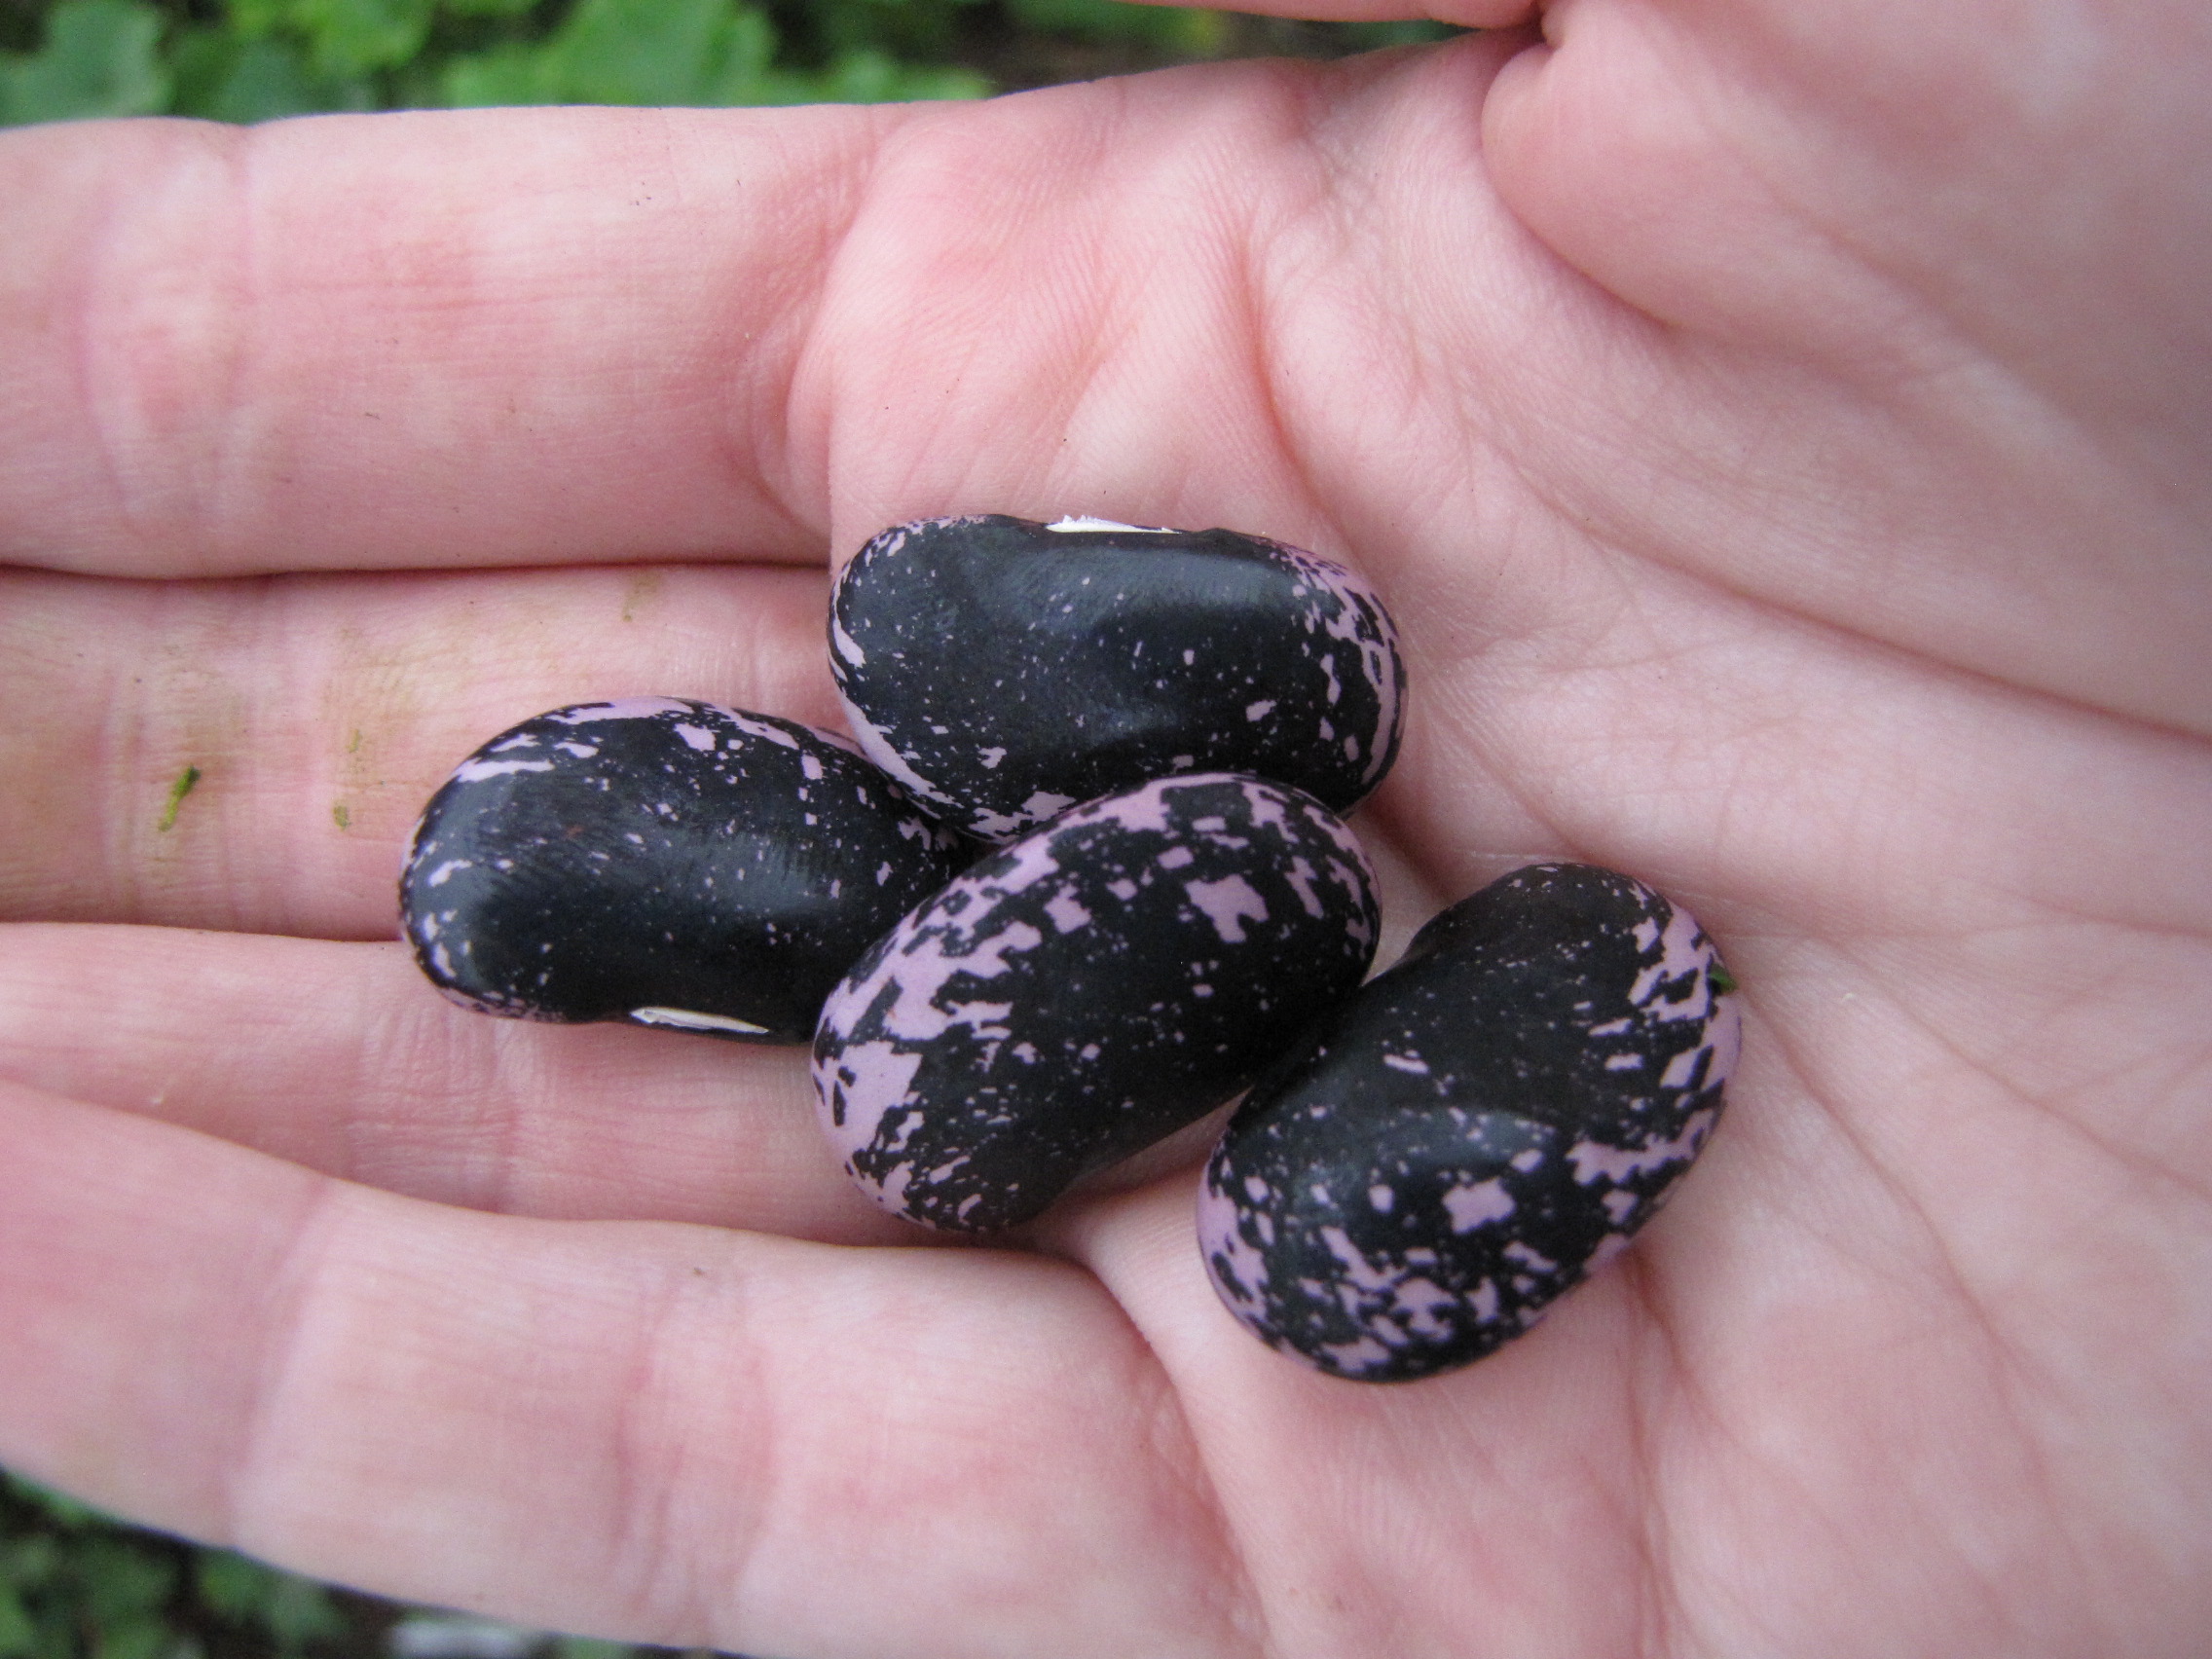
IMG_9747[1]While I picked tomatillos, the older children made and elaborate game for George that involved gathering beans from the “Sadie’s Horse Bean” and “Indian Runner” pole beans.  it kept them occupied for a very, very long time.

IMG_9782[1]A portion of this morning’s harvest for Birch Community Services, which included ground cherries, “Violette de Bordeaux” figs, lavender, French Tarragon, “Delicata” squash, tomatoes, summer squash, plums, “Lacinato” (aka “Dinosaur”) kale, Lemon cucumbers, chard, sage, rosemary, and tomatillos.

More soon as the garden winds down for the year, and life slowly returns to a familiar rhythm for our family.

Blessings on your week.


Early Harvests

IMG_9497[1]


Some of the organic produce we have harvested in the past week and a half or so (thank you, volunteers for all your help!).  Slowly, slowly, the gardens are producing more and more food as soil fertility improves, perennial food plants begin producing, and the entire permaculture system matures.

IMG_9498[1]

IMG_9499[1]

IMG_9465[1]IMG_9469[1]IMG_9460[1]IMG_9456[1]IMG_9459[1]

Early June in the Permaculture Garden

IMG_9425[1]


The first of the goumi berries (Eleagnus multiflora) are ripe.  I picked a handful, and my eldest promptly ate them all.

IMG_9430[1]

We have four goumi bushes (2 of Sweet Scarlet, and 2 of Red Gem), but only two are old enough to produce any berries.  The young plants will produce a few pints of berries -which as you can see in the above photo, ripen in succession – but in the future, we should get more than enough for batches of jam and fruit leather and fresh eating.  As a bonus, the shrubs are nitrogen fixers, so I have situated them near fruit trees in the orchard, and just uphill from one of the raspberry patches.

IMG_9434[1]

Another look at our little persimmon guild.  The Early Fuyu persimmon has lighter colored, glossy leaves (upper right).  Clockwise from the persimmon: chocolate mint, Japanese iris, Russian comfrey, horseradish, mojito mint, black currants.  Unseen are two young lilacs, burdock, a highbush cranberry, and the goumi berry bush shown earlier in the post.

IMG_9433[1]


Adjacent to this guild is a recently added a Smokey Juneberry (Amelanchier alnifolia).  Juneberries are known by many names, including “saskatoons”, “serviceberries”, and my personal favorite, “chuckley pear”.  I ordered three plants of two different varieties from Burnt Ridge Nursery, which arrived as little dormant sticks, but rapidly leafed out and are doing quite well.  It will ultimately grow 6 or more feet tall, and after a flush of fragrant white flowers in late spring, produce abundant harvests of pinkish-purple fruit, rich in vitamin C.

IMG_9439[1]


The black currants all around the yard have been spared the plague of gooseberry fruit flies that have ruined my other currants.

IMG_9427[1]


A final shot of the burdock (with my foot thrown in for scale).  It is such a handsome plant, and growing rapidly.  I have had to remove flower heads multiple times this week, and look forward to trying the root in stir fry later in the summer.

IMG_9417[1]Hal, our six yr-old, thrilled to have found the first ripe red raspberry of the summer.  Gardening with children is such a great experience.  They know the garden and its plants as well as I do, and I hope they will have fond memories of running barefoot in the raspberry patch, snacking as they go.


Hidden Corner and Weekly Harvest

IMG_9368[1]

Our chicken coop is a giant monstrosity we acquired four years ago for next to nothing on Craigslist.  It got a window and bright paint and sits very happily in the back of the yard.

Because it is so tall, I knew it needed a vertical climber trained up the side.  I chose Concord grapes, which my grandpa always grew, and remind me of childhood visits to his garden in Indiana.  Concords have a distinct flavor, which grape enthusiasts call “foxy.”  My kids aren’t especially fond of the flavor, but I love them. (There are plenty of other grape varieties in the front yard which they enjoy.)

IMG_9367[1]


I was a bit lazy with my grape pruning last fall, and I had to thin the baby grapes this week.  Looks like we are in for a large crop, nonetheless.

IMG_9369[1]

Behind the chicken coop, tucked back in a corner bordering our two neighbors, is the most precious plant in my garden.  There is a volunteer burdock in the foreground (it has an edible and much-prized root, but I diligently remove flowers before they set seed, as it can become a weed quite easily.)  Russian Bocking Comfrey, black currants, a Goumi berry bush, horseradish, mint, Japanese iris all surround a small tree with glossy leaves:

IMG_9371[1]

This diminutive tree is an Early Fuyu persimmon.  It is the most expensive plant in my garden.  I planted the whip four years ago, and it has twice been broken by small children visiting my yard.  It is incredibly slow growing, adding less than eight inches per year.  Some day it will be a shapely 15 ft specimen loaded with delicious fruit every autumn, but for now, I baby it along, and hope it comes into production before my kids are off to college.

IMG_9405[1]

To round out this little update, here are some of the crates of herbs and rhubarb and such I picked for BCS this week.  Bea cut and tied all of the lavender, but we were sure to leave lots for the bees, and some for our family to use, as well.

IMG_9401[1]IMG_9407[1]IMG_9408[1]


As spring begins to roll into summer, I am trying to let the early hiccups in the garden not get me down, because so much of growing food is out of our control (moles gnawed on some of my dahlias over the winter, killing them.  Slugs have killed a half dozen summer squash seedlings when I wasn’t diligent in slug-picking.  And worst of all, gooseberry maggots in all my red, white and pink currants – after four years of no problems, this year is a total loss, and next year will require floating row covers).

Watching the kids dish huge spoonfuls of homemade rhubarb compote over ice cream, nursing an injured duck back to health, seeing the first of the tomatoes set already, picking food to share with the families at BCS…these things augment the joy inherent in tending a garden.   I think it is going to be a very good growing season.


Early September in the Garden/ Transitions

Purple "de Milpa" tomatillos.  As tasty as they are beautiful.
Purple “de Milpa” tomatillos. As tasty as they are beautiful.

Well, the photo editor/uploader issues with WordPress haven’t been fixed yet, but I’m going to try and get a few images to upload for this post.  I wish the uploader would cooperate, and I could share photos of all the garden is producing – Sunchokes 10 feet fall, baskets (and bellies) full of “Fall Gold” raspberries, ducks laying pale green eggs every day, broody chickens, yarrow and salvia and dahlias splashing every corner with color…

I love the transition of early September, when we are just beginning to be weary of summer, but not quite ready for the dreariness that Oregon offers the rest of the year.  The plants and bees are frantic to do their work before fall sets in, and the cooler weather and episodes of rain have re-greened every inch of the garden.  The front and backyards are bursting with tomatoes, tomatillos, summer squash, chard, kale, elderberries and ripening quince, winter squash, and apples.

IMG_8784

Runner beans are beginning to dry.  Looking forward to a few pots of soup from 1 teepee's worth of vines.
Runner beans are beginning to dry. Looking forward to a few pots of soup from 1 teepee’s worth of vines.

The difficulties of malfunctioning WordPress haven’t been a bad thing, really.  Taking a break from blogging and my FB page has been a good thing for me – less stress, more free time with the kids.   I have learned to roller skate (never skated as a kid!) and am training with Ruth and Bea for roller derby (they play, I fall a bunch and try to learn a fraction of the skills they have acquired).  I ended up falling at skating class and jacking up my left arm, so typing is slow and one-handed at the moment (another reason to take a break from blogging).  (I am very much looking forward to getting back on skates when the splint comes off in a week or two – I may not be a good skater (yet!) but it is something I can do with my girls, good exercise, and a fantastic way to release a lot of accumulated anxieties, worries, frustrations.)

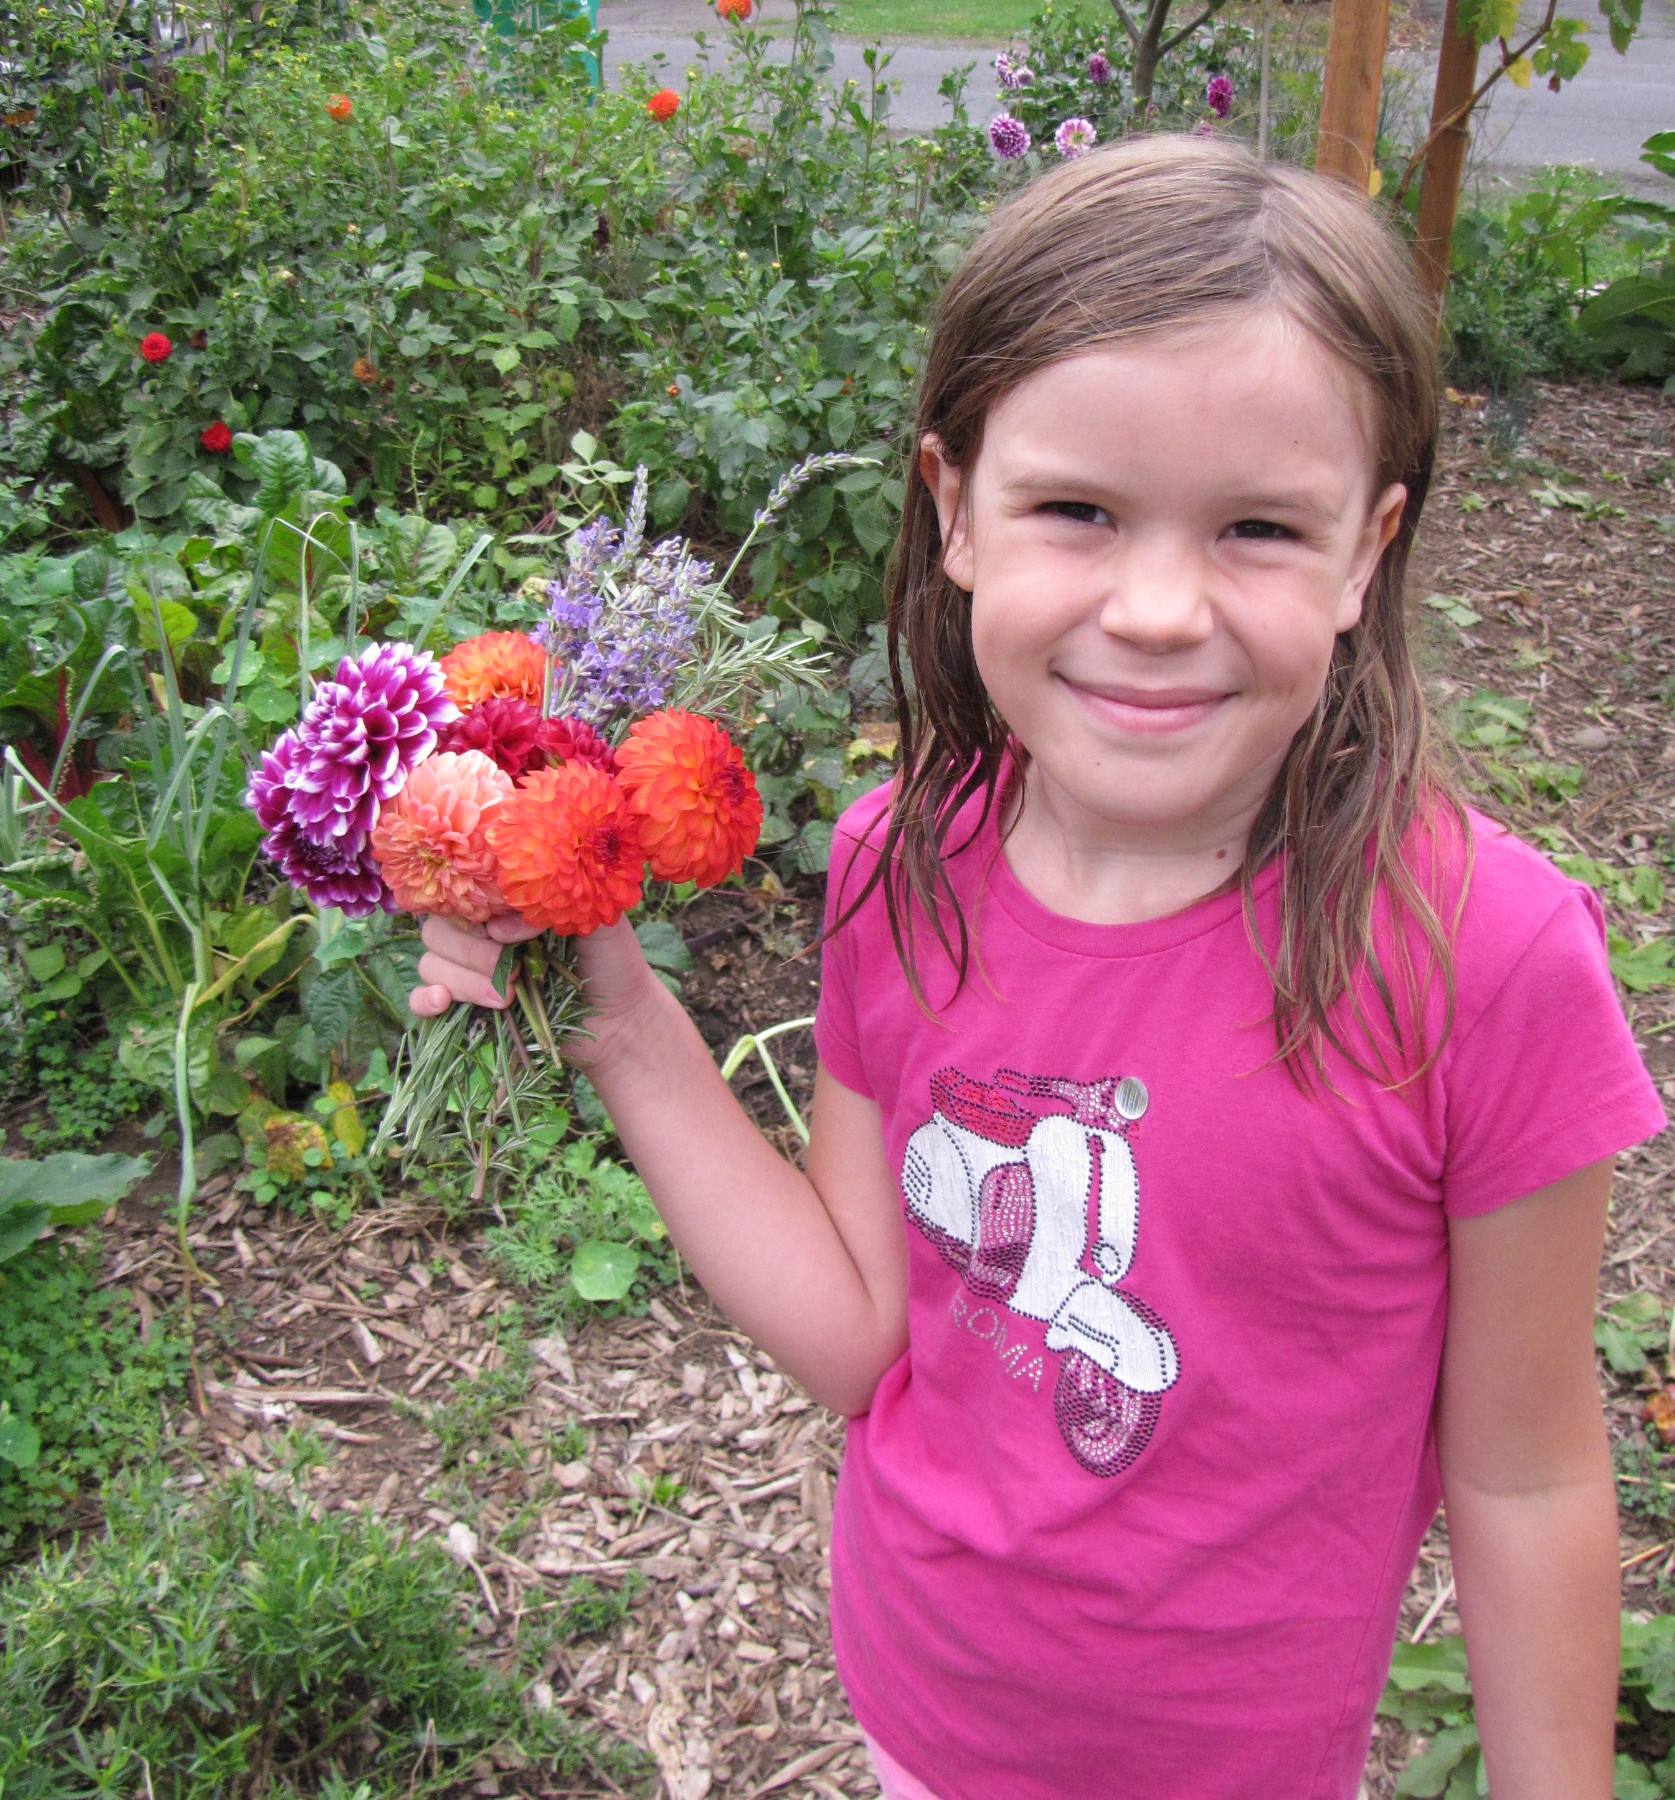
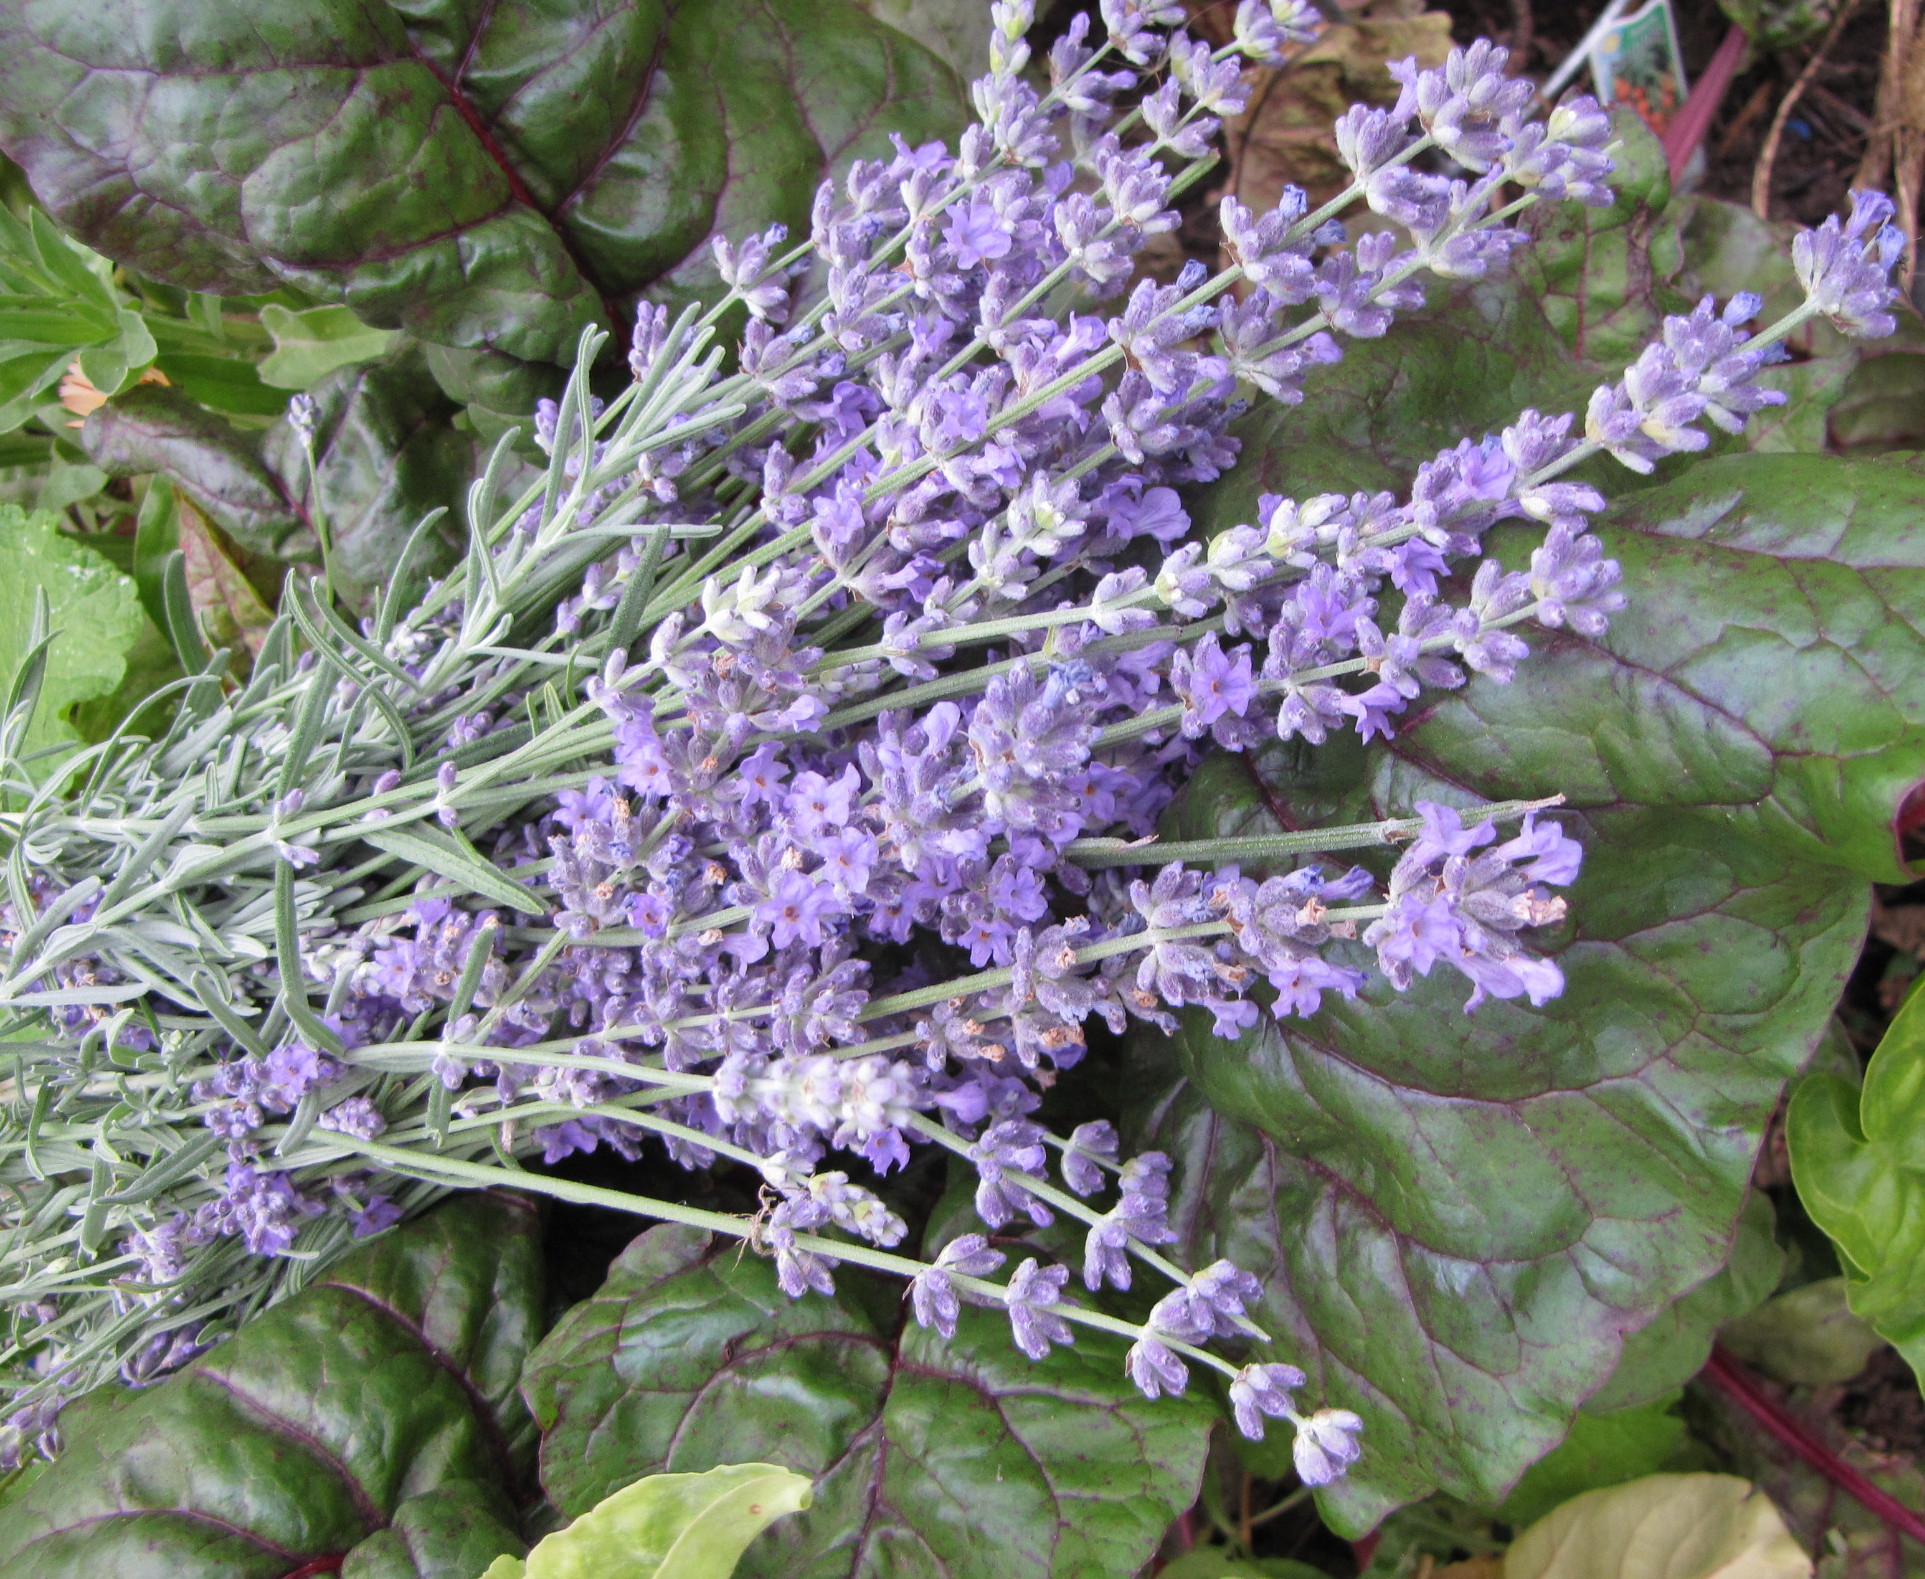
Bea picking dahlias and lavender, both of which are still producing abundantly

Time late at night that I would normally spend blogging or reading other blogs, I am now spending exercising and strength building for derby and working on writing projects.   I really miss reading what other blogging families are doing, and seeing other mom’s beautiful handwork and culinary creations – through them I find so many good knitting patterns, book recommendations, recipes, home-education inspiration.   However,  it is also stressful for me and a lot of feelings of inferiority well up with each blog post I view.  The more I read about lives that run so much more smoothly than my own, and view those carefully chosen images, the more I stress about dust bunnies in every corner of my house, kids with tangled hair, house projects unfinished, and piles of unfolded laundry.  When I take a break from the blogosphere, I feel more centered and enjoy my family more, because I am stressing less.  And with the start of our homeschooling year and having a kindergartener, a 3rd grader and a 5th grader, plus a very active 2 yr-old, I need less stress.

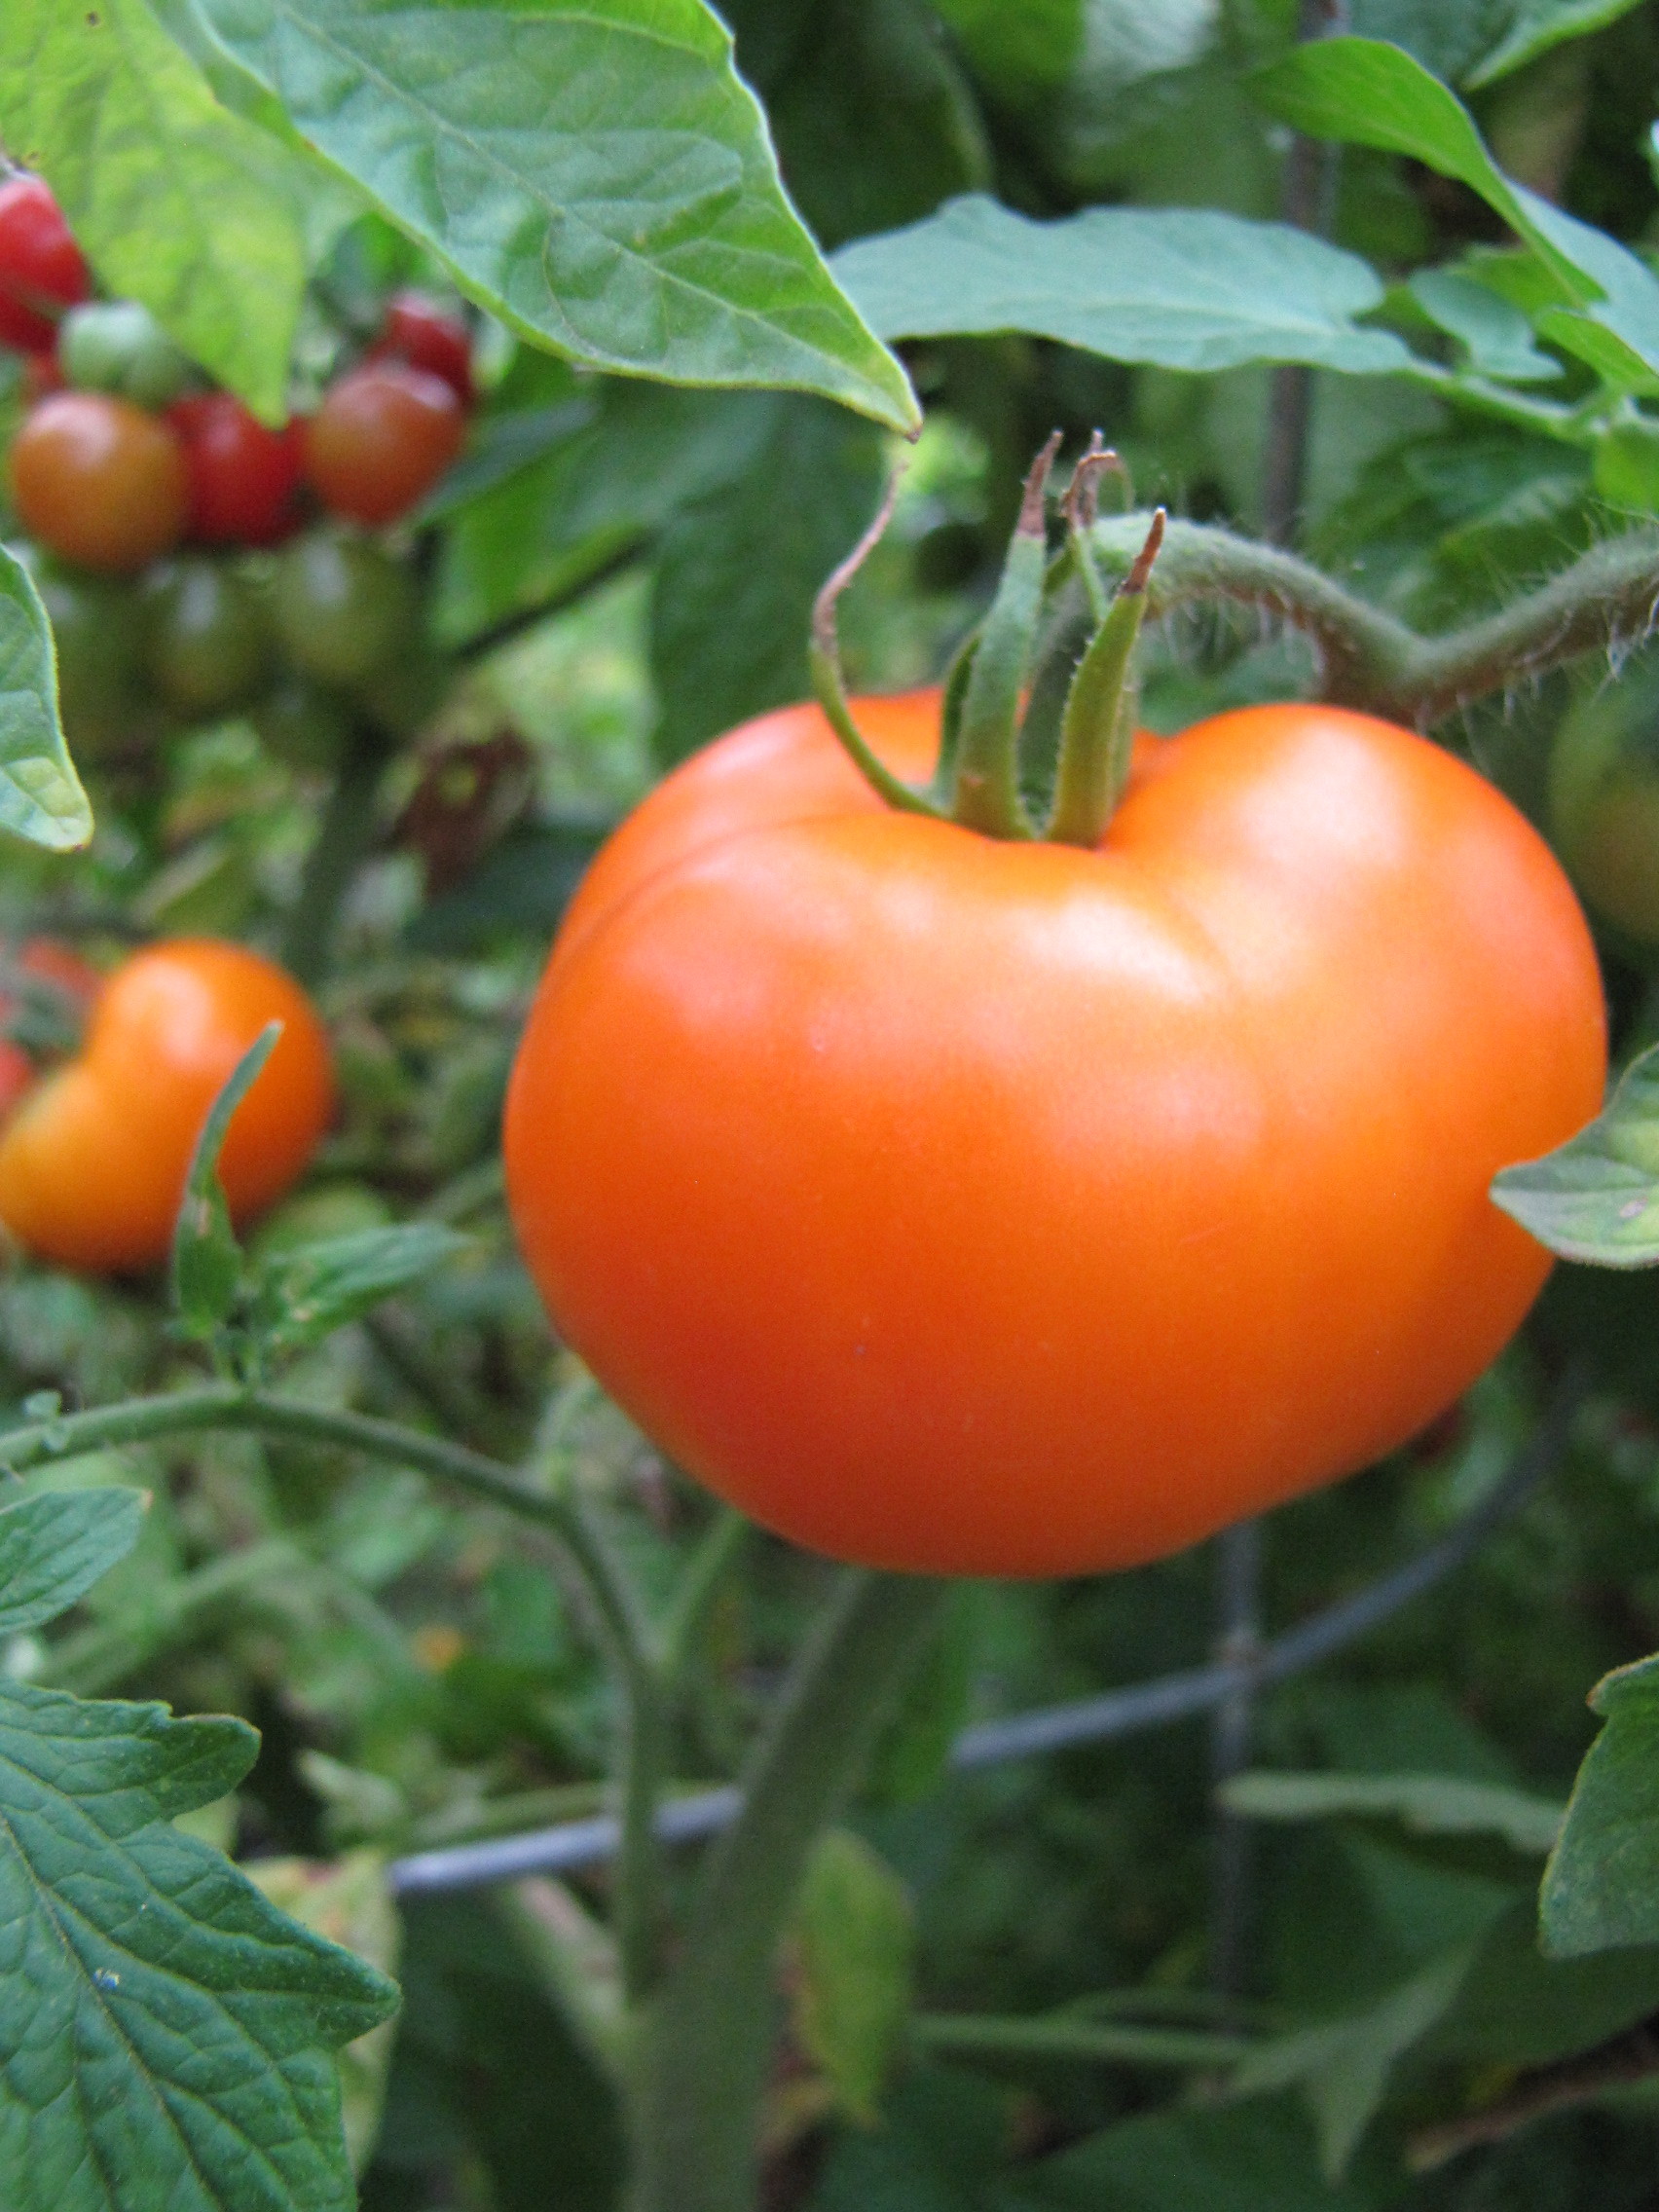
Orange beefsteaks with red cherries in the background.  Near the house, the beds are overrun with red and yellow "Brandywines" and "Mortgage Lifters".  We've been eating "Sun Gold" cherry tomatoes with nearly every meal - so delicious on omelettes or in salads.
Orange beefsteaks with red cherries in the background. Near the house, the beds are overrun with red and yellow “Brandywines” and “Mortgage Lifters”. We’ve been eating “Sun Gold” cherry tomatoes with nearly every meal – so delicious on omelettes or in salads.

So, after sharing this morning’s photos from a few hours in the garden with the kids, I’m not sure when I’ll be back.  I probably won’t be posting regularly for a while, but I will be back now and then to share some of the good things happening in our lives.

Bea picked a handful of lavender for "secret potions"
Bea picked a handful of lavender for “secret potions”

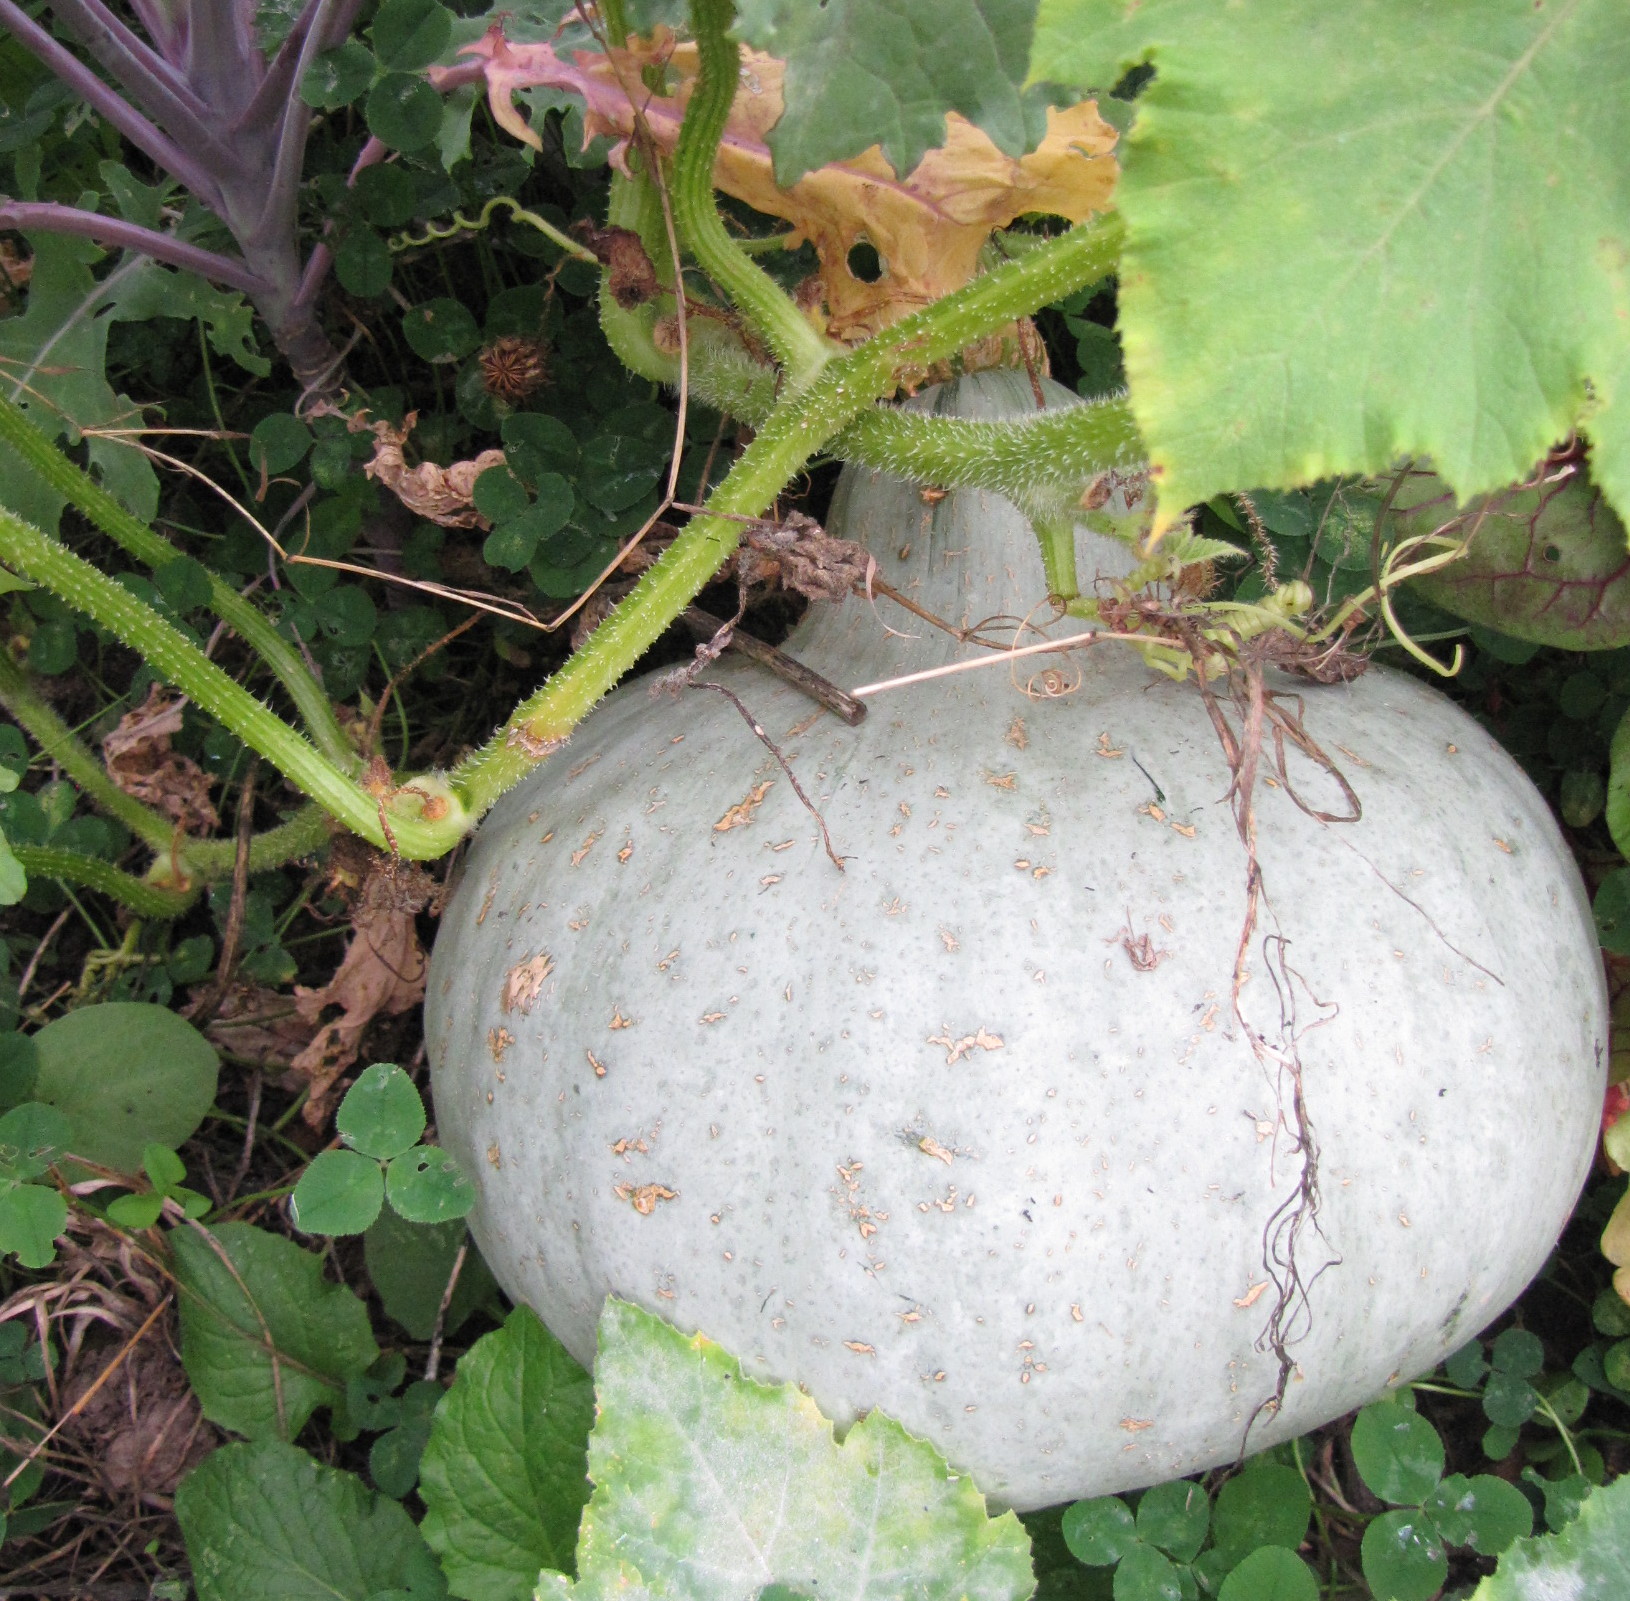
Sweat Meat winter squash vining through the kale

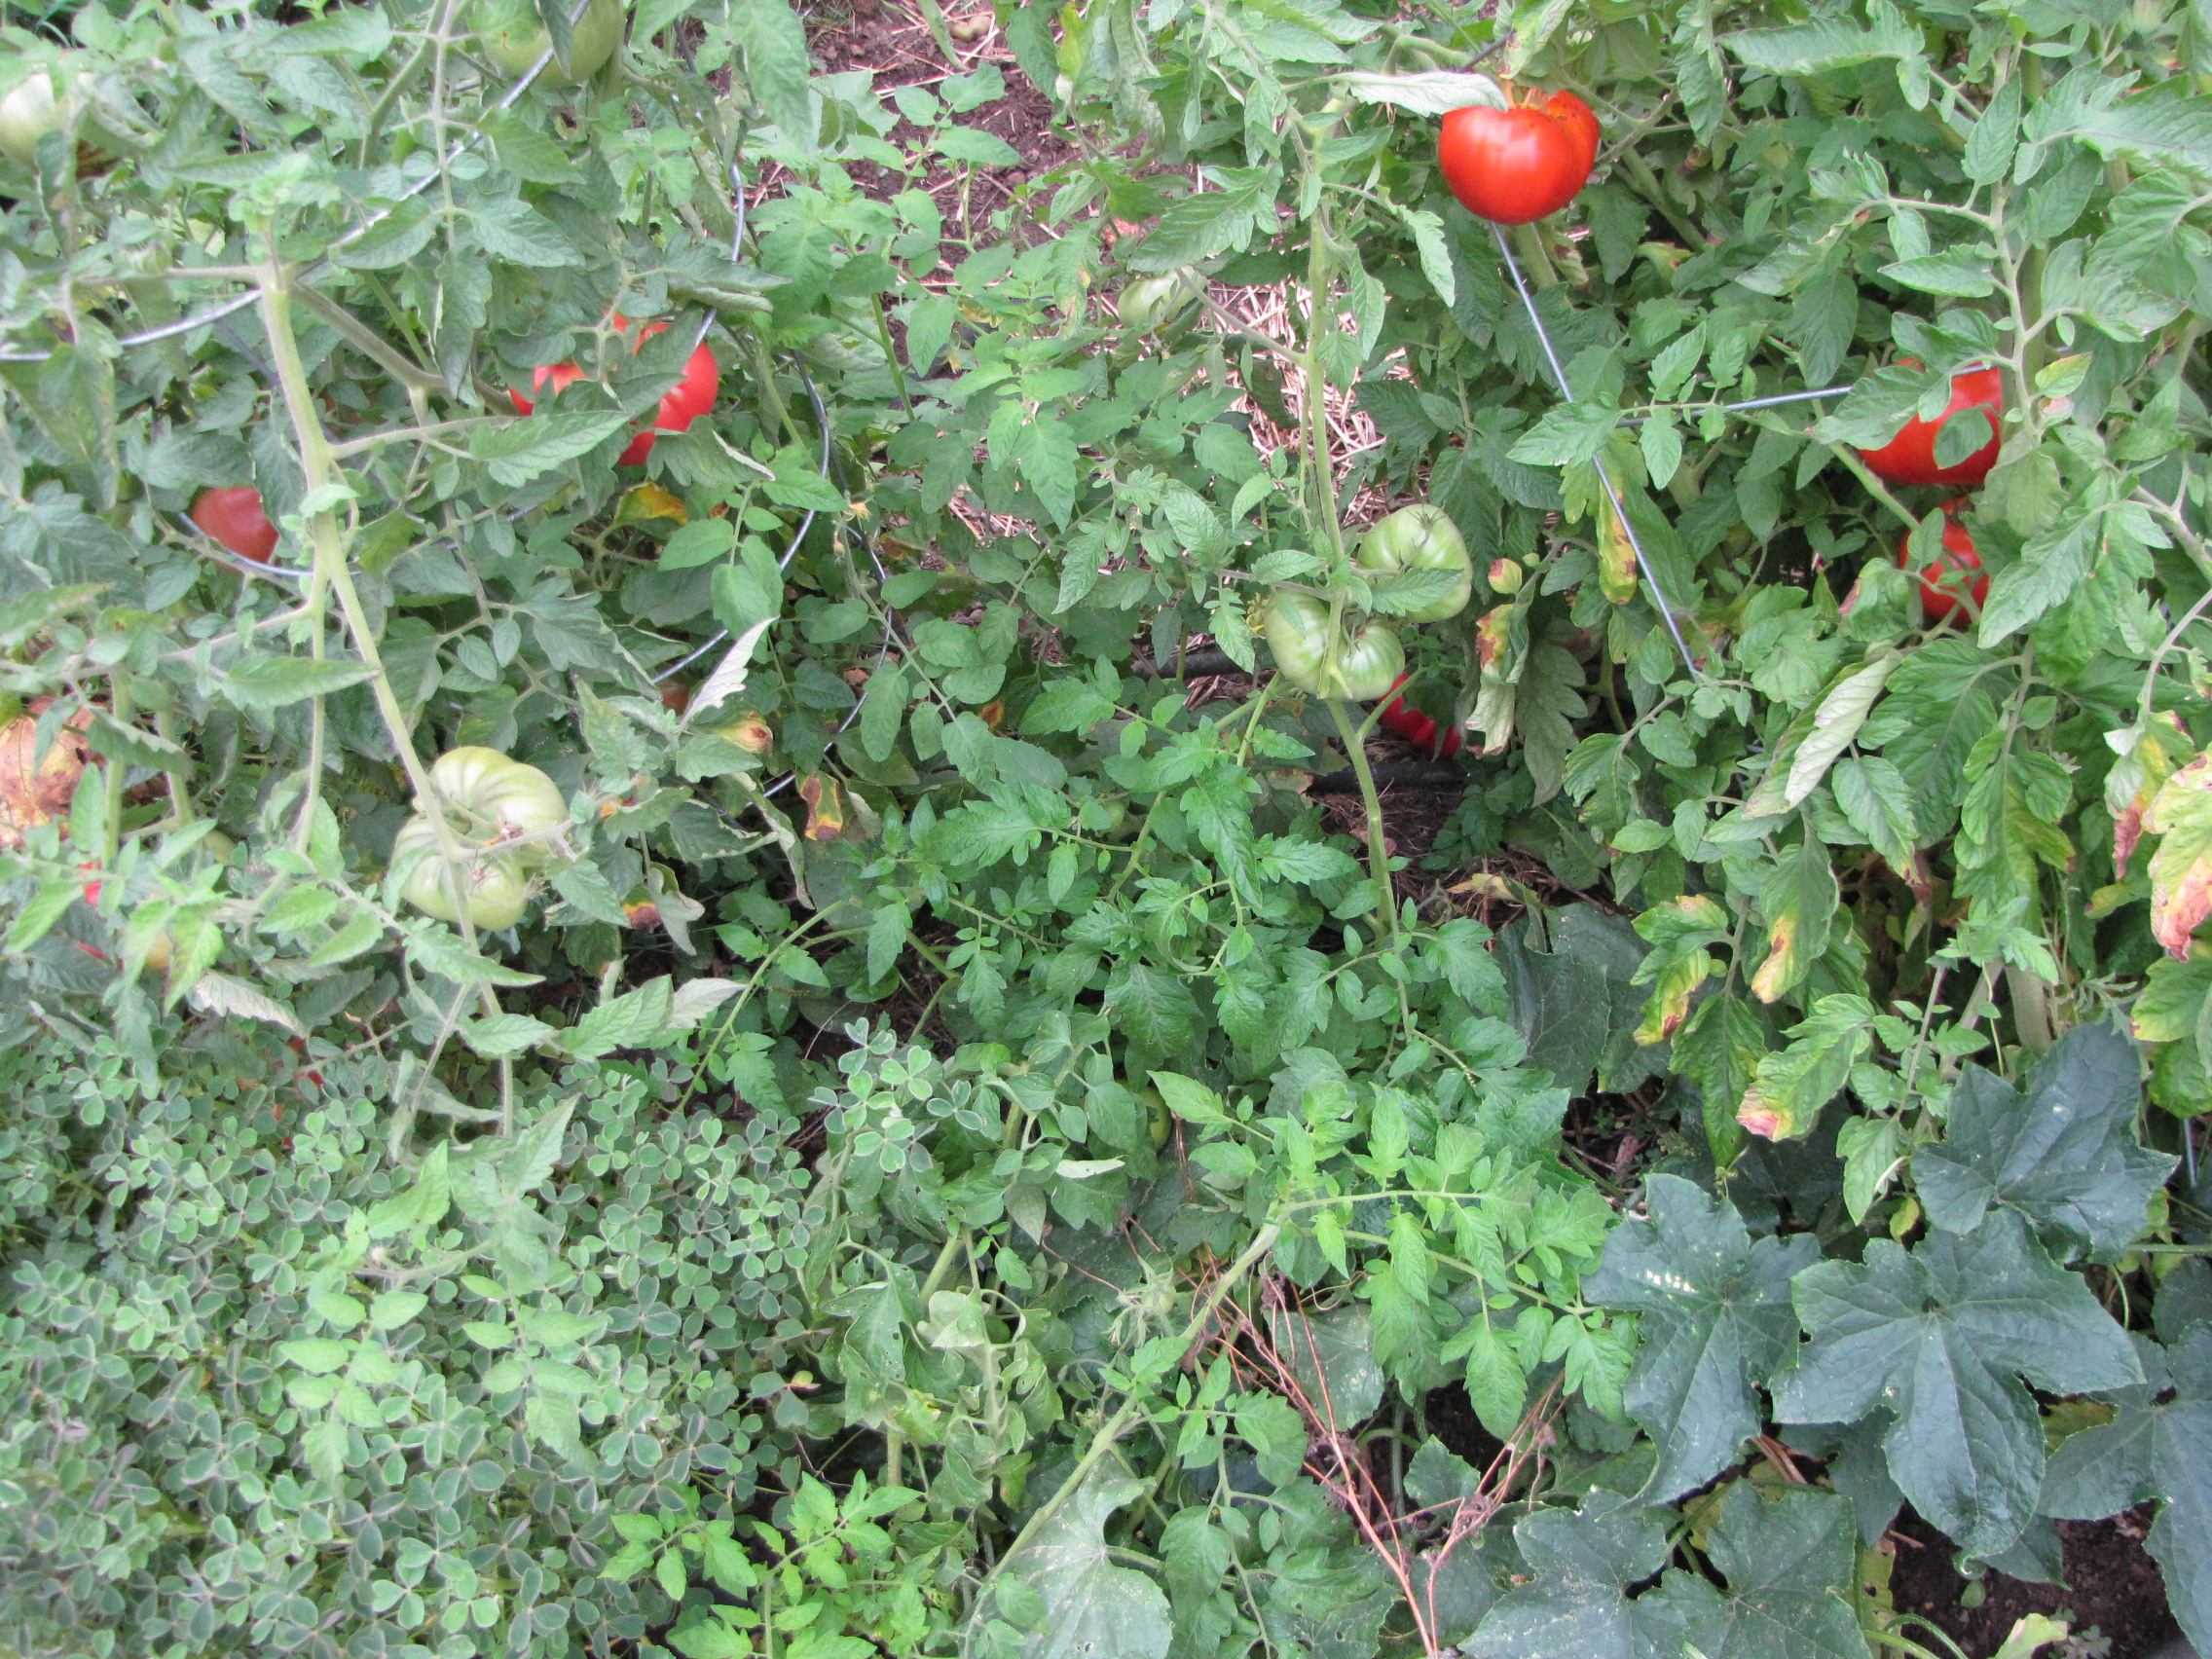
Brandywines with oca (Oxalis tuberosa) and cucumber underneath.  We're getting more big ripe beefsteaks this year than in the last three years combined.
Brandywines with oca (Oxalis tuberosa) and cucumber underneath. We’re getting more big ripe beefsteaks this year than in the last three years combined.

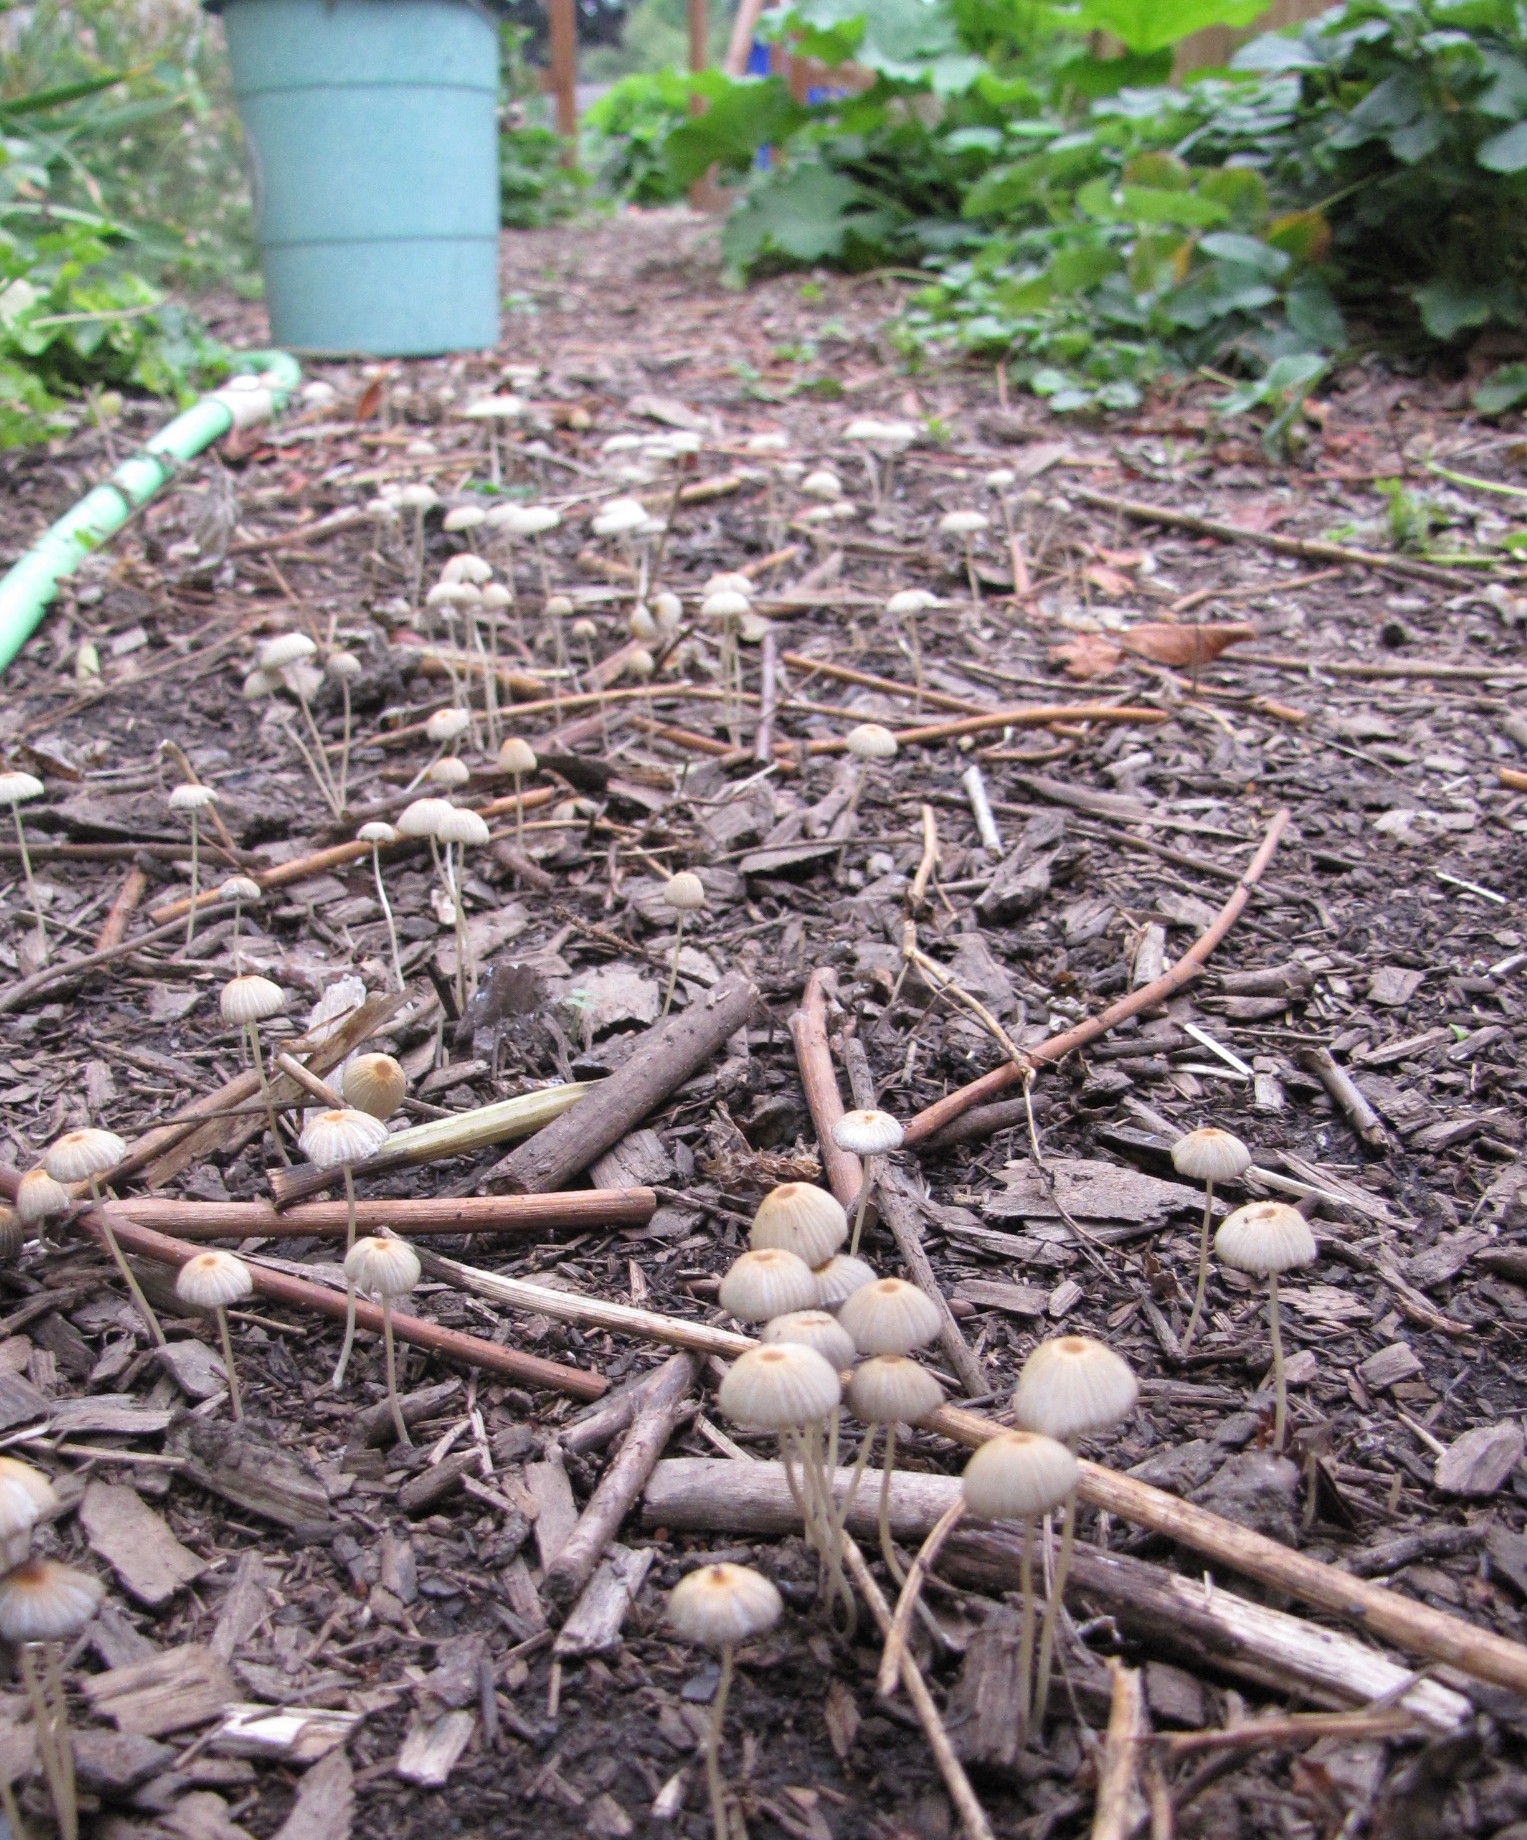
Rows and rows of beautiful beneficial (though inedible) mushrooms spring up in all the paths after it rains.  They breakdown the woodchips and release nutrients into the soil.
Rows and rows of beautiful beneficial (though inedible) mushrooms spring up in all the paths after it rains. They breakdown the woodchips and release nutrients into the soil.

Blessings on you this month as the seasons shift.  I hope September is as energizing for you as it has been thus far for our family.

The Best Dilly Beans EVER

IMG_8672

Lately I’ve been getting back to making home fermented foods, for our health and for simplicity’s sake.  I routinely make sourdough, yogurt, and buttermilk, but had gotten away from cultured vegetables (life gets busy).  But the past several weeks, I have re-discovered how much we love lacto-fermented veggies.

Lacto-fermentation is the process of using beneficial bacteria (primarily Lactobacillus acidophilus and L. bifidus) to create lactic acid and ferment raw fruits and veggies into foods that are more easily digestible and have more bio-available nutrients.  The process also preserves food for many months.

The garden is bursting with produce, but my schedule is hectic and time is precious, so even setting aside the health benefits, lacto-fermentation is the best option for preserving and enjoying much of our garden produce.  Unlike canned pickles, lacto-fermented veggies do not require heating up the kitchen and hours slaving over a canner on hot summer days.  They only require a few minutes to prep the ingredients, a little care in setting up the ferment.
IMG_8642

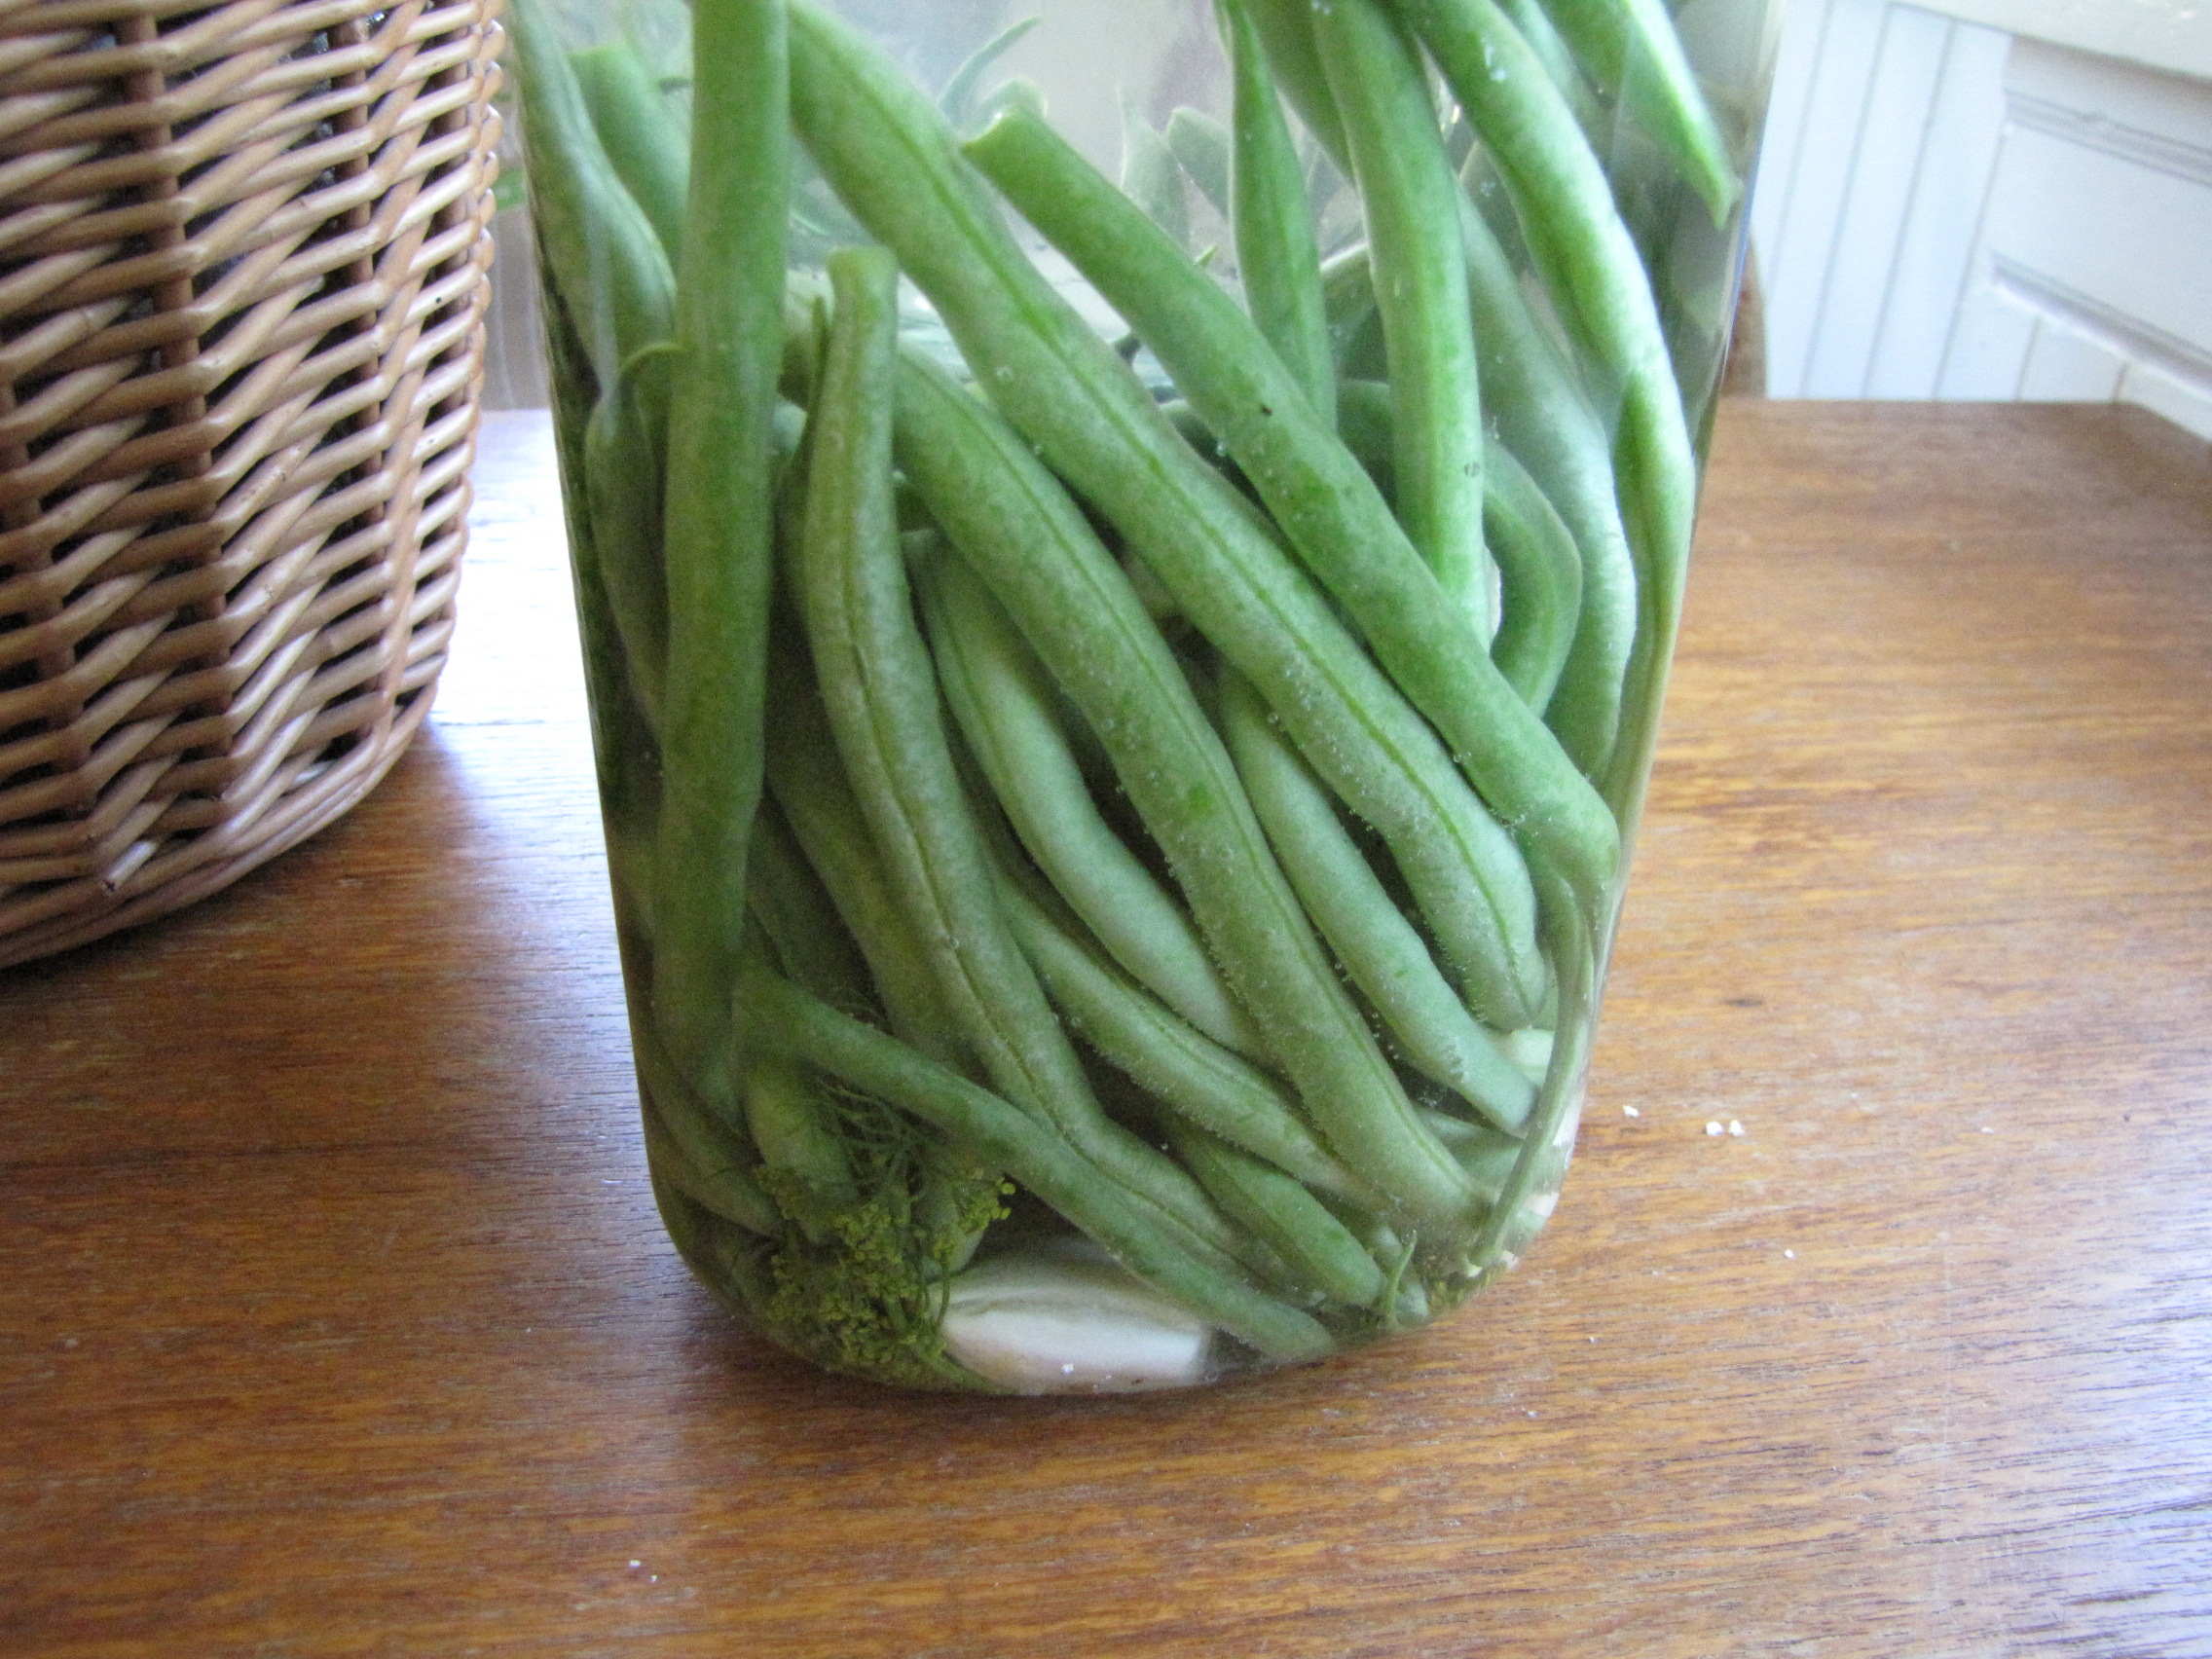
Today, a batch of Dilly Beans finished after five days on the counter, and I couldn’t wait to crack into the jar.  I must say, they are superb.  They are exponentially better than the less-than-crisp hot-water bath canned bean pickles I’ve made in the past.  A completely different and superior food, and I can’t stop eating them!  These beans are crispy, crunchy, salty, tangy, with just the right balance of dill and garlic.  Did I mention how crunchy they are?

Here’s my recipe, but first a few notes that will help your fermentation be successful:

On the brine – in order to create the proper environment for the good bacteria and inhibit mold growth, the brine MUST be salty enough.  The traditional ratio is 3 Tbsp of salt for 1 Qt. of water.  Also remember that all of your pickles must be fully submerged in the brine – any pieces sticking up out of the brine may mold or grow funky bacteria and spoil your batch.

For a less salty, and quicker fermenting brine:  omit 1 Tbsp salt and substitute in 1/4 cup whey from making yogurt, creme fraiche, or cheese.  (You can strain a cup or so of store-bought yogurt with active cultures (REAL yogurt, not one with added guar gum and thickeners and such) to get your whey if needed.  I like Nancy’s Organic Wholemilk Plain.  It’s what I use as a starter for homemade yogurt, too.)

On the fermenting vessels – My friends at The Liberated Kitchen suggested picking up large fido jars at Ross or Marshalls.  What a great idea!  For $3 or $4 each you can snag half-gallon and gallon-sized jars which work great for fermenting.  I pack my veggies in, add the brine, and then insert a small juice glass to push the veggies under the brine before sealing it up.  (Note: I used to believe that you had to burp the jars to reduce pressure and avoid spill-over or breakage, but have since learned that Fido jars actually allow gases to escape through the gasket, without oxygen re-entering or the need to burp the jars.)

Best Dilly Beans EVER

1 1/2-2 lbs of fresh, organic green beans

4 cloves of garlic, smashed with the side of a knife

2 heads of dill buds/flowers OR a good handful of dill fronds (which aren’t as potent)

1 heaping tsp black peppercorns

Enough brine to cover the beans +1 inch (My beans were quite long, and I needed about 1 3/4 Qts.)

Directions:

1)Place garlic, dill, and peppercorns in the bottom of the jar.

2)Stack beans (standing up on their ends) into the jar.

3)Fill jar with brine, being sure to fully cover beans, but leaving headspace.

4) Leave on the kitchen counter (60-80F is ideal) for 5-10 days, until desired tangyness is achieved, then move to the fridge (Be sure to  check the contents daily, and don’t overfill or  you may break your jar, especially if it is warm in the house and it ferments rapidly).  Will keep for several months in the fridge.

For more info on lacto-fermentation and other fermented foods, plus tips on trouble-shooting and inspiration from other fermenters, visit the Wild Fermentation FB Group.