BCS Teaching Garden

Low Key

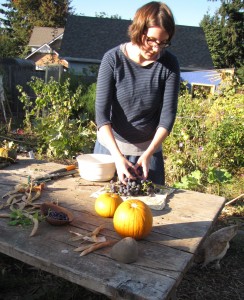
Garden work for me is meditative, and therapeutic…much like knitting, actually.  Today even more so, as we spent the afternoon enjoying the early October sunshine and

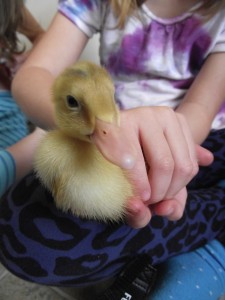
snuggling with our Welsh Harlequin, Bumblebee…

dead-heading dahlias…

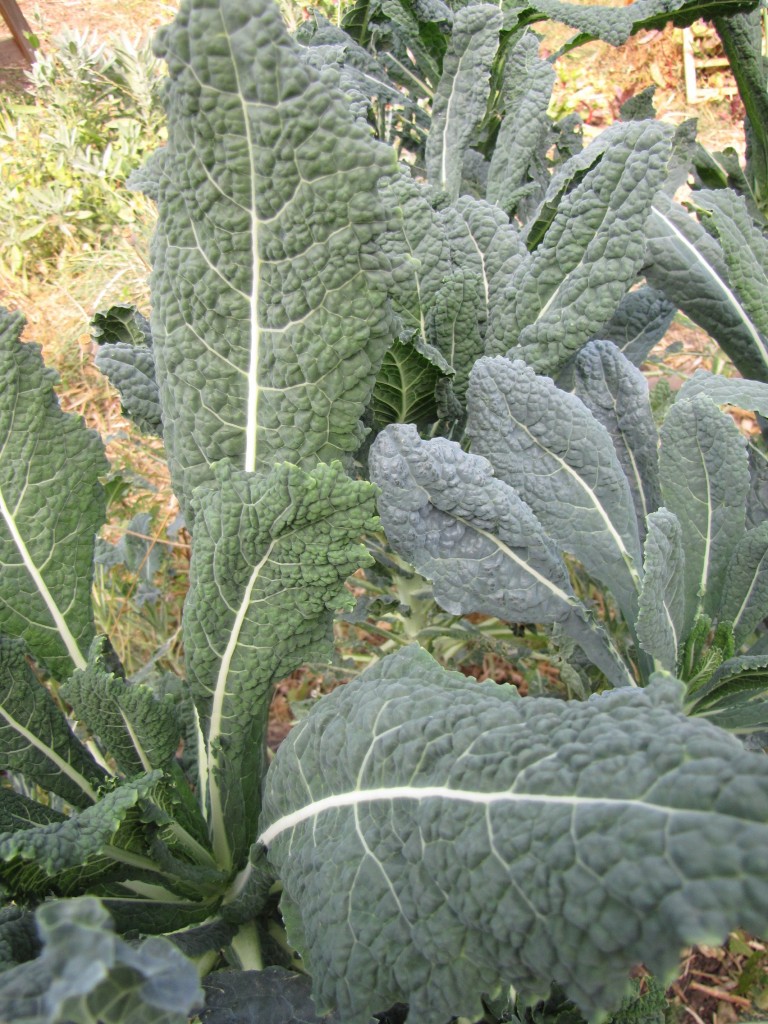
picking lemony Tuscan kale for dinner…

planting crocus bulbs where the gravel edge of the driveway meets the garden…

inspecting tender five-toed feet…

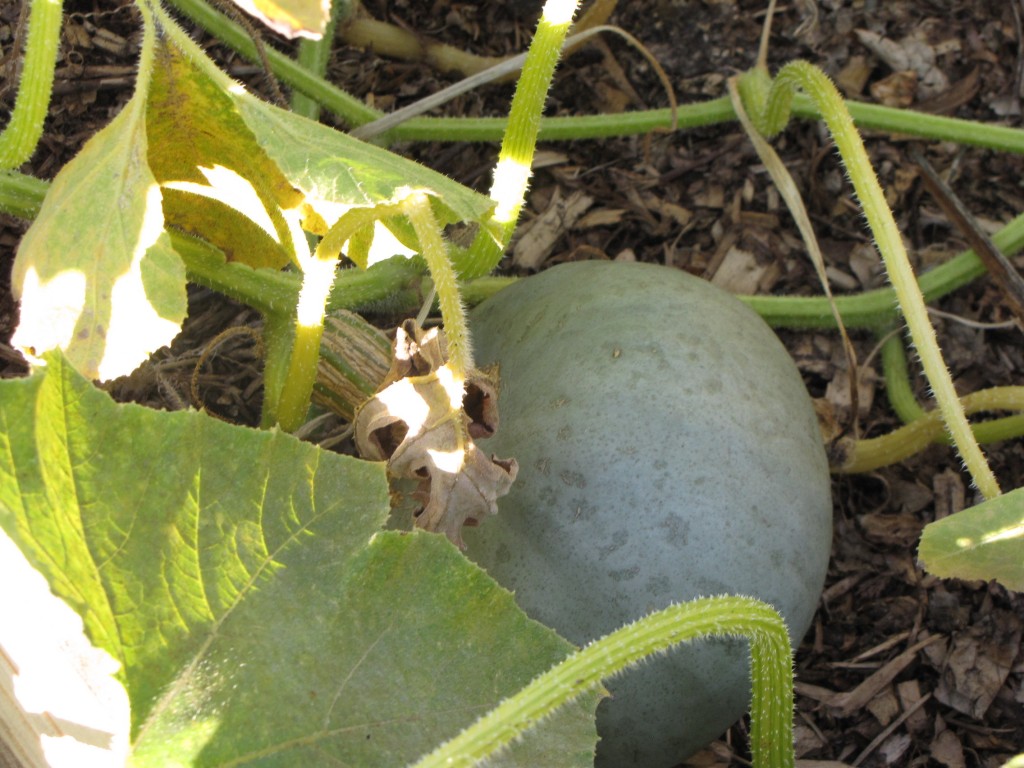
as well the progress of pumpkins

Can’t think of a more soothing way to spend the end of the day.

Cover Crops

This past weekend, we finally got around to planting cover crops in the front yard garden (and this coming weekend, after fencing off sections from marauding poultry, we’ll sow the backyard).

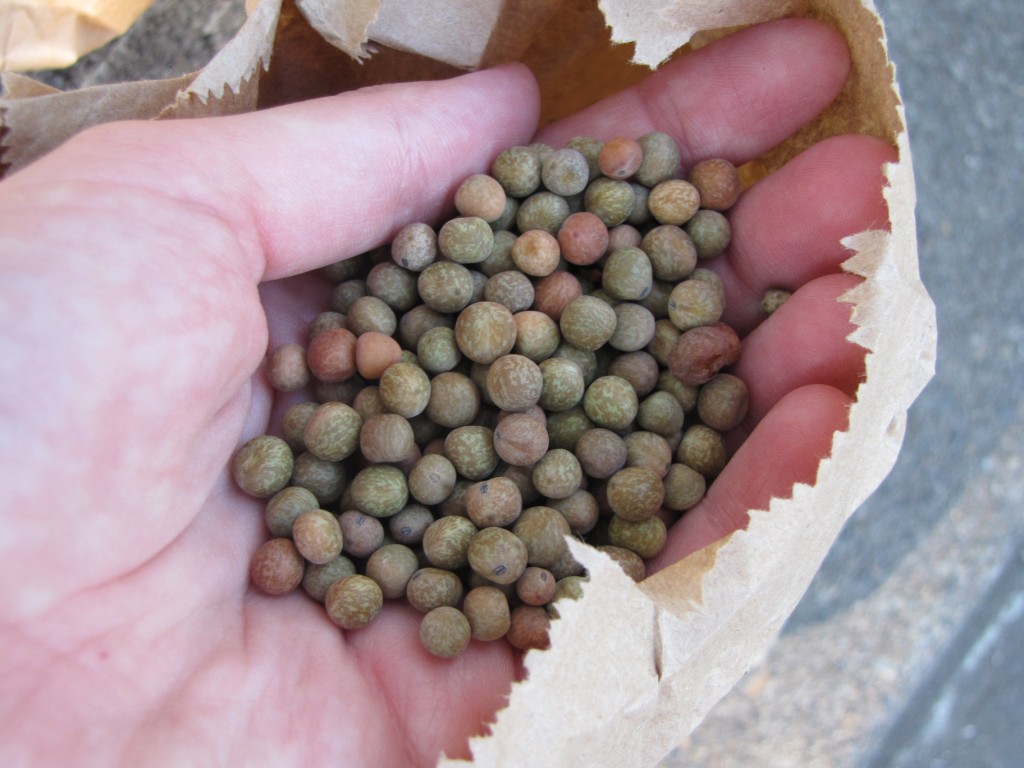
These are Austrian peas.  I’m trying them for the first time, along with several other cover crops we’ve used before.

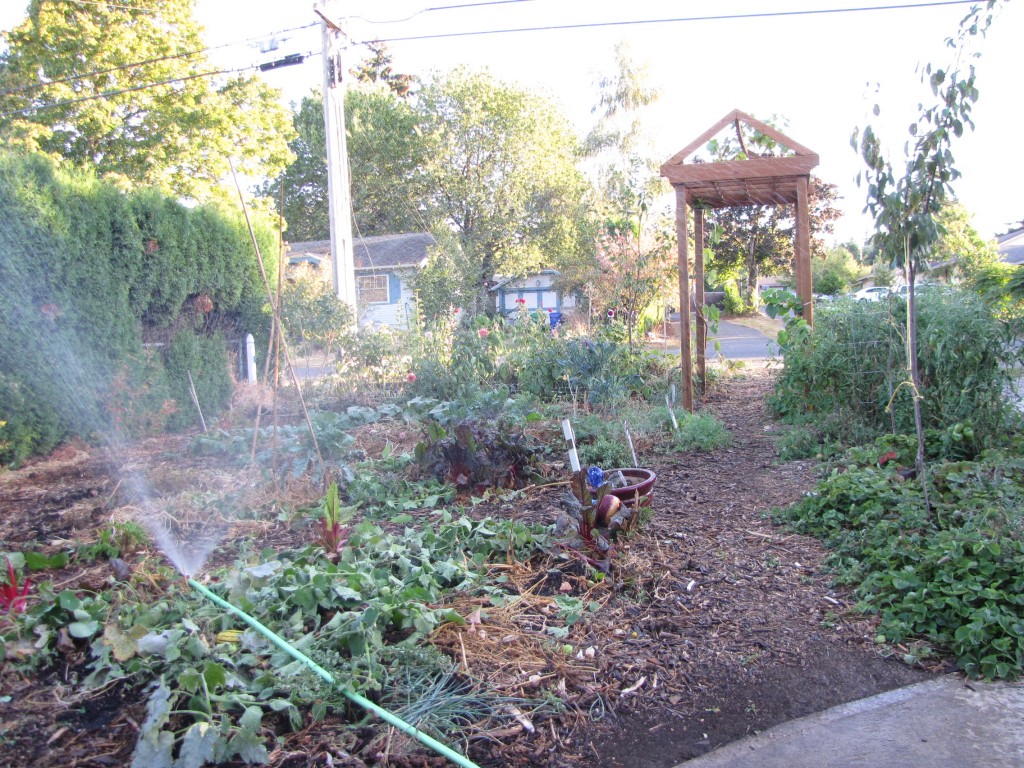
It’s a bit of a mess, isn’t it?  Well, before sowing cover crops, we pulled up all existing annual food plants (the exception is a few Vulcan Chard plants that are producing well, and the tomatoes in the far right.  They will be removed this weekend when we plant garlic there).

Following permaculture principles, we strive to utilize everything in our system, so we “chop and drop” spent plants and throw them back on the beds to return their nutrients to the soil and build up the humus.  It hasn’t rained here in ages, so we watered afterward.

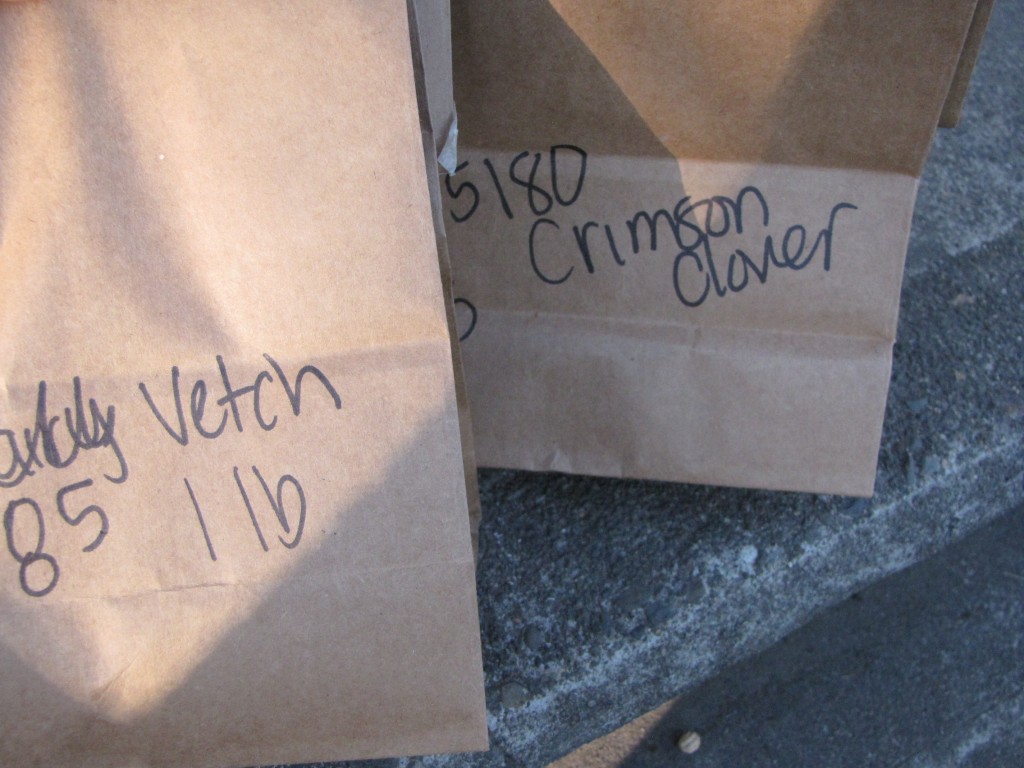
Then it was time to plant a mix of cereal rye, crimson clover, hairy vetch, red clover and field peas, and water them in well.  We purchased them in bulk at the feed store, and spent less than $3 for enough to cover all the front beds (except the future garlic bed).

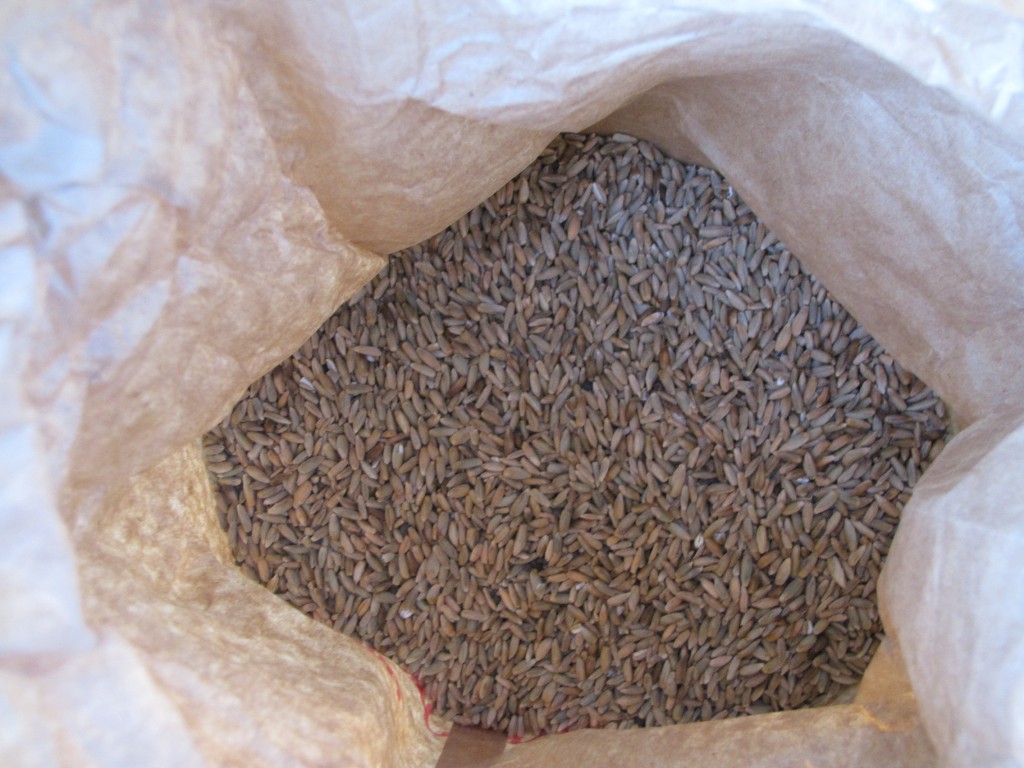
Ordinarily, cover crops (like the rye above) are allowed to grow all fall and winter, and then are tilled into the soil in spring (before they set seed and essentially become weeds).  Well, the soil is a living, complex ecosystem, which we try not to disturb, so we do not till.   We build up the soil, always adding to the top, but not disturbing the mycelium and other organisms in the lower layers.  How do we finish off the cover crop and prepare for planting in the spring?

The answer: We let the poultry do it for us.  While the crops are germinating, we use temporary fencing to secure them from the ducks and chickens, but once they are mature, we remove sections of the fencing, and allow the poultry to feast.

In this way, we

1) reduce our personal energy output (we do not have to spend the time tilling in the vetch, rye and such)

2) reduce our winter poultry feed bill

3) minimize disturbance of the soil ecology

4)massively reduce the slug population as the ducks forage through the cover crops for their favorite treat.

5) enhance the aeration and fertility of the soil as the roots and inedible parts of the cover crops breakdown, and the birds contribute their rich manure.

In small areas of the garden we do not plant cover crops (mostly in the large backyard, not the little front yard shown here), but instead grow some winter produce for our family (chard, kale, cauliflower, etc) as well as many rows of garlic and shallots.  Those areas will receive an addition of well-composted chicken/ duck manure + straw from the coops before the spring planting.

More on garlic cultivation and our slow permie progression from annual to perennial crop cultivation in next week’s posts.

What are your fall and winter plans for your garden?

Late September Evening

We’re trying to make the most of the absolutely stunning late September weather, spending as much time as possible in the waning garden.

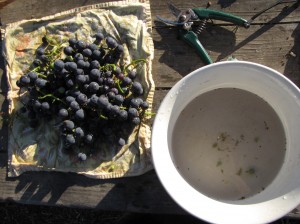
Picking and washing Concord grapes before dinner.  As we wash them, their aroma reminds me of my grandfather and his beautiful grape arbor.

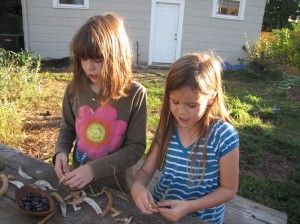
The girls grew their own patch of runner beans (on a teepee), with the goal of making a pot of bean and ham soup with them.  We’ve let them dry on the vine, and now they’re ready to pick and store in jars until the time is right to make that pot of soup.

The grapes paired perfectly with our salmon and rice dinner.  Their intense flavor is a strong reminder of how blessed we are to be able to grow and enjoy truly special food that so nourishes our bodies and spirits.

Mid-Sept Garden

Exceptionally dry weather, an effort to cut back on the water bill, strange heat surges and dipping night temperatures, all are bringing the garden year to a close.  Many crops are still producing, despite the scruffy appearance of the yard.

A few shots from the garden yesterday evening:

Picking more of these beauties.

Picking elderberries while the kids play with the neighbor boys.


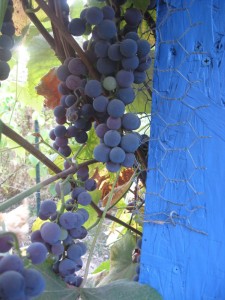
Waiting for the Concord Grapes.  So many stunning grapes on the cusp of perfection.

Quetzalcoatlus, our loquacious chocolate Indian Runner, hopes you enjoyed a peek into what’s going on in our mid-September garden.

Later this week – a new recipe, crafting with the kiddos, and some more from the garden.

Elderberry Syrup Recipe

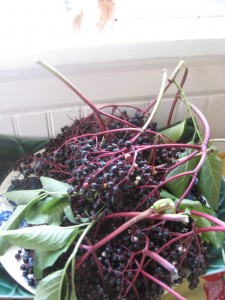
Yesterday evening, while pulling weeds, I discovered several hands of elderberries that had been overlooked by volunteers.  They were far back in the shade, and just now ripening, weeks after the rest had been picked.

The mini-harvest yielded just enough to make a batch of elderberry syrup, which is delicious on ice cream, stirred into tea, etc.  It is also a traditional medicinal plant, and the syrup is taken to prevent and help fight off cold and flu-like viruses.

The fruits of the Elderberry (Sambucus nigra) are extremely rich in vitamin C, and are also high in vitamins A and B, niacin, protein, potassium, phosphorus, bioflavinoids (particularly Quercetin), anthocyanins (which gives them their purple-black color) and calories.  Elderberries are quite a nutritious and immune-boosting food, and can be made into wine,  jelly, tinctures, juice, dried and more.   Elderberry syrup is by far the most versatile, and can be made in small batches.

I want to walk you through my recipe, but first –

A few notes about elderberries and toxicity:

1.  Elderberries are safe and have been eaten in North America, Europe and Asia for many centuries, but they need to be prepared safely.  Do not eat berries raw. 

2.  It is really important to remove all stems before cooking the berries, as the stems are toxic and should not be steeped, simmered, cooked with the berries for any reason.  That goes double for the leaves. 

3.  All parts of the elderberry, including unripe berries, contain cyanide.  Ripe berries contain only trace amounts, which cooking dissipates.  Eating more than just a few raw berries can result in nausea and sometimes vomiting.  Eating quantities or drinking a few glasses of fresh elderberry juice (uncooked) can cause nausea, vomiting, diarrhea, weakness, stomach cramps, and even hallucinations.  Juice or berries cooked or crushed with ANY part of the hollow stems or leaves will increase these symptoms and can result in hospitalization.

So, now that you know how to safely prepare elderberries (berries ONLY, and cooked), let’s get to the syrup-making.

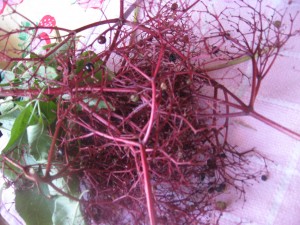
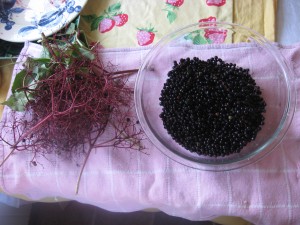
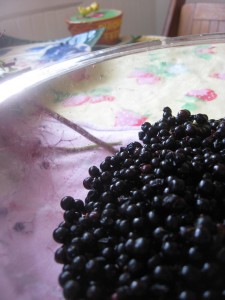
This morning George and I rose early while Casey was getting ready for work.  While G played on the floor with a ViewMaster, I went through the laborious process of picking the berries from their stems.   It took about 45 minutes to produce about 5 1/2 cups of berries.  Once you’ve completed this, step, you’re ready to start cooking.

Rinse berries in cold water, and let them sit for 10 minutes, stirring a few times.  Debris, bits of stem, unripe berries, spiders, etc rise to the top.  (Believe me, this is an important step.  No one wants a random earwig in their syrup.) Strain off debris and drain off water.

Then add equal parts water and berries (for me, 5 cups water + 5 cups berries) to a jam kettle or large sauce pan.  Bringing to a boil, then reducing to a simmer, cook for 20 min, occasionally mashing with a potato masher or large spoon).

Remove berries from heat and press through a fine mesh strainer (or, place in a jelly bag and then squeeze).  Discard mash and seeds (which are quite bitter).

Return juice to the stove.  Add sugar (you can choose a 1:1 ratio of juice:sugar, or for a slightly thinner and less sweet syrup, I like 3:2 juice to sugar, so 6 cups of juice to 4 cups of sugar.  You may also use honey instead of sugar, keeping in mind that you will need 1/2 the amount of honey as sugar, and it should not be overcooked.)

Simmer juice and Sugar/honey for 20-30 min or until thickening a bit (a wide-mouthed pot will help evaporate off the excess water more quickly than a tall, narrow pot).

Add juice of one lemon (for brightness, to cut the sweetness of all that sugar) and remove from heat.

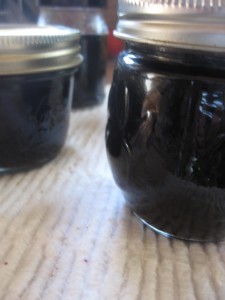
Pour into bottles and either can (1/2 pints for 10 min in a hot water bath) or store in the fridge for 6 months.

Enjoy!


For more on Elderberries:

Pruning

Sourcing culinary varieties

Making elderflower cordial

Collecting wild elderberries

Don’t allow children to use the plant’s hollow stems for straws or peashooters (that’s not a joke).

Elderberry liqueur


Essentials

For a long time now, our oldest has been interested in the art of massage.  She has made a study of the subject, reading everything she can find on types of massage, anatomy and physiology, physical therapy, and stress relief.

Ruth is an intense, and typically high-stress individual (she has been since infancy), and I think she naturally gravitated toward the topic because she herself needs a lot of help with the tension and anxiety of every day living.  This has also made her a very empathetic person in this regard, and frequently asks family members who seem stressed, tired, etc if they would like a massage from her.

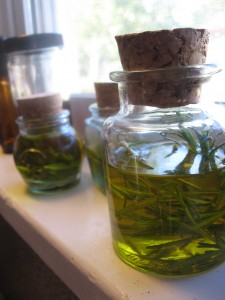
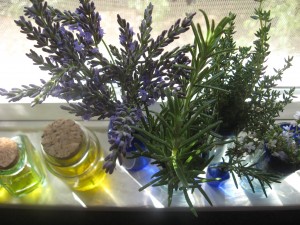
I had been collecting little jars at the thrift store for some time, and knew Ruth would make good use of them.  She filled the jars with various carrier oils (olive, sweet almond, grapeseed, etc) and a few drops of one essential oil (tangerine, rose, or patchouli (my favorite) or herbs collected in the garden.  I picked her a wide assortment from lavender to hyssop, rosemary to hops, spread them out on the kitchen windowsill, and let her nose guide her.

After a few days steeping in the sunshine, they make great massage oils.  Ruth’s favorite is olive oil with rosemary and a drop of tangerine oil.

If you have a collection of herbs in the garden, harvest them now, before the temperatures drop, and make a simple oil infusion to soften and repair dry, overworked hands and feet this winter.  Simply add a tablespoon of any one herb (simple is better) per 1/4 cup of light or unscented carrier oil, cork and leave in a warm place for several days.  Strain out the herbs, label, and store in a dark place for up to six months.

Brandywine

Ruth picked me a little something on her way back in from the garden.  She picked a big something, too.  🙂

Food Production in the Shady Garden, Part I

One of the most frequent questions I receive from folks wanting to increase food production on their property is,“What food crops can be grown in the shade?”  While there are some annuals that tolerate partial shade (Swiss Chard being one of the better ones, in my experience), trying to force annuals to grow against their nature is only going to frustrate you and the plant both.

My answer to the above question is grow perennial food crops in shady locations.  Many perennials thrive in the shade and still produce a tasty harvest for you, year after year, with little or no maintenance.  In this part, I’ll talk about the fruit-bearing perennials that we have growing on the shady East side of our house, which has become a (mostly) Native Edibles Garden.  Later this week I will address herbs and perennial vegetables:

Lingonberry (Vaccinium vitis-idaea), the lovely, low-growing evergreen shrub shown above, produces sour red berries that are delicious in coridal, jam, wine, and sauces.  It is packed with vitamin C.  They produce 1/3-2/3 lb of berries per plant, so put in several.  It doesn’t like wet feet, so mix in plenty of organic matter and little sand if your soil is largely clay.  Oregon State University has a cultivation guide here.  Lingonberries used to be difficult to find here, but Portland Nursery has started stocking them this year.
Native Huckleberry (Vaccinium ovatum) or Red Huckleberry (Vaccinium parvifolium)  – These slow-growing evergreen shrubs actually prefer shady spots, and will grow larger (6 ft) than if planted in sunshine (3 ft).  Notoriously difficult to grow and slow to mature, they are a plant for those with patience.  Hucklberries have shallow roots and do not tolerate weed competition or scratching by chickens around their base.  We purchased ours from One Green World Nursery.
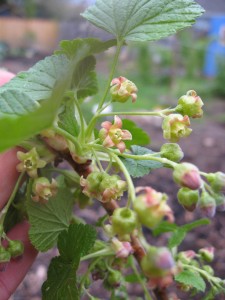
Black Currants (Ribes nigrum) – This is one of Ruth’s favorite berries.  She loves black currant jam on toast. The flowers, shown here, will produce large crops of black fruit rich in vit C, iron, B5, and potassium.  It does require a little bit of pruning, but starts easily from cuttings or volunteers, so you’ll be able to share them with your friends.  Plant two for more fruit. 

Red, Pink and White Currants(Ribes spp.)  – Although these plants are said to do best in sun, I have had good success growing these in less than 4 hours of sunlight.  Our white currant is in full shade and produces a huge quantity of large white sweet fruit great for eating fresh.  The key, I think, is to give them a good start by turning-in good compost before planting, and feeding each year with coffee grounds.  All of these currants are self-fertile, producing up to 20 lbs of fruit per plant, depending on how you prune it.
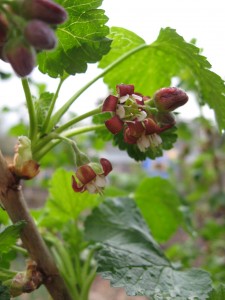
Jostaberry (Ribes nigrum x Ribes uva-crispa x Ribes divaricatum) – This thornless hybrid of the black currant (“JOhannesbeere“) and two gooseberries (“STAchelbeere“) (hence the name “Josta”)   produces purple gooseberry-sized fruit with a hint of musky black-currant flavor.  It is disease resistant and self-fertile, but obviously must be propagated by cuttings and does not come true from seed.  It can easily be trained into a fan shape and put against a fence, but it does grow 5-6 ft tall and as wide.

Elderberry (Sambucus nigra) – We have a native elderberry, and also an Asian elderberry for better fruit-setting, although they are semi-self-fertile.  These tall (8-12 ft) shrubs thrive in just about any conditions and can be pruned to a central leader and trained into a tree shape if desired.  Elderberries are extremely high in antioxidants and immune-boosting compounds, and many people make a syrup out of the fruit for cough remedies, etc.  The flowers are a crop in their own right and make a delicious cordial.  The berries are quite popular with birds, and you may need to net your elderberries to get a good crop.  The fruits can be juiced or made into jams and sauces.  (A word of caution: there are reported cases of severe gastro-intestinal distress and other symptoms (particularly in children) from eating sizeable quantities of raw elderberries).

Coast Strawberry (Fragaria chiloensis) –This little plant can be seen thriving all over Oregon from sand dunes to understory. It will make an excellent spreading native ground cover and provide you with tiny, intensely-flavored strawberries.  We put some in, but haven’t enjoyed the fruit, since the ducks like them very much, and they are right at ground level.  As with all strawberries, take care not to plant too deeply for the crown, which should be slightly hilled up above the roots and left uncovered.
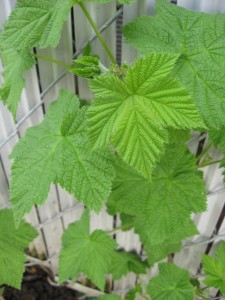

Thimbleberry (Rubus parviflorous) – This NW native perennial thrives in the shady understory.  Unlike many of its cane-fruit cousins, the thimbleberry is thornless and spreads by rhizomes. My kids like the fruit raw, but I prefer it cooked into jams (it makes a lovely jam mixed with red currants). If you have a shady spot and are looking to grow fruit, this may be a good option for you, but it does spread and needs to be kept in check.   If we get enough fruit some year, I’d like to try making a melomel with it.

Oregon Grape (Mahonia aquifolium) – I confess, when we first moved here from Missouri, I thought that some species of holly had taken over half the state of Oregon.  I soon found out that is actually the edible Oregon Grape.  While not the prettiest plant, in my opinion, this relative of the barberry (not a grape) makes a good hedgerow if plants are put close together, and has attractive little yellow flowers.  The berries are a traditional native food here, although I find them less than palatable either raw or cooked alone.  However, combined with other fruits (see Salal below) they are quite good, and their juice will make a very good wine.  They are also used medicinally as they contain high amounts of the anti-bacterial, berberine.  Crushed berries applied topically are supposed to be an effective therapy for psoriasis and eczema.

Salal (Gaultheria shallon) – Sometimes also called “shallon”, I have an affection for this plant, because it reminds me of the years we lived on the Central Oregon coast, where it flourishes.  This handsome evergreen shrub supplied the Oregon tribes black berries that were dried into cakes or cooked with fish or fish roe.  I find it does go nicely stuffed in a salmon, along with ramps or shallots and wrapped in bacon and steamed or cooked over a campfire.  When making jelly, it goes well with Oregon Grape, and mellows the harshness of that berry.

I’d like to add as budget allows:

Wintergreen (Gaultheria procumbens) – I’m looking forward to adding this low-growing evergreen under one of the elderberries as soon as there are pennies in the budget for it.  The red berries are the original source of wintergreen flavoring, and while I wouldn’t want to snack on a whole bucket of them, they are a nice breath freshener.  More importantly, they make a good ground cover.

If you’d like to swap/barter for some of the plants listed above, we have a few of each available right now.   Or, if you are interested in take cuttings to try propagating your own, we are happy to share.

Thank you for stopping by and I hope you come back later this week when I discuss some of the shade-loving perennial veggie and herb crops we are growing here.
 

Accidental harvest

Since I just did a post on walking onions, l thought it might be good to talk about another fine spring allium that is often overlooked by home gardeners.

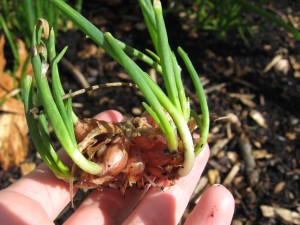
Last summer, when George was just a few days old, friends came to help with the garlic harvest.   We harvested 40 lbs of organically grown heirloom garlic, but, inevitably, some heads were missed.  Here you can see three distinct heads of garlic that were forgotten in the ground.  We have about 2 dozen of these clumps around the farm.

When they germinated in late fall/early spring, we left them be.  With so many bulbs planted close together, they will be too crowded to each create a new head of garlic.  That doesn’t mean they don’t produce a tasty crop of their own, however accidental.

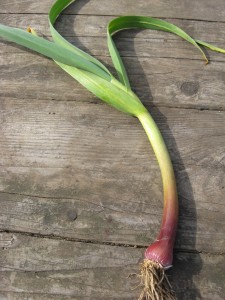
The veggie these neglected garlic heads produce is an altogether unique food called “Green Garlic”.  They are much -prized by chefs, and can be quite expensive in the store/at the farmers market, if you can even find them.

Raw, they can be used in a similar fashion to scallions, but with a bit more of a garlicky kick.  I particularly like them in on top of mashed potatoes.

Cooked, green garlic mellows to a delicate flavor reminiscent of mature, aged garlic, but without the heat.   You can prepare them as you would young leeks, splitting them in half lengthwise, and either roasting them with olive oil, or poaching them in salt water or stock.  They can then be pureed and added to any soup, savory souffle.  Or, green garlic is equally delicious chopped and sauteed with pinenuts and pea-shoots.

If you’re looking for other green garlic recipes, there are some tasty ones here.
 

The onions are a-walkin’

IMG_5516

I frequently get questions from folks here in the Northwest who struggle to grow onions.  Their sets either rot in the ground, or never produce substantially-sized bulbs before the season ends.  The truth is that to get large onions (Walla Walla Sweets and others) to produce really well in a shorter, cool season is tricky.  I have given up on growing them altogether (because I’m a lazy gardener).  Don’t be discouraged, there are other more reliable (and I think, superior) options.

We grow leeks, shallots, garlic, and little cippolini onions with no problem here in Portland.  Garlic and shallots are planted in October for a mid-summer harvest.  Leeks are started from seed in August and grow overwinter for a Feb or March harvest.    Cippolinis are started from seed indoors in late winter and harvested in mid-late summer.

But there is one onion that takes zero work and left to itself in a sunny location will produce a continual harvest of green onions and zippy onion bulbs.  That plant is the perennial Egyptian walking onion.  Also known as tree onions, these clumping plants produce hollow, scallion like greens and a shallot-sized bulb. It is one of the first plants to come back in spring, and is rich in vitamin A.

IMG_5517

Late in summer, they grow bulb-lets on the top of stalks, which will eventually sprout, fall over and root in the soil.  You can either let them flop over on their own (i.e. “walk”) or you can eat them (I think they’re tasty raw), or you can cut them off and plant them where you will.

In the top photo you can see the parent “clump” on the right, and where I have let the bulb-lets fall last autumn, there is a new little clump on the left (directly in front of the chard).

If you’d like to try some walking onions, I’d be happy to give you a clump, or you can purchase them at various nurseries and suppliers.  Simply plant your bulb-lets in a sunny, well-drained spot and be careful not to set them too deeply.

Happy gardening!

Freddie the Drake

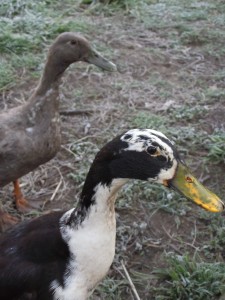
DSCF4582This is Fred Weasley (aka Freddie), our Indian Runner drake.  He replaced our beloved Georgie Porgie Weasley, who was killed by a raccoon a few months ago.  We all took a while to warm up to him because we were missing Georgie Porgie so much, but he’s definitely growing on us.

DSCF4583

He’s constantly on guard, warning the flock of hawks flying overhead (or airplanes, as the case may be), squirrels and cats in the yard, etc.  He’s also good putting the chickens in their place (afterall, in his eyes, his lady-friend ducks, Audrey III (in the background) and Ping, have first rights to the food tray, treats, worms, sunny napping spots.)

DSCF4593

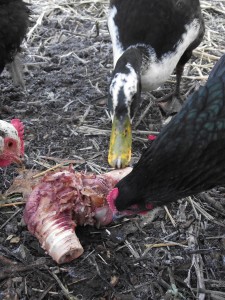
(We had a hambone in last night’s bean stew, and this morning the birds got to pick it for a treat.  Freddie had his share and then let the other birds go to town.  The extra protein and fat is important to them right now since the weather has been quite cold.)

DSCF4303

Here you can see Freddie’s angel-wing (a deformity caused by improper nutrition in his early weeks.  We did not acquire him until he was 8 weeks old, and the damage was already done to the wing.)

We are really enjoying our sociable, quirky drake as he nibbles our shoes begging for snacks, and attempts to herd us with the rest of the flock.  He’s even taken to following us into the mudroom if he can get away with it.   We’re looking forward to many more years of his company.

Frosty morning

DSCF4554

The ducks were quacking extra early this morning.  I couldn’t figure out why they were so darn quacky at 7am, when they usually aren’t up until 8:30ish.  In retrospect, I think they were chilly and complaining for a hot breakfast.  🙂

DSCF4551

When I went down at 7:45 to let the poultry out, I had to break the ice on their watering pans.  The hard frost on the garden was just simply stunning.  The kids were all in bed (except George, my early-bird, who was happily playing with a spatula), so I stayed outside for a few minutes and enjoyed watching the birds scatter around the yard, crunching the frozen mulch as they flapped about, their breath trailing out in front of them.

DSCF4546

Now, bread is rising on the counter, the baby is happily rolling about on his blanket, and there’s  a Sweet Meat squash roasting  to mix with some scratch so the poultry can get that hot breakfast they’ve been wanting.

DSCF4550

Once the girls get up, we’ll work on some Christmas gift crafting while we listen to our new book on CD, followed by some baking and our Advent reading for the day.

Looking forward to a peaceful wintery day at home.

Ducklings!!!!

DSCF3332

We’ve all been dreaming of them for such a long time, and now they’re finally here!!  3 fuzzy little day-old Indian Runner ducklings came home with us this past Wednesday.

DSCF3335

The duckings are just about the cutest things we’ve ever seen!!  They’re comical, inquisitive, interested in people, and love to snuggle their little heads in the crook of your arm.

DSCF3333

The little drake and two ducks will make a great slug-seek-and-destroy team, as well as provide us with up to 400 eggs/year (for the pair of females), and endless entertainment.  Besides being good egg-layers with sweet dispositions, we choose Indian Runners over other breeds because they cannot fly (or cross any fence much over 2 ft tall), and do not need a pond.

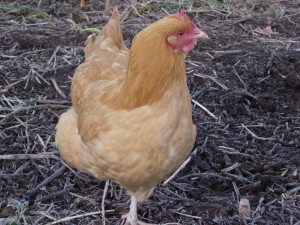
While Indian Runners don’t go broody easily, and often don’t make good mothers, we got a drake in the hopes that one of our chickens will go broody and raise a few clutches for us down the road if we want to increase the flock (Chickens, especially Buff Orpingtons like Cookie, will sit until the clutch hatches (a few days longer than chicken eggs), and then care for the ducklings with devotion.)

DSCF3327

The ducklings were a mix of fawn/penciled and we won’t know exactly how they’ll look for another number of weeks, but they sure are adorable right now!

Introductions

DSCF3233

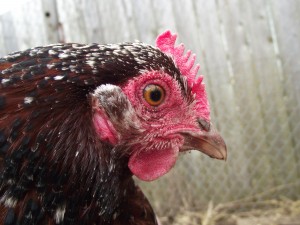
Meet Bolt, a lovely year-old Speckled Sussex with a seriously bossy attitude.  She’s the queen of the coop around here, getting the best choice of treats and the highest roost, not to mention staking her claim to the “best” nesting box.   She is also outgoing, curious, and very fast (hence her name) – always attempting to escape the run, and quick to keep the other hens in line.

DSCF3277

Spring is here, the weather this weekend has been sunny and mild, and I’m sick of having stinky chicks in my breakfast nook.  The chicks are 7 1/2 weeks old – old enough to spend time outdoors during the day (with a lamp just in case, and coming back in to the house at night when temps dip into the 30s).   Integrating new birds into a flock can be tricky, however, and needs to be done carefully, and today seemed like the perfect day to start the process.

Bolt is the primary reason that, for the time being, these 7 little pullets have been placed in a separate, fenced off run inside the larger run.    We know her personality too well to assume she wouldn’t peck these little girls and injure them.  So, with a partition safely in place away from the other hens, a freshly mucked out run, and a shelter rigged-up,  it was time to place the chicks outside for the day.

DSCF3280

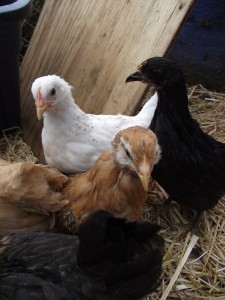
Cookie, our Buff Orpington chick, was the first to exploring her new enclosure, and the other chicks soon followed.

DSCF3281

While the chicks seemed intrigued by the hens on the other side of the fence, I can’t say the same for the hens.  The more submissive hens stood in the far corner, clucking nervously.  They seemed to be waiting for a signal from Bolt as to what to make of these 7 little intruders.  Several times over the course of about 15 minutes,  Bolt strutted right up to the partition, raised herself up and beat her wings furiously at the chicks, and then strode away.  She scratched and bok-bok-ba-GAWKED at the chicks in between displays of wing-beating.  I have never seen a hen behave this was – it was almost rooster-like  – clearly attempting to send a message to the youngsters that this is HER flock and she is not to be messed with.

Needless to say, the partition will stay in place for at least a week while everyone gets used to the idea of an expanding flock, and the chicks gets grow ever-larger.  Then, we’ll remove the swath of fencing and I’ll hang out in the run to see how everyone adjusts to each other and a new pecking order is established.

DSCF3284

Even in their small section of the yard, the chicks are reveling in their new-found freedom.  I’m hoping the transition goes well, and everyone integrates smoothly,  but for now it’s exciting to see them growing into the hens they will soon become (and looking forward to those eggs to come!).

Signs of Spring

DSCF3231

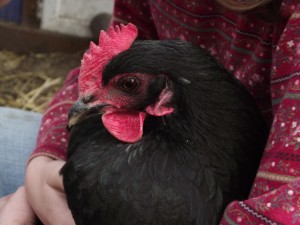
When my girls were in preschool, one of their favorite outdoor activities was patrolling the school grounds with the class, hunting for “signs of spring”.  Today, after yard chores were done (including snuggling with her favorite hen, Plucky (above)), my oldest and I hunted for signs of spring in the garden.  It was quite encouraging to see life return to a yard that is still mostly dormant and empty!

Can you name the plants we found waking up?

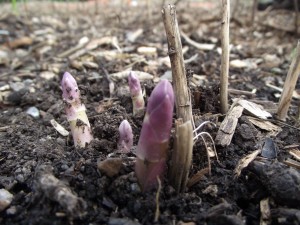
Let’s start with an easy one – the first dessert ingredient of spring:

DSCF3237

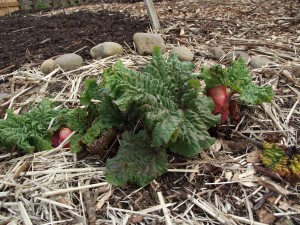
10 canes of these were planted a few weeks ago, to add to the 5 put in last summer – per lb, they’re one of the highest value home crops:

DSCF3240

Twenty-odd of these beauties were planted last year.  Not harvest-able until at least next year, but then they’ll feed folks for 20 more:

DSCF3226

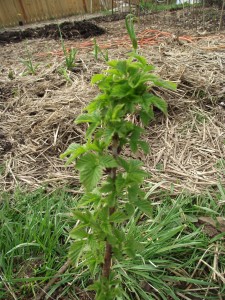
This one is a little more difficult – I grafted her last year, and she’s still a teeny 18 inches tall, but will eventually reach 10 ft and yield delicious late-fall/winter harvests.

DSCF3241

DSCF3242

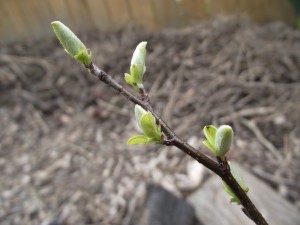
And last but not least, do you know what this is?  After rooting-up cuttings from some red, white and black ones, we now have a dozen of these fruit bushes growing.  At maturity, each can produce 15-30 lbs of vitamin C-rich fruit!

DSCF3243

What edible perennials are waking up in your yard?  If it’s still too chilly, which are you most looking forward to seeing come back to life?

Mason Jar Cozy Giveaway!

Pictures09-10 886

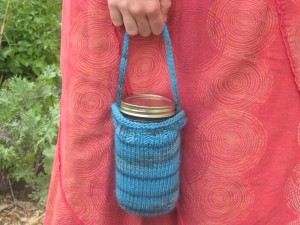
Well, somewhere I’m going to have to find some time to knit this, because I’m going to give one away via the Salt of the Earth Urban Farm Facebook page! When we hit 100 likes, I will randomly select one of those 100 folks to win a mason jar cozy in their choice of colors.  Only 7 spots left, so click on the sidebar link, and like us on FB for a chance to win!  Thanks!

(For those inclined to knit their own, here’s the free pattern!)

9 and 10 days old

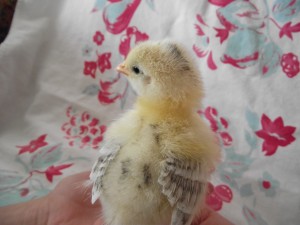
The chicks, 9 and 10 days old (Here’s hoping they all survive and none turn out to be cockerels, because the kids are just smitten and have named them all):

DSCF3029

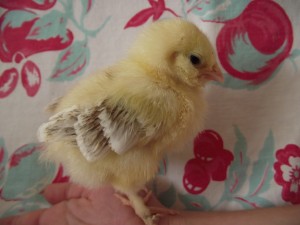
Cookie, the Buff Orpington. (She’s the largest and fluffiest of the chicks, by far.)

DSCF3044

DSCF3046

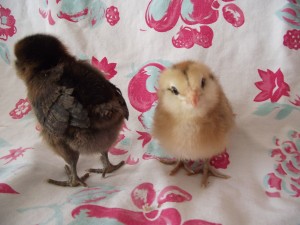
Violet (dark brown), and Nudge II (golden), the Auracanas. (You can see their little tufty beards coming in already!)

DSCF3032

Fiesty, the Salmon Faverolle.  She’s a petite little thing, but has lots of attitude (and 5 toed-feet and feathered legs!)

DSCF3038

DSCF3037

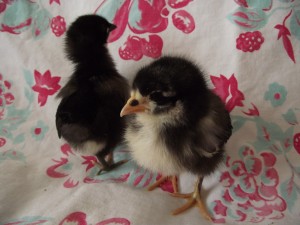
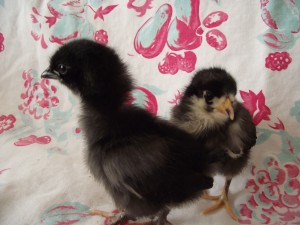
Midnight and Blacky, our tried and true favorite breed – Black Australorp.  Our two and a half year-old is very partial to Blacky, who is the gentlest and most mellow of the chicks.

DSCF3042

And last but not least, Pickles, the Delaware.

We’re all amazed at how quickly they’re growing, adding bulk, wing and tail feathers every day.   We’re going to do our best to photograph them once a week to see how they change and mature.

That’s MY Spot!!

DSCF3050

Let me start off by saying that the entertainment potential of chickens is extremely under-valued in most poultry books.
This is Oregon, in March.  Needless to say, the ground is VERY soggy and it rains every day.   Our hens don’t have a spot of dry ground anywhere in their run to dust-bathe.  Because we have not planted anything besides garlic in the backyard, the hens have all-day access to the back and side yards at the moment, in an effort to reduce the population of  slugs, weeds, etc before we begin planting this weekend.

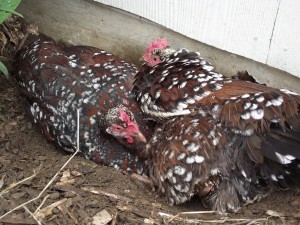
While ranging and scratching this morning, the ladies found a little dry patch of dirt, under the eaves, by the back door of the house.  It was big enough to fit one hen.

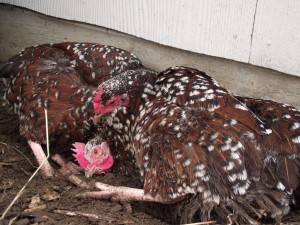
Never one to wait her turn, Bolt (on the right) decided that Kate (on the left) had better clear out, and made a big show of flapping and pecking and clucking at her.  Kate decided passive resistance was the best plan of action, and laid there, quite determined not to be booted out.

DSCF3049

The Australorps and I stood by and watched the hilarity ensue.  I swear Plucky and Sarah were rolling their eyes and shaking their heads at the Speckled Sussex’ ridiculous behavior.  🙂

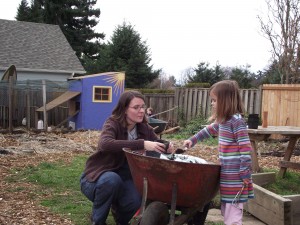
In a related note – The BCS Teaching Garden kickoff workparty is this Saturday 3/5, from 10am-noon  with a FREE LUNCH (Olive Garden has donated catering) to follow from 12-1!

Please bring your shovels, gloves, wheelbarrows, and help us spread compost, plant peas and greens, and plant seeds (tomatoes, sweet peppers, and other yummy things) in pots.  We work rain or shine, so dress for the weather and lend a hand as we get the garden going!

Did I mention the FREE soup and salad lunch catered by Olive Garden afterward??

We still have a few spots open, so contact Tiffany at tiffany.mach@yahoo.com to sign up and get directions!  Thanks!

Seed Starting: Round 1

DSCF1017

Sunday afternoon was spent starting our first big round of seeds for the year.

DSCF1024

DSCF1028

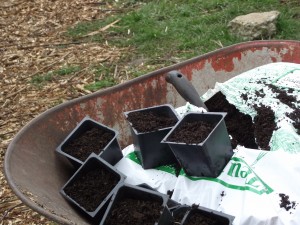
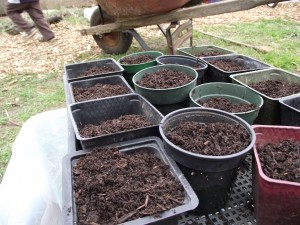
We filled pots leftover from last year with organic compost, and shifted them into the basement to be planted and set under grow lights (When we run out of pots, we’ll be using yogurt cups and such we’ve been saving over the winter.)

DSCF1045

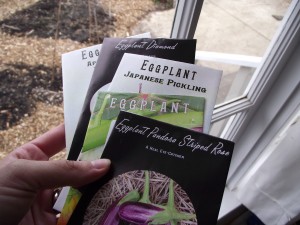
The day’s planting was 60-odd eggplants, including two standbys, Japanese Pickling, and Diamond. At Baker Creek’s recommendation, we’re also trying some varieties I’ve never grown before, but are supposed too do very well in short-season, cool climate areas – Pandora Striped Rose, Green Apple.  The one I’ve got the highest hopes for is Little Fingers, whose quick-maturing fruit is meant to be harvested when, well, as the name describes, when they’re the size of your finger.

Up next week, tomatoes, tomatillos, ground cherries, sweet peppers!

Rebirth

DSCF0078

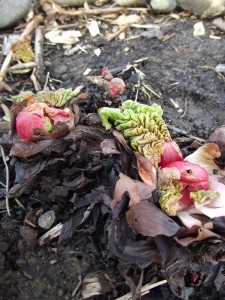
On this brilliantly sunny February Saturday, we ordered chicks and ducklings from the feed store, and discovered garlic, crocus, vibrant-pink rhubarb emerging from the soil, and soaked up the first hints of spring-to-come.

DSCF0073

In a week in which we had a lot of sickness and stress, and grief, I am doubly blessed that we are learning to make our home a haven, a place where we can witness birth, and rebirth, and celebrate life.

DSCF0057

And the world cannot be discovered by a journey of miles, no matter how long, but only by a spiritual journey, a journey of one inch, very arduous and humbling and joyful, by which we arrive at the ground at our own feet, and learn to be at home. – Wendell Berry

Kicking off the Garden Year

DSCF0043

We’re back!  I can’t believe I haven’t blogged in over two months!  Morning sickness is finally (mostly) gone, and life is getting back to normal a little bit.

The garden year is just kicking off – in the past two weeks, our friend Scott added wood-and-wire gates so the chickens and children can safely roam the backyard.   We planted several more dwarf fruit trees, as well as more currants, blueberries, silverberries, huckleberries and thimbleberries from One Green World (and boy, it’s doubly hard work when your pregnant!).   The planting plan for the year is all set, we even managed to seed the eggplants this week. (Although, we’d better get the grow lights set up before they germinate!).

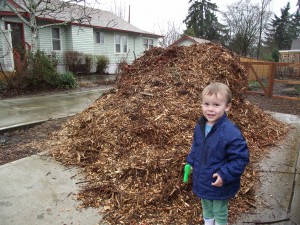
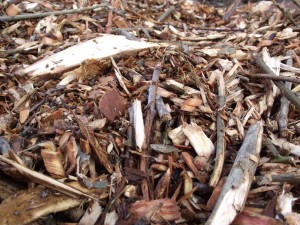
Earlier this week, the free load of wood chips I ordered from the power company finally came (the order had been placed in early October, but better late than never!).  Your electric utility is a great source of FREE wood chips for mulching garden beds and paths.   All of the trees they trim out of the power lines are chipped up and thrown away.  If you call and place an order, they will gladly dump them in your yard instead.

You can see how large the load is compared to my two year-old – it’s a very large truck and it dumps a lot of chips.  It may seem like you could never use that much mulch, but we have gone through 4 loads so far on our 1/4 acre, and from now on, will probably use about 1 load a year to keep paths and beds replenished with mulch.  We could never have afforded to purchase that much mulch, so this is a great economical choice for us.
If you’re interested in mulching your yard to conserve water, suppress weed growth, reduce muddy patches, and add biomass to your garden, now (before the growing season gets going) is the time to place an order!

DSCF0046

A few tips/tidbits of info when ordering chips from the utility company:

1)If you’ve never had a load delivered from the power company, please be aware that this is NOT the neat, uniformly shaped pieces of wood you might get when buying bagged wood chips from the garden center.  It is chipped-up tree trimmings, and it will include large pieces, twigs, possibly leaves, pine needles, and chips of several different species.
2)If your yard is like ours, you can make it work no matter what they bring you.  If, however, you need mulch specifically for plant beds, it’s good to check that a load isn’t 100%  pine before they drop it on your driveway.  Pine is far too acidic to mulch beds, unless they happen to be blueberry or currant beds.  It does, however, work great in pathways.  Our first load was almost all maple – and we used it all on planting beds, and waited for a less-perfect load to mulch the paths.
3)If you want mulch free of leaves, order chips in the winter, when deciduous trees will be bare.  Chips full of leaves are more difficult to shovel and spread, and don’t look as neat.

4)If your load has long sticks as this load did for us, put them off into a pile and use them for pea brush and other plant supports.  Or, place them underneath the cardboard when sheet mulching a new section of yard.  Over time, they will break down and add biomass to the soil.

5) When ordering chips, make sure it isn’t Black Walnut, which contains juglone, a chemical that inhibits plant growth.  You don’t want this on your veggie beds!

Next up: seed starting!

Blessings on your as you start your garden year,

Angela