Over the weekend, I made a new batch of wool and wool/cashmere soakers from thrifted sweaters. Some are for George, and some are for gifts, but all needed to be water-proofed, along with some knitted covers.
There are many methods of lanolizing wool soakers, and this is the one a friend taught me way back when Bea was a baby. It works really well, and doesn’t leave spots on the covers, unlike some short-cut methods I’ve tried.
Why do you need to lanolize a wool cover? On its own, wool diaper covers will be somewhat waterproof since wool naturally wicks moisture, and there is some lanolin left in the fiber, but over time, with lots of washing, you may notice that covers are less waterproof.

If water doesn’t bead on the top of the cover when you first put it into the sink to wash, it’s time to add that waterproofing lanolin back to into the wool (typically every 4 or 5 washes).
You only need two ingredients to do this: A gentle wool wash – NOT Woolite (I prefer Eucalan, in the honey jar on the left) – and Lanolin (you can purchase this in quantity on the internet, or also pick it up at any store that carries breastfeeding supplies. I got this tube at Target).

Your covers need to presoak in order to absorb the lanolin. Add a 1/2 tsp of wool wash to the sink under running warm water.

If you need to need to wash a dirty soaker first, do that before you begin the waterproofing process.  I like to let them soak for 15 minutes, gently swishing now and then. Then, I flip the cover inside out, and gently swish some more. Another 15 minute soak, and then gently rinse out. If any scrubbing is required, it is done carefully so as not to warp the cover or full/shrink an area too much.

Now add any clean covers to the water, an let them become thoroughly saturated with the lukewarm water.  Do not agitate or wring the fabric or you risk shrinking or deforming the covers. (The fabric isn’t super delicate, just be careful.)

Now, find a smallish jar (I keep an old dijon jar with the laundry supplies for this express purpose). You will use this to prepare the lanolin to be added to the wash.
If you were to simply squirt it from the tube into the water, it would sit there as a blob (obviously, since oil and water do not mix.) So, how to you take a waterproofing (hydrophobic) substance and mix it in water so that it distributes evenly over the covers? The jar is the key.
 For each diaper cover or two, add a pea-sized amount of lanolin to the jar.
Also add several drops of wool wash, which will help break the oily lanolin up into tiny beads. This is really important in evenly distributing the lanolin and preventing globby oil spots on your covers.

To further break up the lanolin, fill the jar about 1/3 full with very hot water, put the lid on, and shake vigorously.

Continue shaking the jar until it is very sudsy, and the water is milky looking. Then shake it a bit more.

Hold the jar up to the light. There shouldn’t be any obvious globs of lanolin in the water. If there are, continue shaking (if your water has cooled too much like mine did in our chilly bathroom, add some more hot water first).

Set your clean, soaked diapers aside. As you refill the sink, add the jar’s contents, under running warm water, to the sink. Be sure to rinse all the little beads of lanolin into the water.
Now place your covers in and gently submerge them. Let them sit 30 minutes...or overnight if you tend to forget they’re there, like I do.

Now, let the water drain completely. Do not wring out any soakers! The goal is to expel as much water from the soaker without deforming its shape or fulling it.   Here’s the best way:

Lay the soaker flat, and arrange into its proper shape.
 Fold soaker in half.
 Fold in half again.

Now press the water out with the palm of your hand. Flip over and repeat.

Here are the four soakers from this batch folded in fourths and pressed as dry as I can get them. The will look a little fuzzy, but shouldn’t be fulled or twisted.

Now gently arrange the soakers on a dry towel.


Roll the towel up into a tube, and then step on it repeatedly to draw out any of the water let in the covers. Again, do not wring or twist!

Now, hang your covers up to dry. Ideally, you need to lay them flat. You can place them on a towel, or if you’re busy and in a hurry like me, just spread them over a number of rungs on the drying rack.
Your lanolin-coating will last 3 or 4 washes, and then it is time to repeat the process.
If you have any questions or need any clarifications, please feel free to leave your thoughts in the comments and I will answer them as soon as I can. Thank you!


 George inevitably wants to have tea every day, whether or not his siblings want to. He loves getting out the china and his favorite mint tea and feeling very grown up.


![IMG_0459[1]](https://blog.parkrosepermaculture.com/wp-content/uploads/2014/12/IMG_04591.jpg)
![IMG_0426[1]](https://blog.parkrosepermaculture.com/wp-content/uploads/2014/12/IMG_04261.jpg)
![IMG_9869[1]](https://blog.parkrosepermaculture.com/wp-content/uploads/2014/09/IMG_98691.jpg)
![IMG_0460[1]](https://blog.parkrosepermaculture.com/wp-content/uploads/2014/12/IMG_04601-e1417541807195.jpg)
![IMG_0345[1]](https://blog.parkrosepermaculture.com/wp-content/uploads/2014/11/IMG_03451.jpg)
![IMG_0073[1]](https://blog.parkrosepermaculture.com/wp-content/uploads/2014/10/IMG_00731-e1413248536445.jpg)
![IMG_0069[1]](https://blog.parkrosepermaculture.com/wp-content/uploads/2014/10/IMG_00691-e1413248611218.jpg)
![IMG_0062[1]](https://blog.parkrosepermaculture.com/wp-content/uploads/2014/10/IMG_00621.jpg)
![IMG_0089[1]](https://blog.parkrosepermaculture.com/wp-content/uploads/2014/10/IMG_00891.jpg)
![IMG_0097[1]](https://blog.parkrosepermaculture.com/wp-content/uploads/2014/10/IMG_00971-e1413248756523.jpg)
![IMG_0100[1]](https://blog.parkrosepermaculture.com/wp-content/uploads/2014/10/IMG_01001.jpg)
![IMG_9977[1]](https://blog.parkrosepermaculture.com/wp-content/uploads/2014/09/IMG_99771.jpg)
![IMG_9913[1]](https://blog.parkrosepermaculture.com/wp-content/uploads/2014/09/IMG_99131-e1411853877190.jpg)
![IMG_0006[1]](https://blog.parkrosepermaculture.com/wp-content/uploads/2014/09/IMG_00061-e1412027144632.jpg)
![IMG_9989[1]](https://blog.parkrosepermaculture.com/wp-content/uploads/2014/09/IMG_99891-e1412026838514.jpg)
![IMG_9987[1]](https://blog.parkrosepermaculture.com/wp-content/uploads/2014/09/IMG_99871.jpg)
![IMG_0001[1]](https://blog.parkrosepermaculture.com/wp-content/uploads/2014/09/IMG_00011-e1412027246819.jpg)
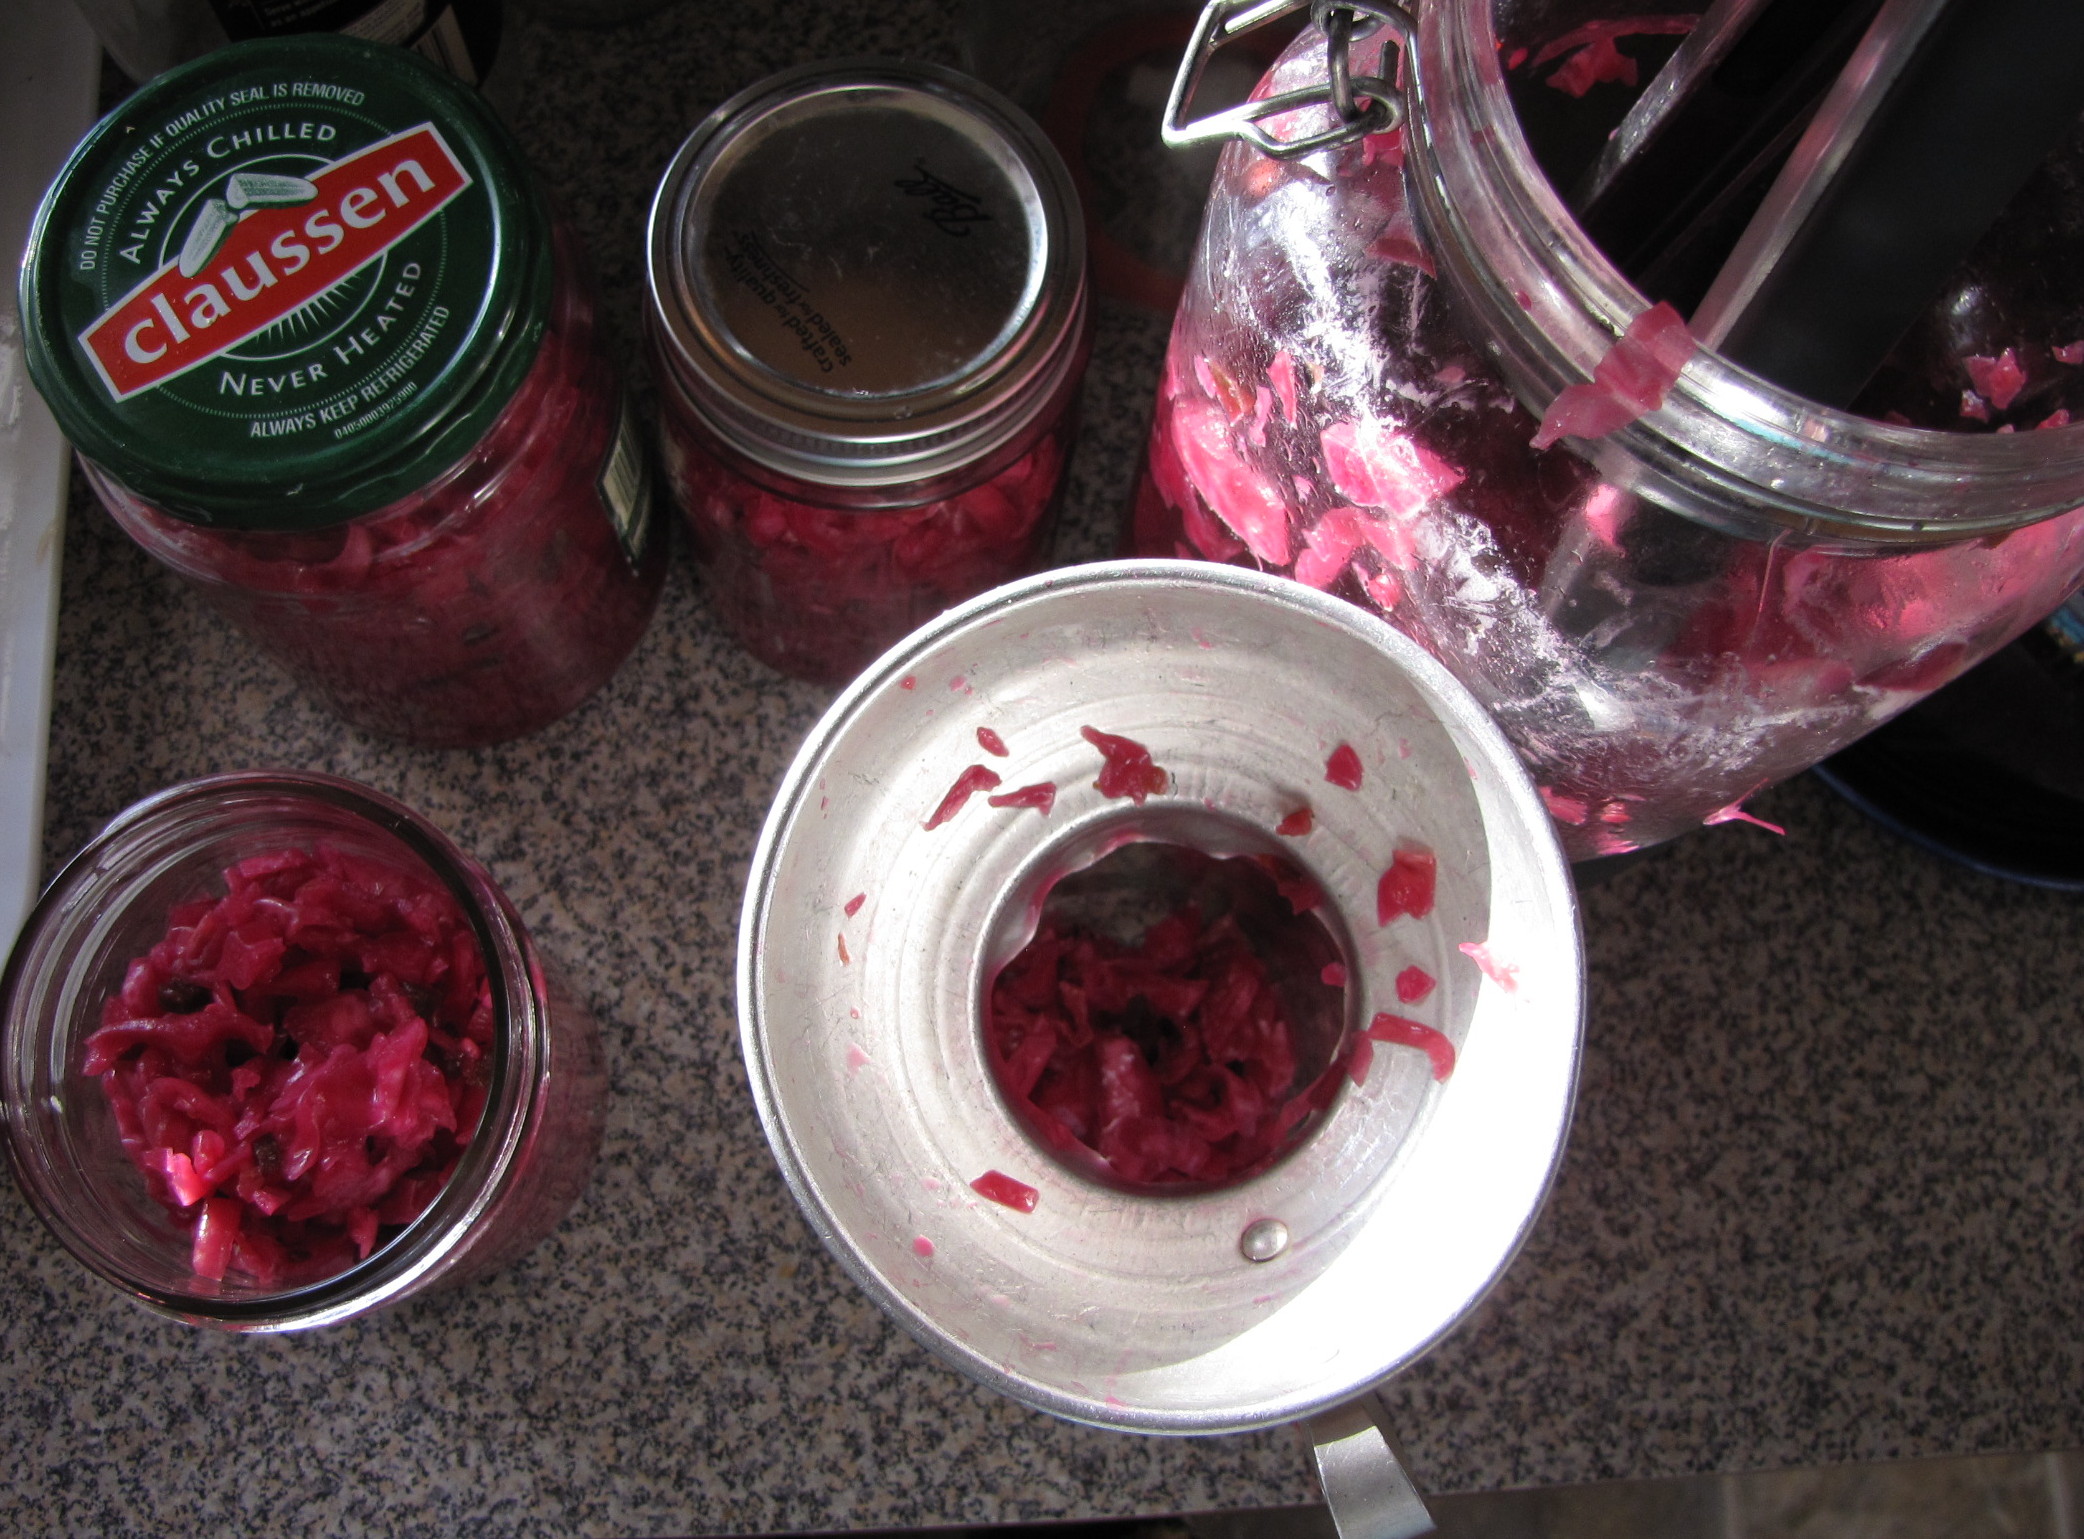
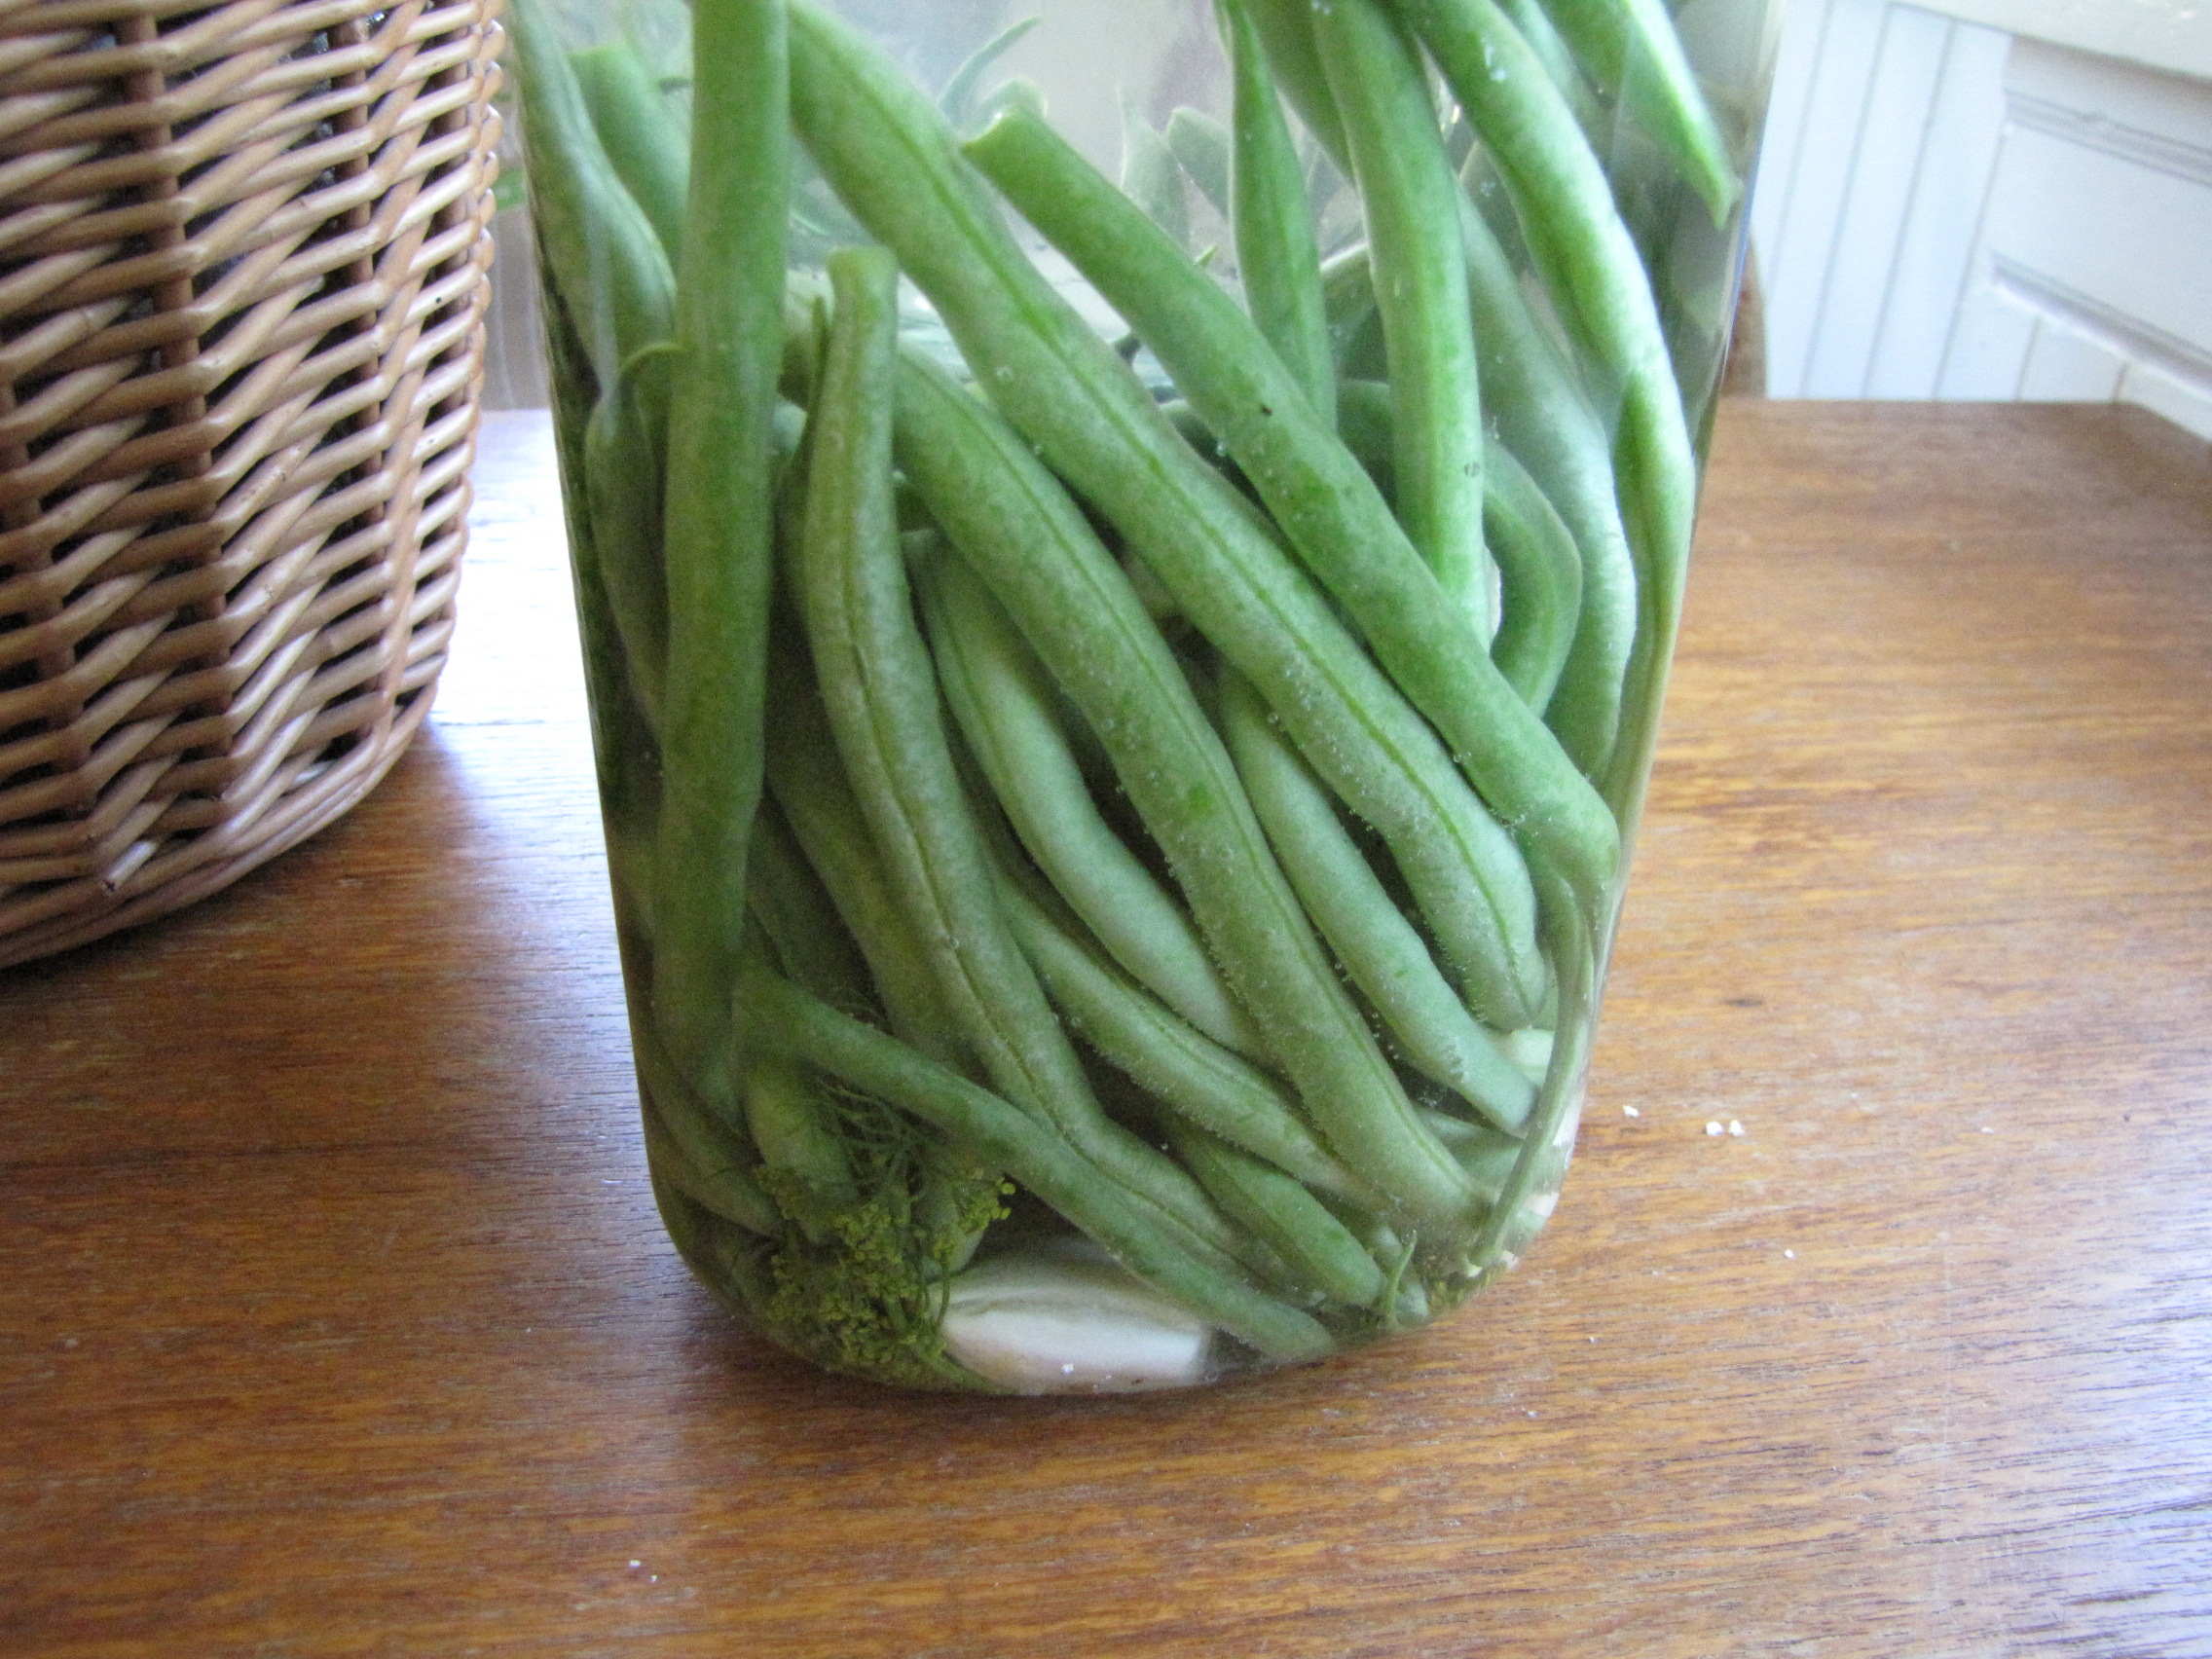
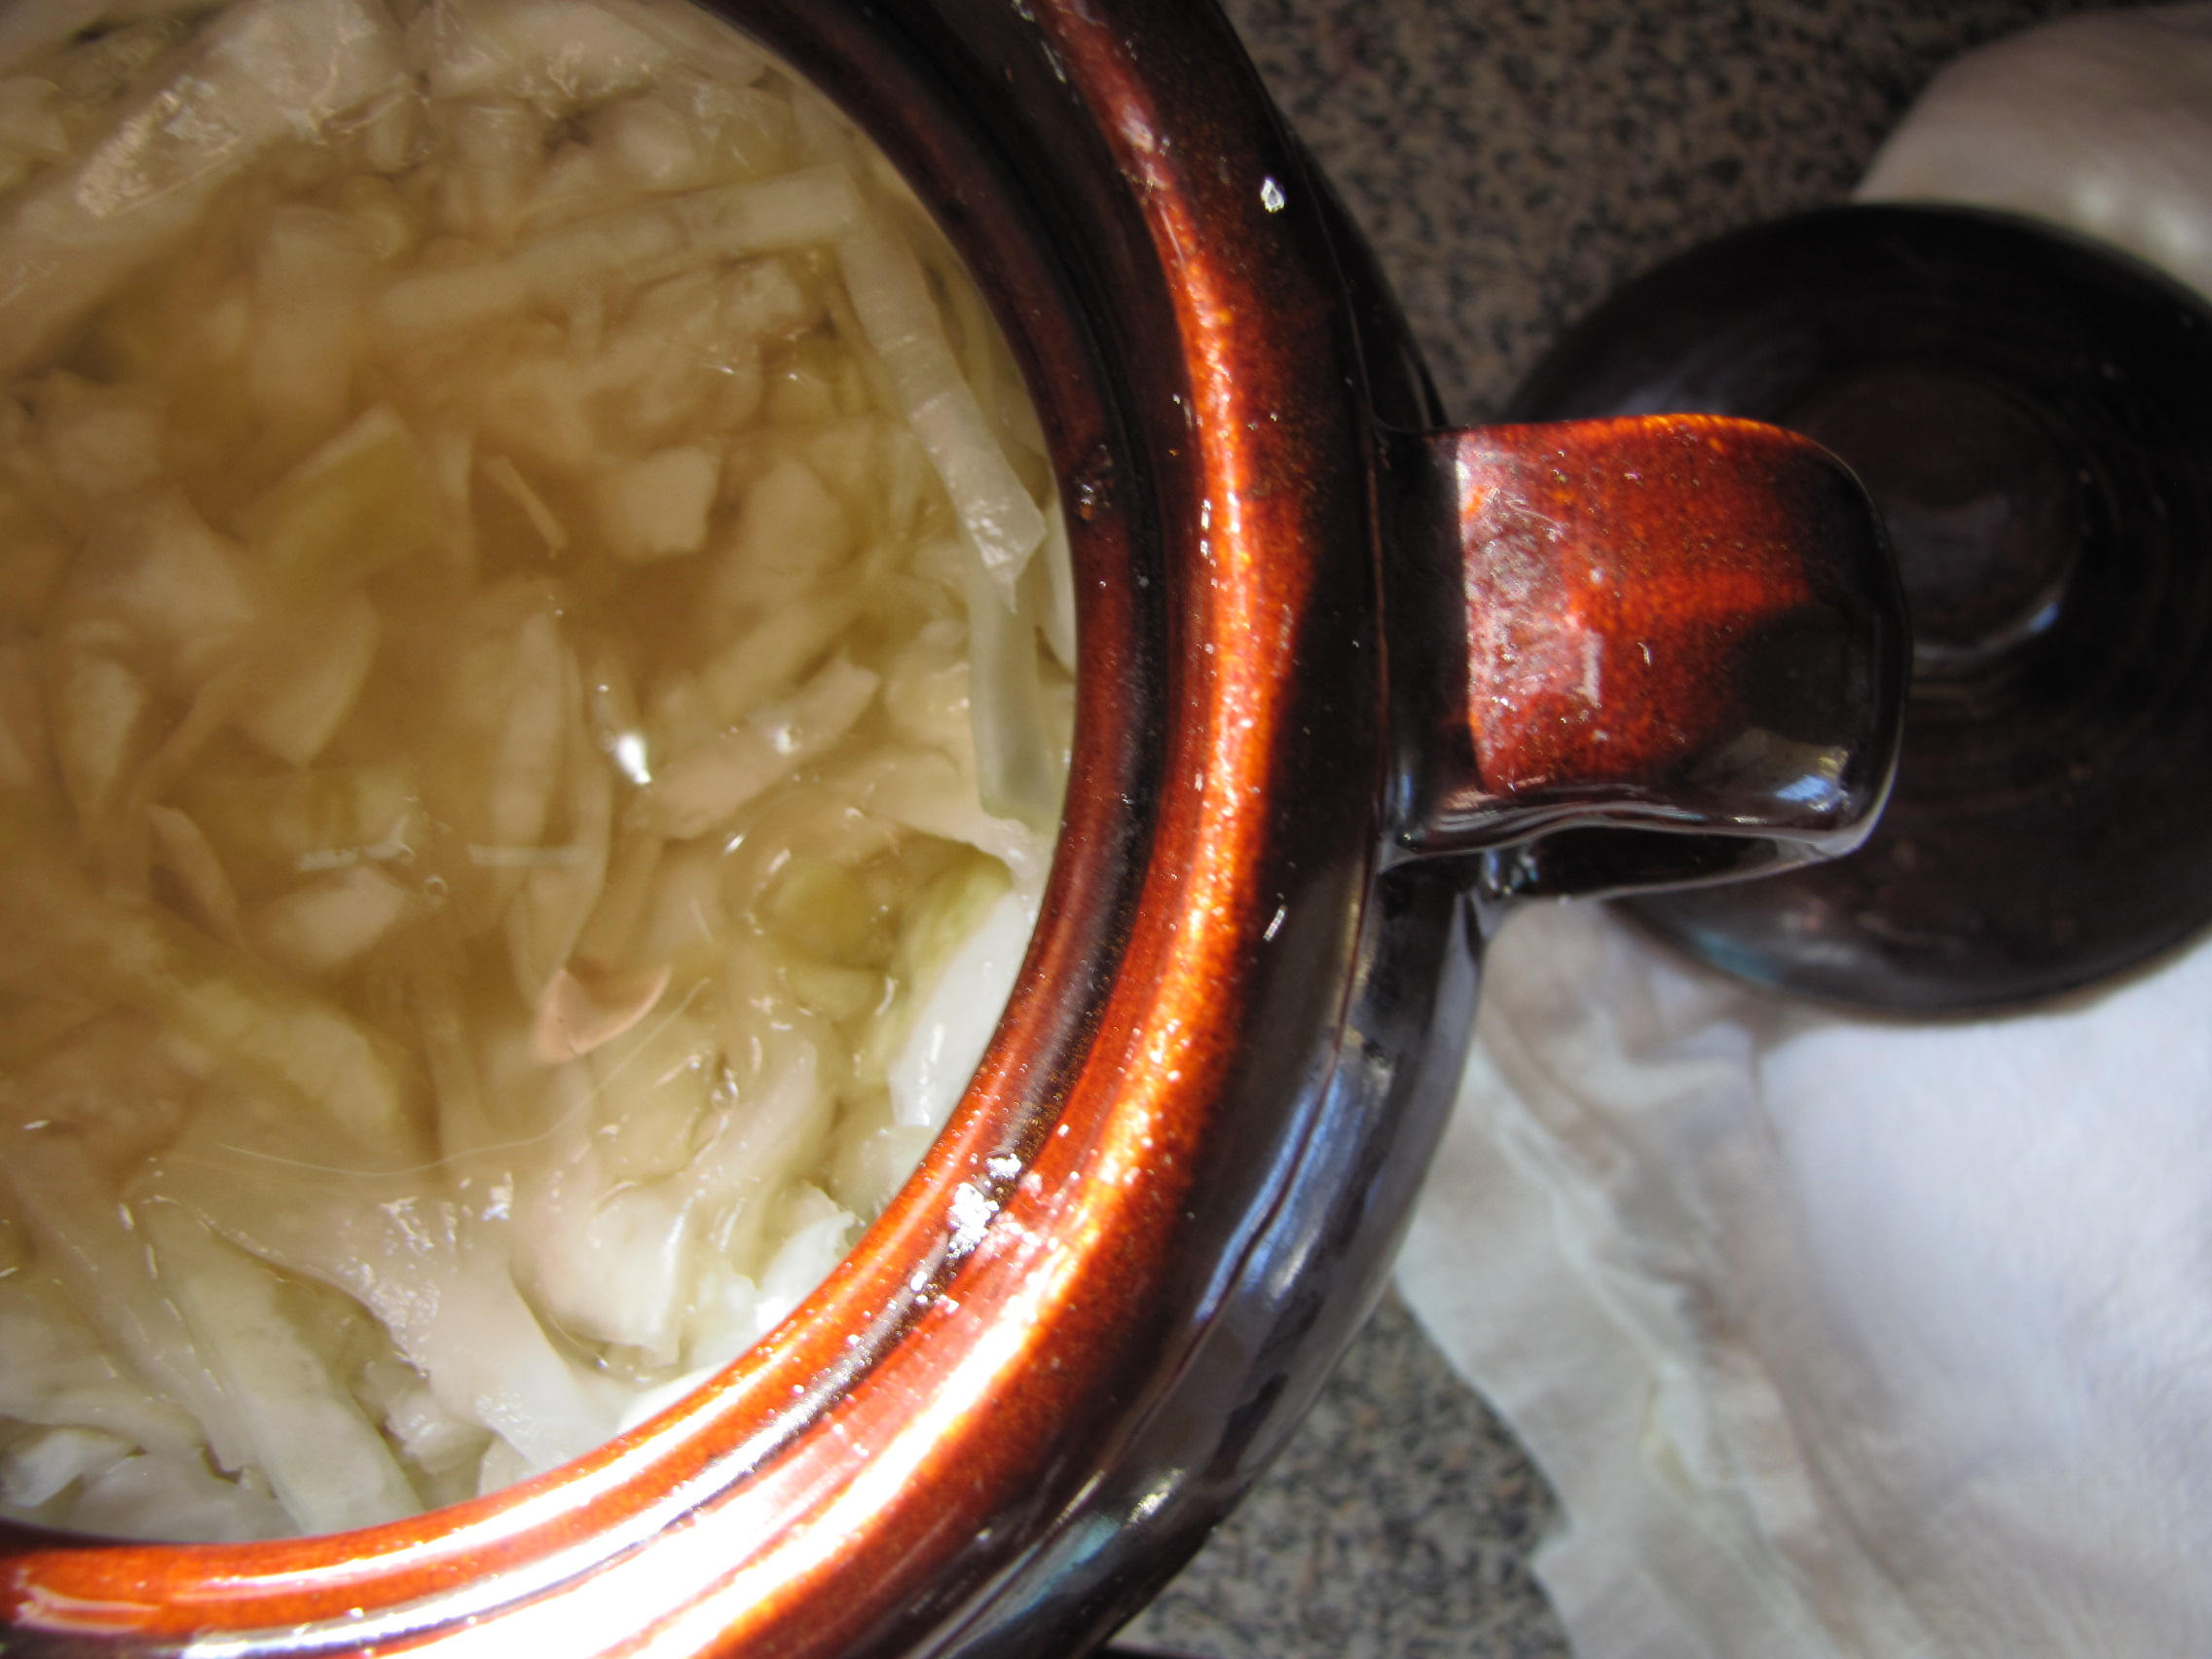 Daily checks on fermenting veggies. Â Jalapeno Purple kraut all finished and getting jarred up for gifts. Â Plain sauerkraut coming along nicely. Â It will be ready to serve with Christmas dinner. (The weight goes back on top when I’m done checking, so all cabbage is submerged below the brine.)