The raspberries have yet to drop all their leaves, but with plenty of rain in the forecast, now was the time to get the patches cleaned up for winter. What better way to do it than in the last blush of sunshine before the return of fall rains?
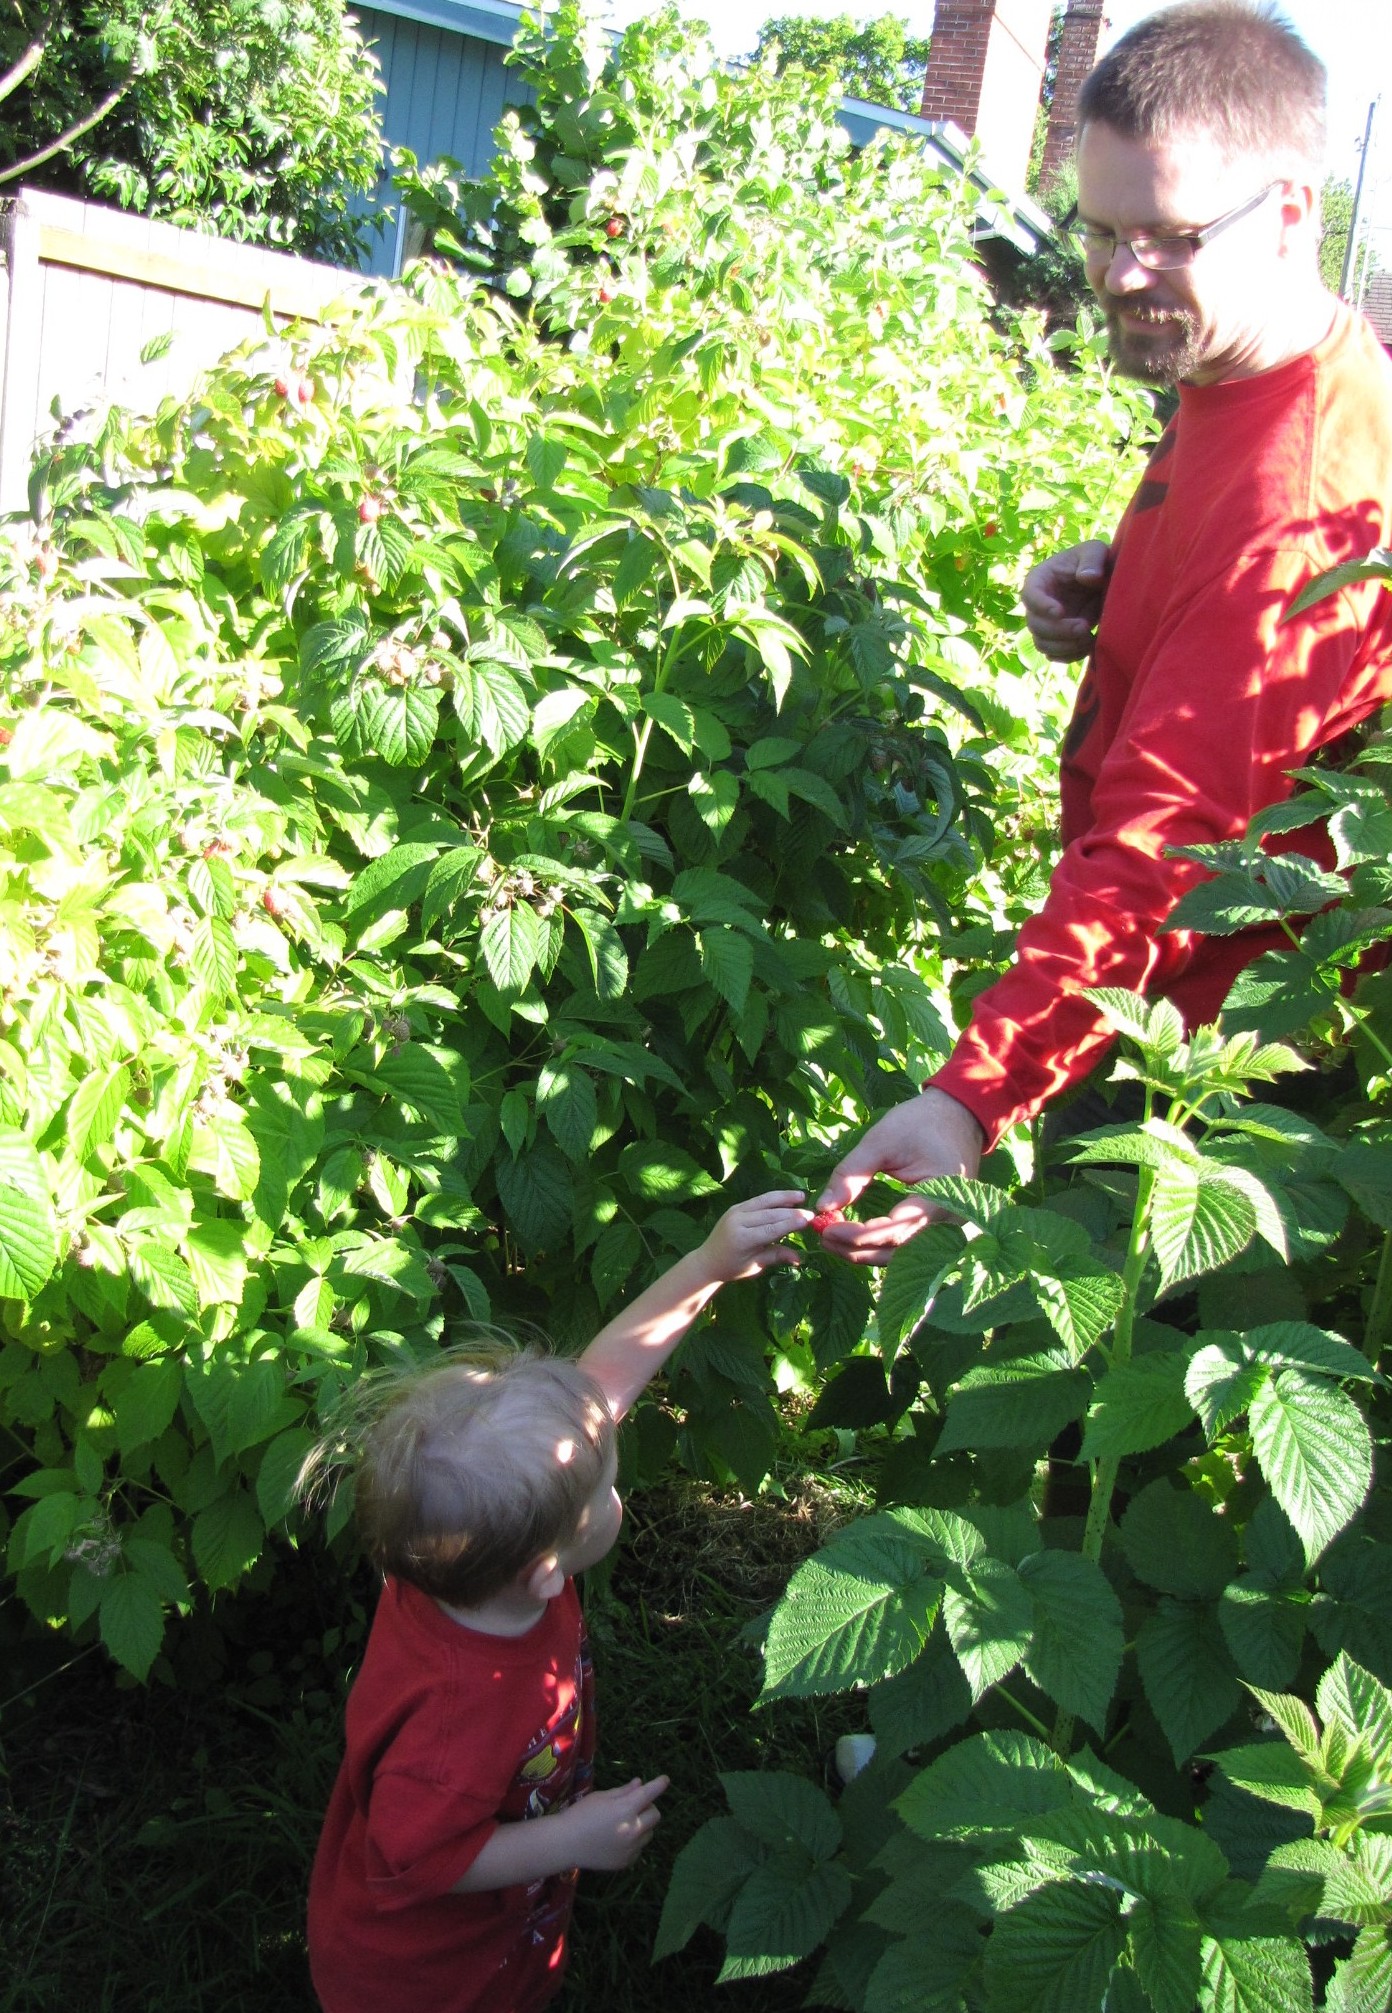
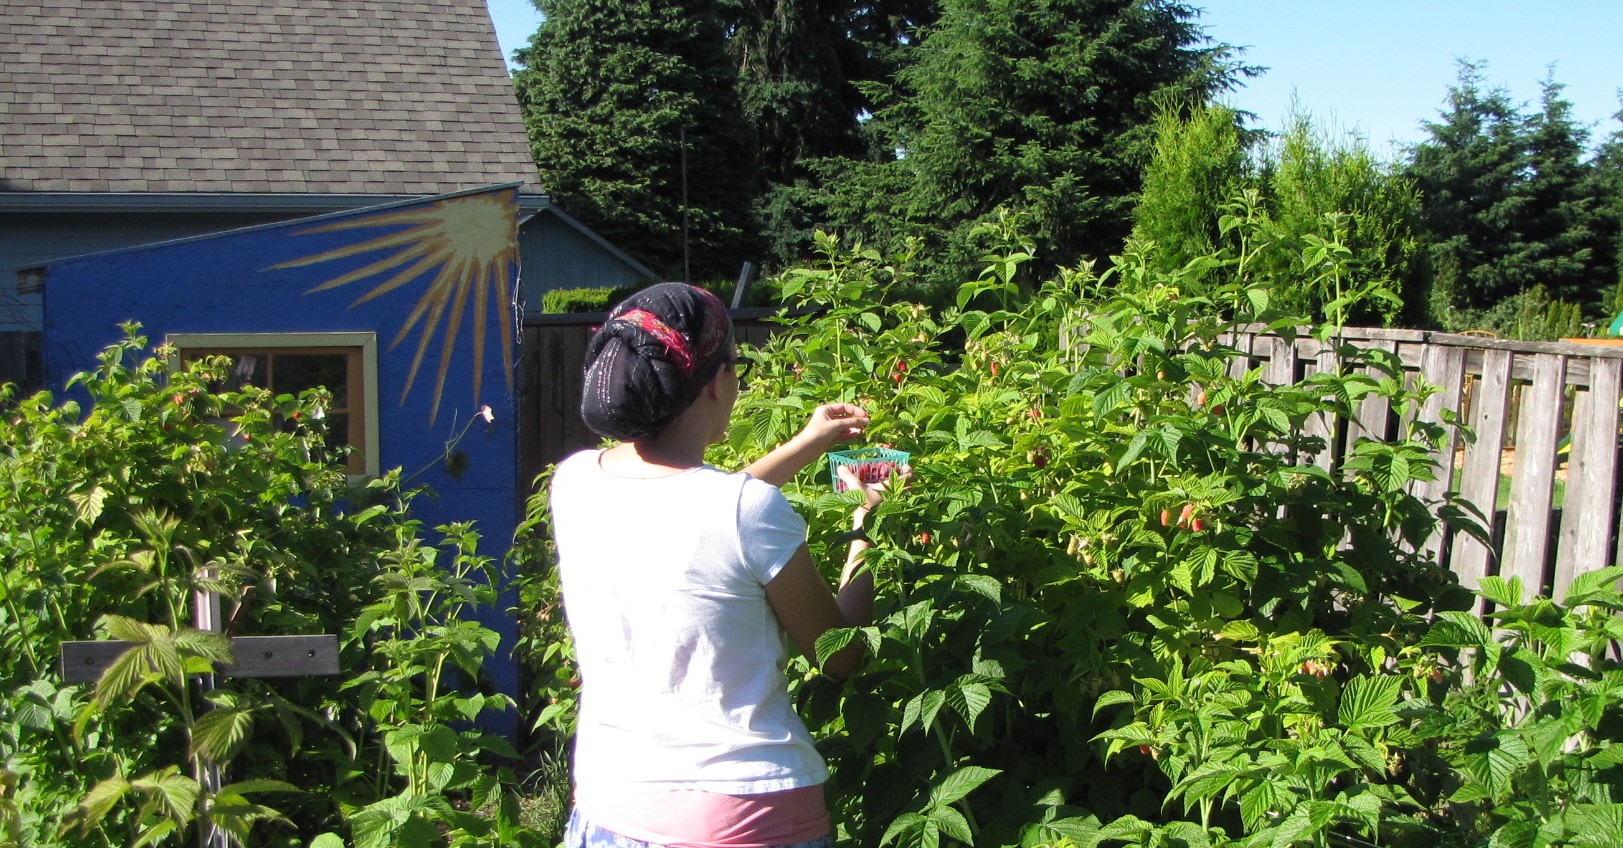
We have two raspberry patches. The one above is for the children of volunteers to snack on. It resides in the side yard, next to a strawberry bed that serves the same purpose.

The other, larger patch is in front of the chicken coop in the backyard (half shown here). It is currently one and a half rows of summer-bearing raspberries, and a half-row of “Fall Gold” raspberries, which produce August through October (still picking those!). I am beginning to add a third row of marionberries and other brambleberries, which will all be trellised. I also have a dwarf Mulberry on order to plant in this part of the yard come spring.

The first step to cleaning up the raspberry bed (and keeping it healthy and productive) is to weed all around the base. Raspberries to NOT like weed competition. I pulled up all the weeds, cut back the mint and sweet alyssum growing around the edges.
Next comes thinning – Raspberry plants are perennial, but the canes themselves are biennial. Berries are produced on second year canes. At the end of the first year, the canes produced that year (called “primocanes”) are topped and tied up, because they will produce next year’s fruit.  All spindly, diseased, wonky primocanes are removed at the base with sharp hand pruners (George is “helping” me here with a very old, very dull pair). The large, healthy
 Floricanes, which are the old, spent 2nd-year canes that fruited this year are also removed at the ground. They are easy to spot, because they are clearly dead at the base, and look “woodier” and may have some unpicked shriveled fruit remaining.
Canes sent up by the plant far outside your patch (sometimes three feet!) also need to removed, or after a few years you will find your berry patch has walked all over your yard.

Those healthy primocanes remaining are bundled and tied to the wires or strings ringing the patch. (Some folks who grow their berries against a fence skip this step). There are different ways to train the canes, and I use the topped-method, instead of the bent method.
Someone asked me this year why I use heavy-duty cotton yarn instead of wires. The answer is simple – we had a large cone of cotton twine donated to the garden, and there wasn’t money in the budget for wire trellises.
Eventually, I would love to put in a more permanent wire system, but for now, cotton twine works just fine, and I can chuck it in the compost when it deteriorates. You don’t need to wait until you can afford a spendy wire trellis system before starting your raspberry patch. Work with what you have.Â
A quick note about fall-bearing varieties like the delicate and superior “Fall Gold”, and ever-bearing varieties pruned to produce a large fall crop: These plants are trained differently. They have more delicate canes, and are often shorter. They are not topped in the fall. Instead, I cut out the small, weak canes, and continue to harvest beautiful sweet berries through October from the tops of the larger canes. Then, in March of the following spring, I will cut the plant to the ground, and it will produce berries on primocanes that August.

While I keep nearly all biomass in our system, and put few things in the yardwaste bins, raspberry canes are not “chopped and dropped” back onto the beds. They are used as mulch elsewhere in the garden. I place them around the base of other (unrelated) perennial plants, and mulch the raspberries with other chopped prunings. This keeps disease cycles from setting up in the berry patch.
The berries here got a layer of chopped comfrey leaves, currant prunings, grass clippings, and apple leaves. Cleaning up the garden in fall needn’t mean wasting valuable biomass in the yardwaste bins, but it is important to utilize it in a way that does not promote pathogens in the garden.
I hope my walk-through of our fall routine for raspberry patch care is helpful. If you would like free canes in the spring, please feel free to e-mail me come Feb or March. I would love to help you start growing your own delicious, organic berries.
Blessings.
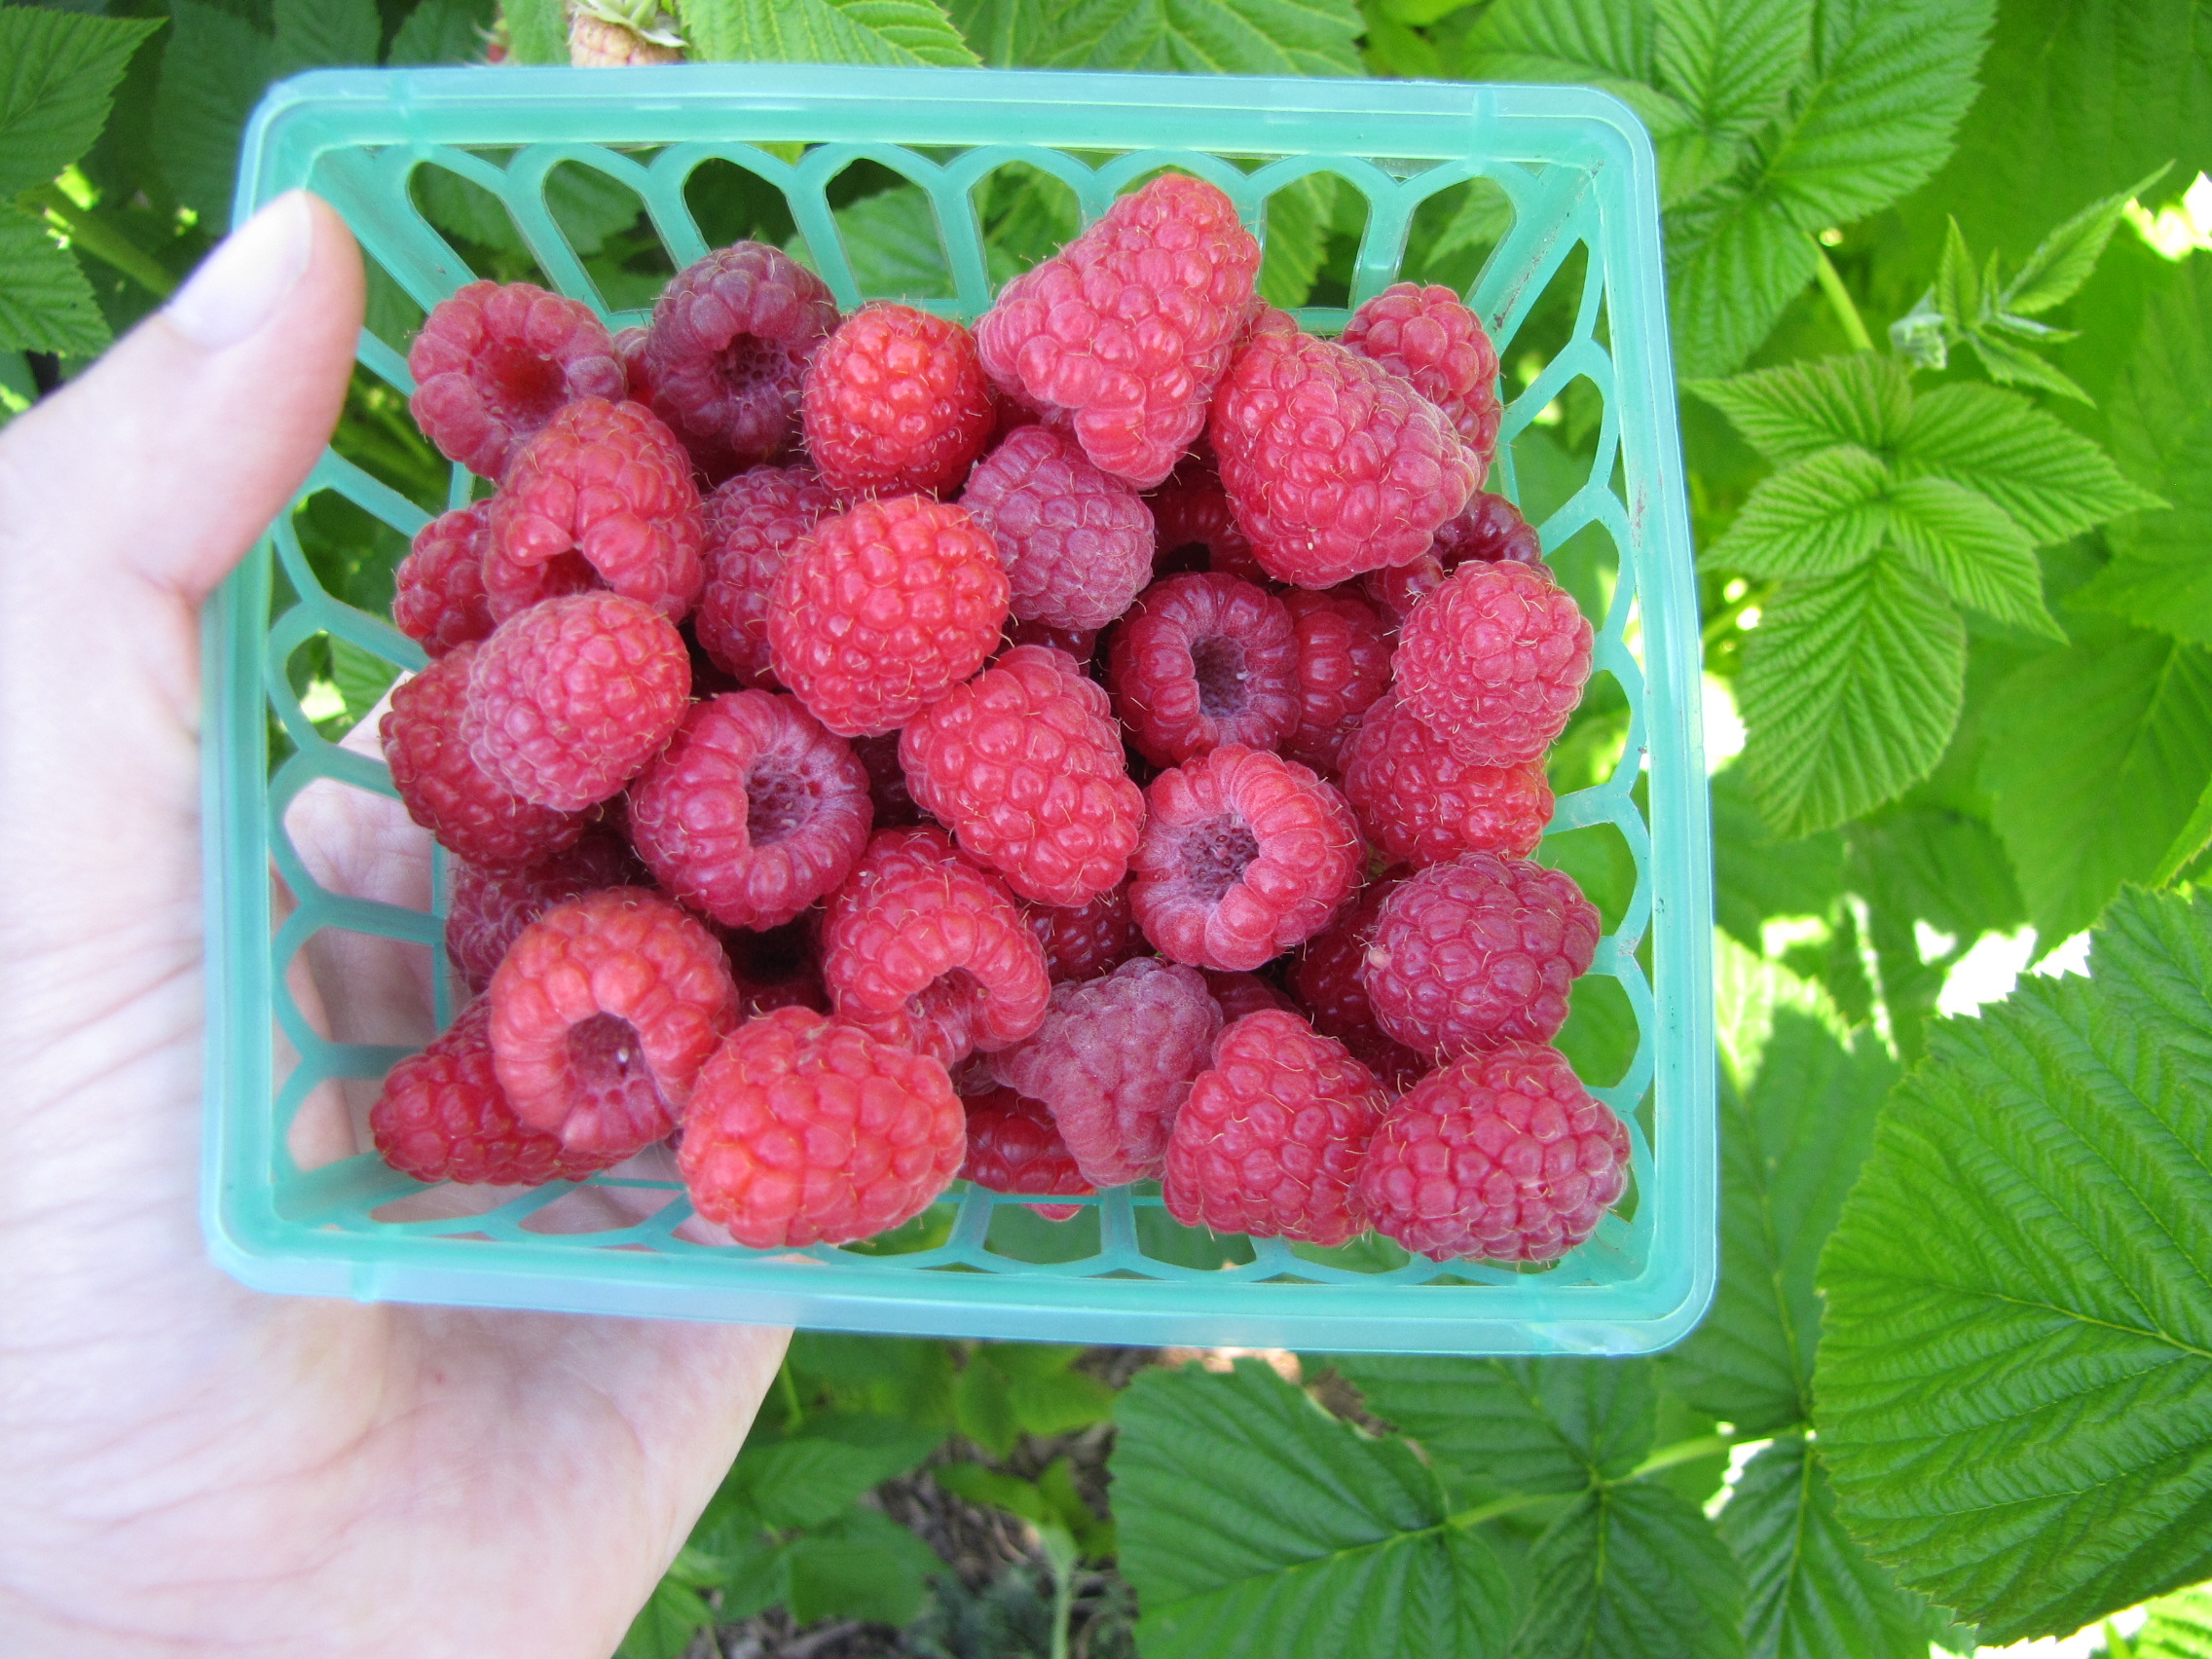 Breakfast, snack, dessert – we cannot get enough of them.  The kids are especially loving them blended with plain kefir, a little honey, and ice cubes for a smoothie snack. Â
Breakfast, snack, dessert – we cannot get enough of them.  The kids are especially loving them blended with plain kefir, a little honey, and ice cubes for a smoothie snack.