Yesterday evening, while pulling weeds, I discovered several hands of elderberries that had been overlooked by volunteers. They were far back in the shade, and just now ripening, weeks after the rest had been picked.
The mini-harvest yielded just enough to make a batch of elderberry syrup, which is delicious on ice cream, stirred into tea, etc. It is also a traditional medicinal plant, and the syrup is taken to prevent and help fight off cold and flu-like viruses.
The fruits of the Elderberry (Sambucus nigra) are extremely rich in vitamin C, and are also high in vitamins A and B, niacin, protein, potassium, phosphorus, bioflavinoids (particularly Quercetin), anthocyanins (which gives them their purple-black color) and calories. Elderberries are quite a nutritious and immune-boosting food, and can be made into wine, jelly, tinctures, juice, dried and more.  Elderberry syrup is by far the most versatile, and can be made in small batches.
I want to walk you through my recipe, but first –
A few notes about elderberries and toxicity:
1. Elderberries are safe and have been eaten in North America, Europe and Asia for many centuries, but they need to be prepared safely. Do not eat berries raw.Â
2. It is really important to remove all stems before cooking the berries, as the stems are toxic and should not be steeped, simmered, cooked with the berries for any reason. That goes double for the leaves.Â
3. All parts of the elderberry, including unripe berries, contain cyanide. Ripe berries contain only trace amounts, which cooking dissipates. Eating more than just a few raw berries can result in nausea and sometimes vomiting. Eating quantities or drinking a few glasses of fresh elderberry juice (uncooked) can cause nausea, vomiting, diarrhea, weakness, stomach cramps, and even hallucinations. Juice or berries cooked or crushed with ANY part of the hollow stems or leaves will increase these symptoms and can result in hospitalization.
So, now that you know how to safely prepare elderberries (berries ONLY, and cooked), let’s get to the syrup-making.

This morning George and I rose early while Casey was getting ready for work. While G played on the floor with a ViewMaster, I went through the laborious process of picking the berries from their stems.  It took about 45 minutes to produce about 5 1/2 cups of berries. Once you’ve completed this, step, you’re ready to start cooking.

Rinse berries in cold water, and let them sit for 10 minutes, stirring a few times. Debris, bits of stem, unripe berries, spiders, etc rise to the top. (Believe me, this is an important step. No one wants a random earwig in their syrup.) Strain off debris and drain off water.

Then add equal parts water and berries (for me, 5 cups water + 5 cups berries) to a jam kettle or large sauce pan. Bringing to a boil, then reducing to a simmer, cook for 20 min, occasionally mashing with a potato masher or large spoon).
Remove berries from heat and press through a fine mesh strainer (or, place in a jelly bag and then squeeze). Discard mash and seeds (which are quite bitter).
Return juice to the stove. Add sugar (you can choose a 1:1 ratio of juice:sugar, or for a slightly thinner and less sweet syrup, I like 3:2 juice to sugar, so 6 cups of juice to 4 cups of sugar. You may also use honey instead of sugar, keeping in mind that you will need 1/2 the amount of honey as sugar, and it should not be overcooked.)
Simmer juice and Sugar/honey for 20-30 min or until thickening a bit (a wide-mouthed pot will help evaporate off the excess water more quickly than a tall, narrow pot).
Add juice of one lemon (for brightness, to cut the sweetness of all that sugar) and remove from heat.
Pour into bottles and either can (1/2 pints for 10 min in a hot water bath) or store in the fridge for 6 months.

Enjoy!
For more on Elderberries:
Pruning
Sourcing culinary varieties
Making elderflower cordial
Collecting wild elderberries
Don’t allow children to use the plant’s hollow stems for straws or peashooters (that’s not a joke).
Elderberry liqueur
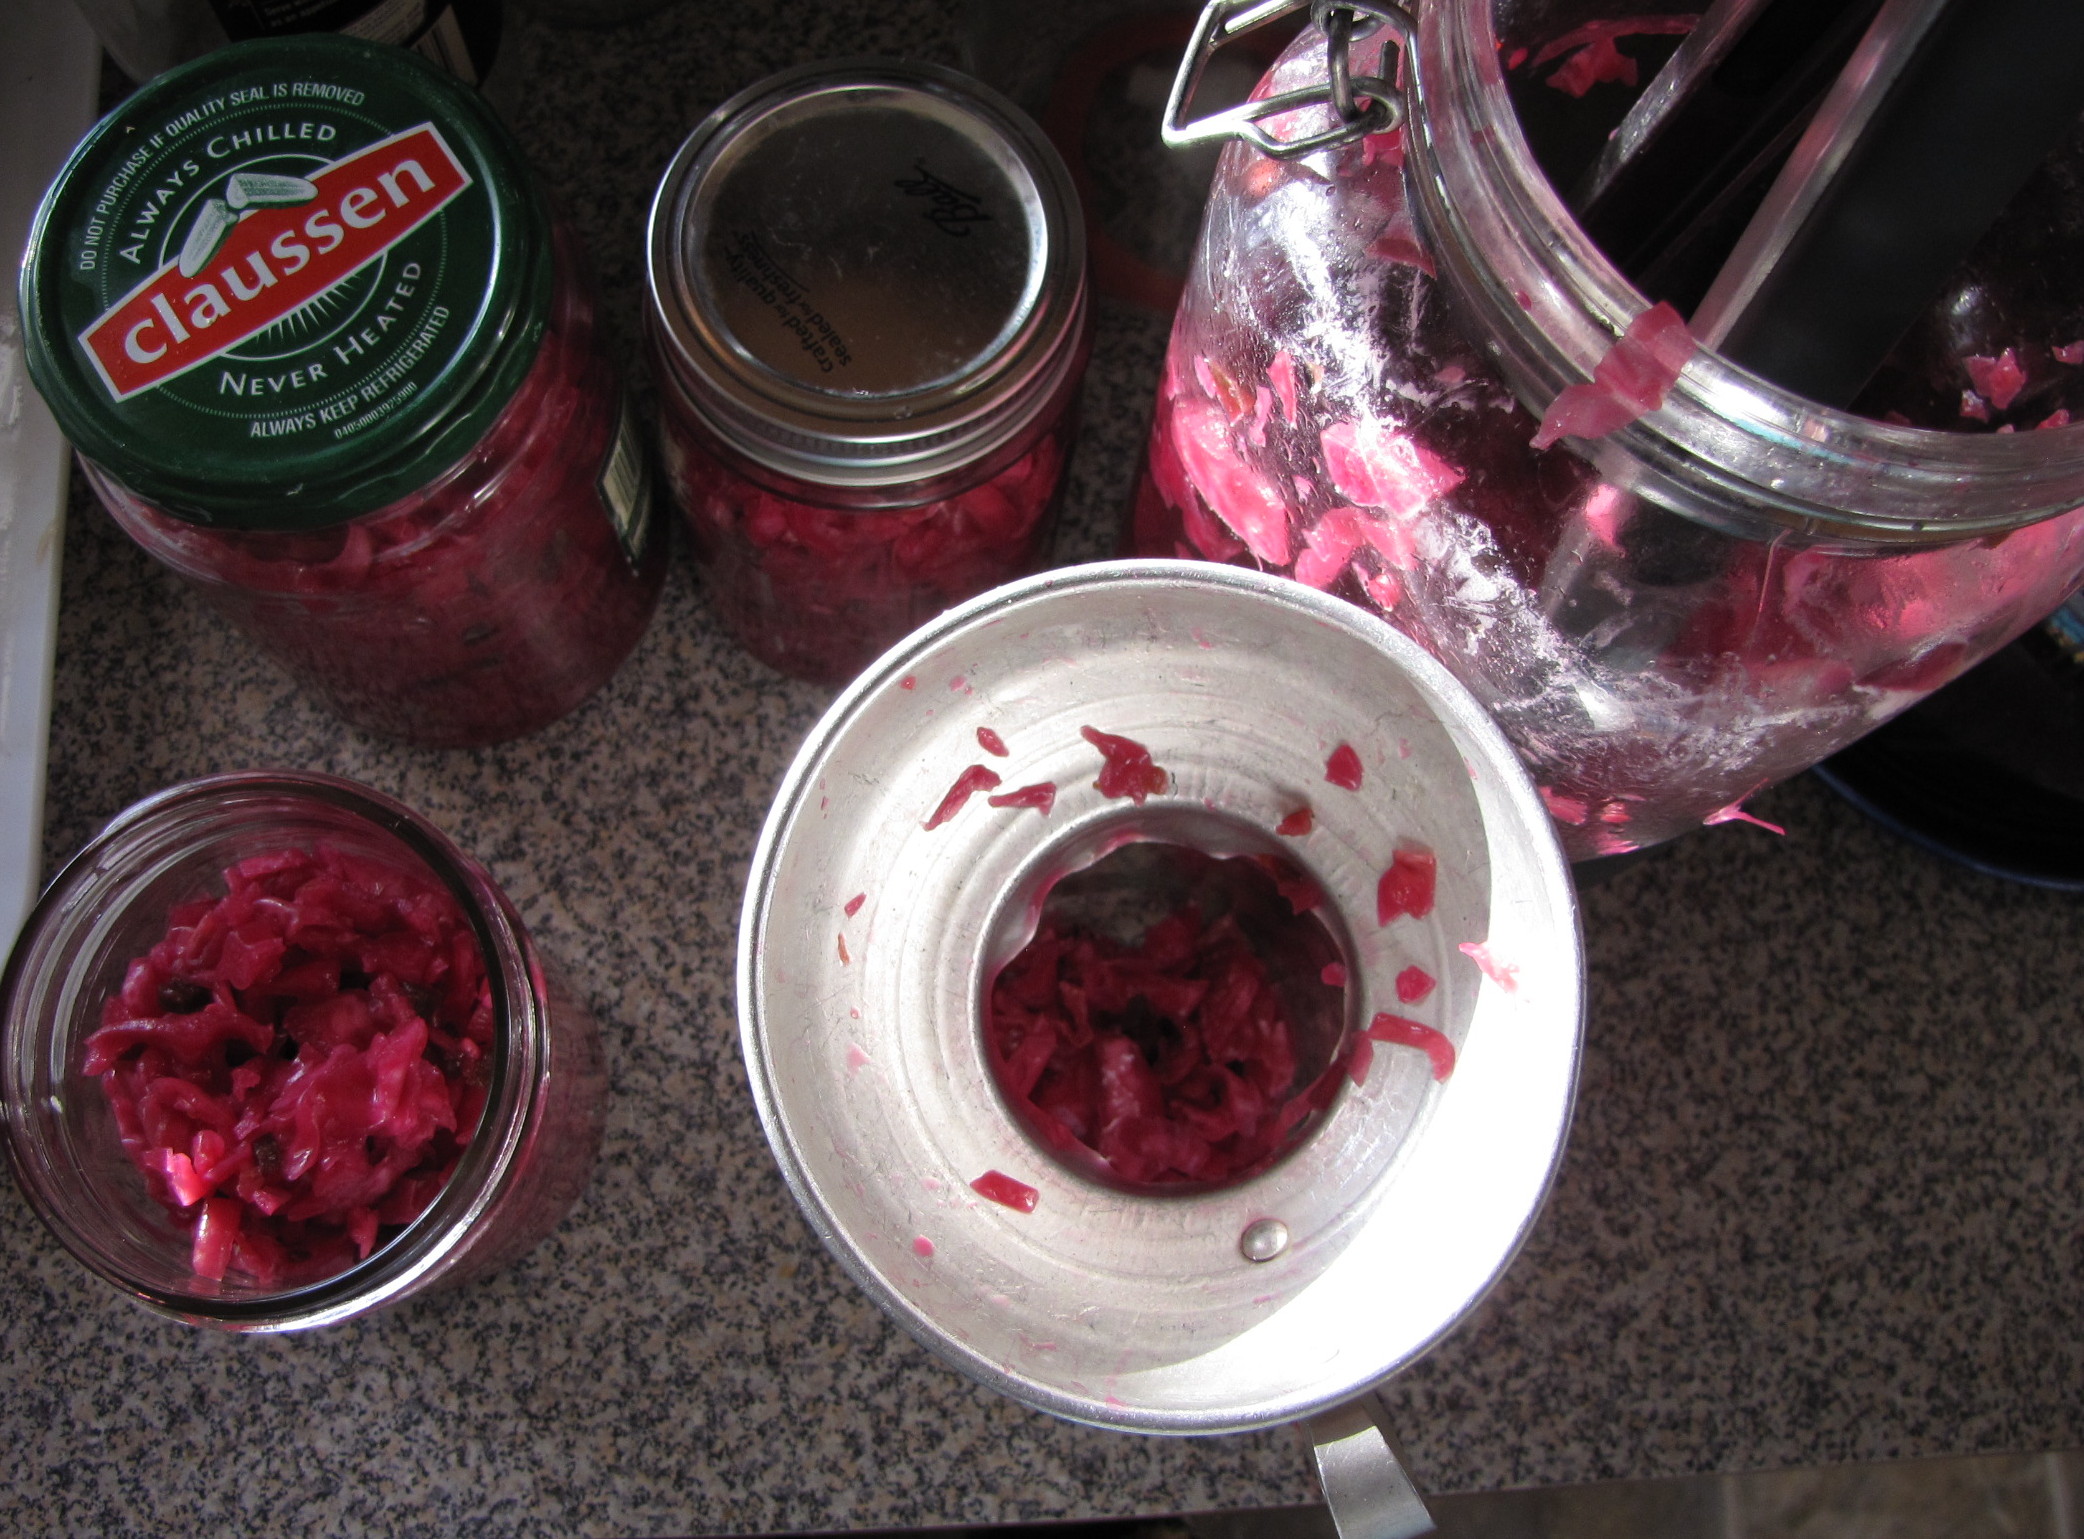
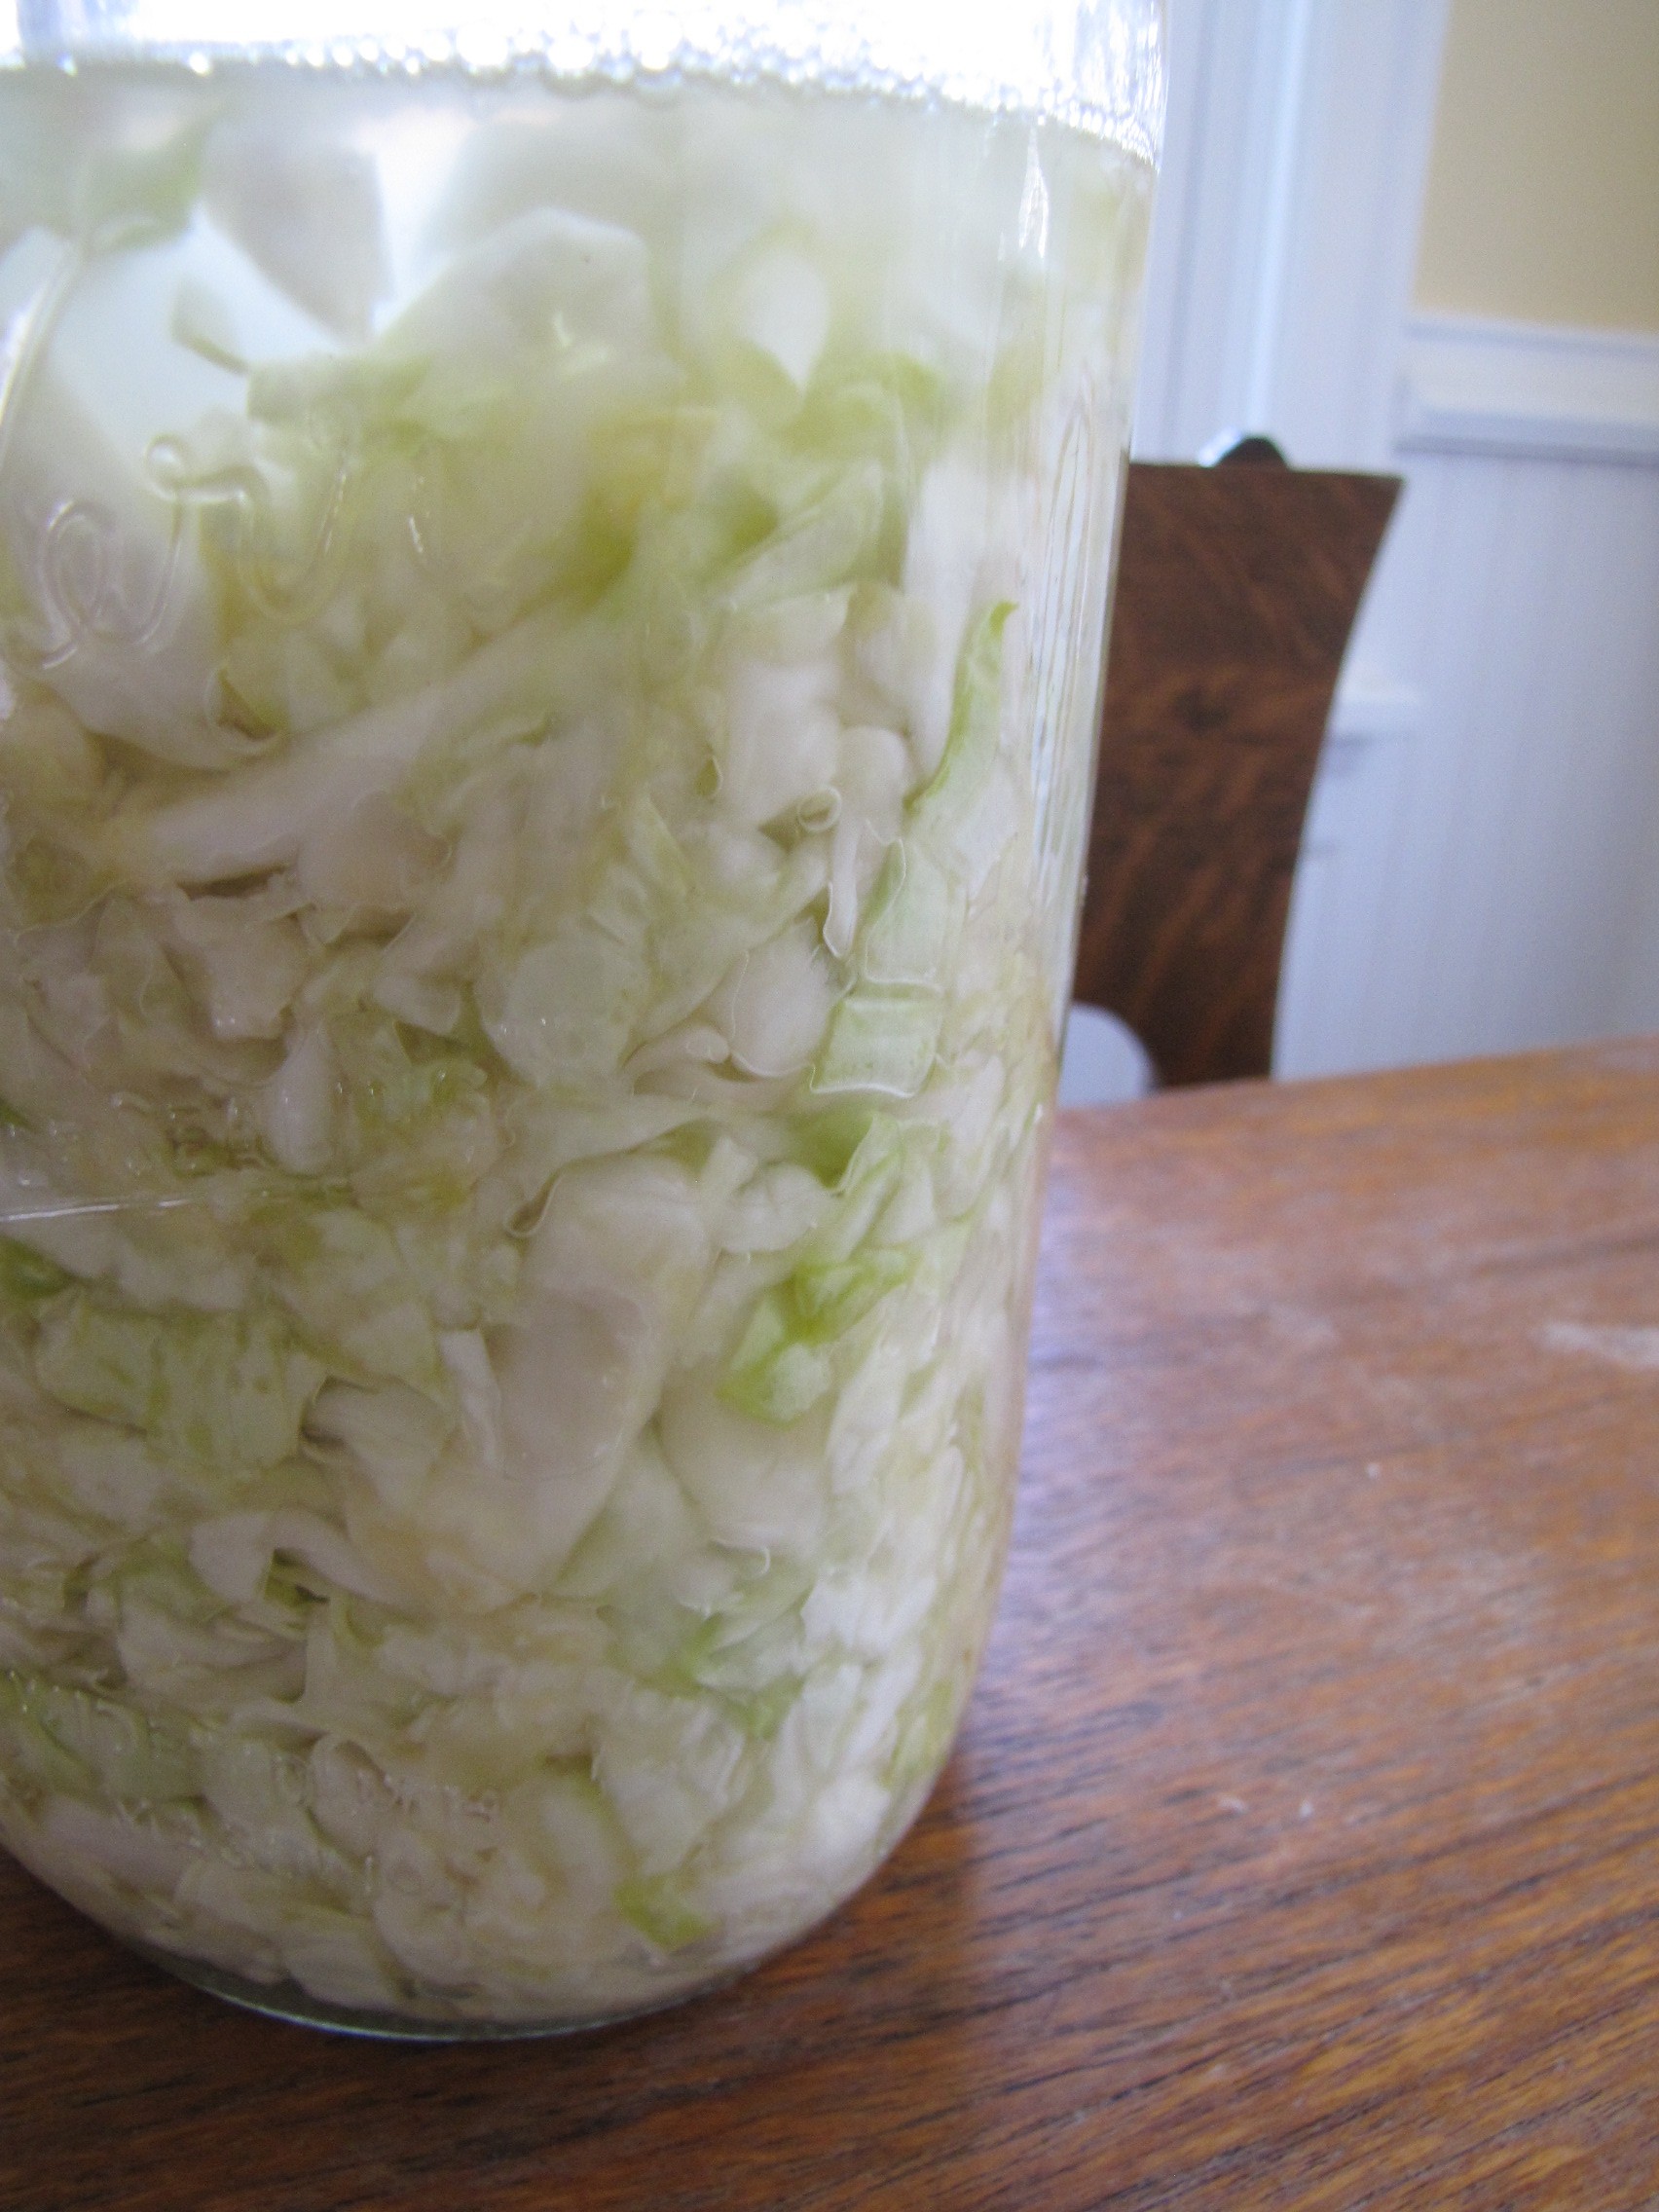
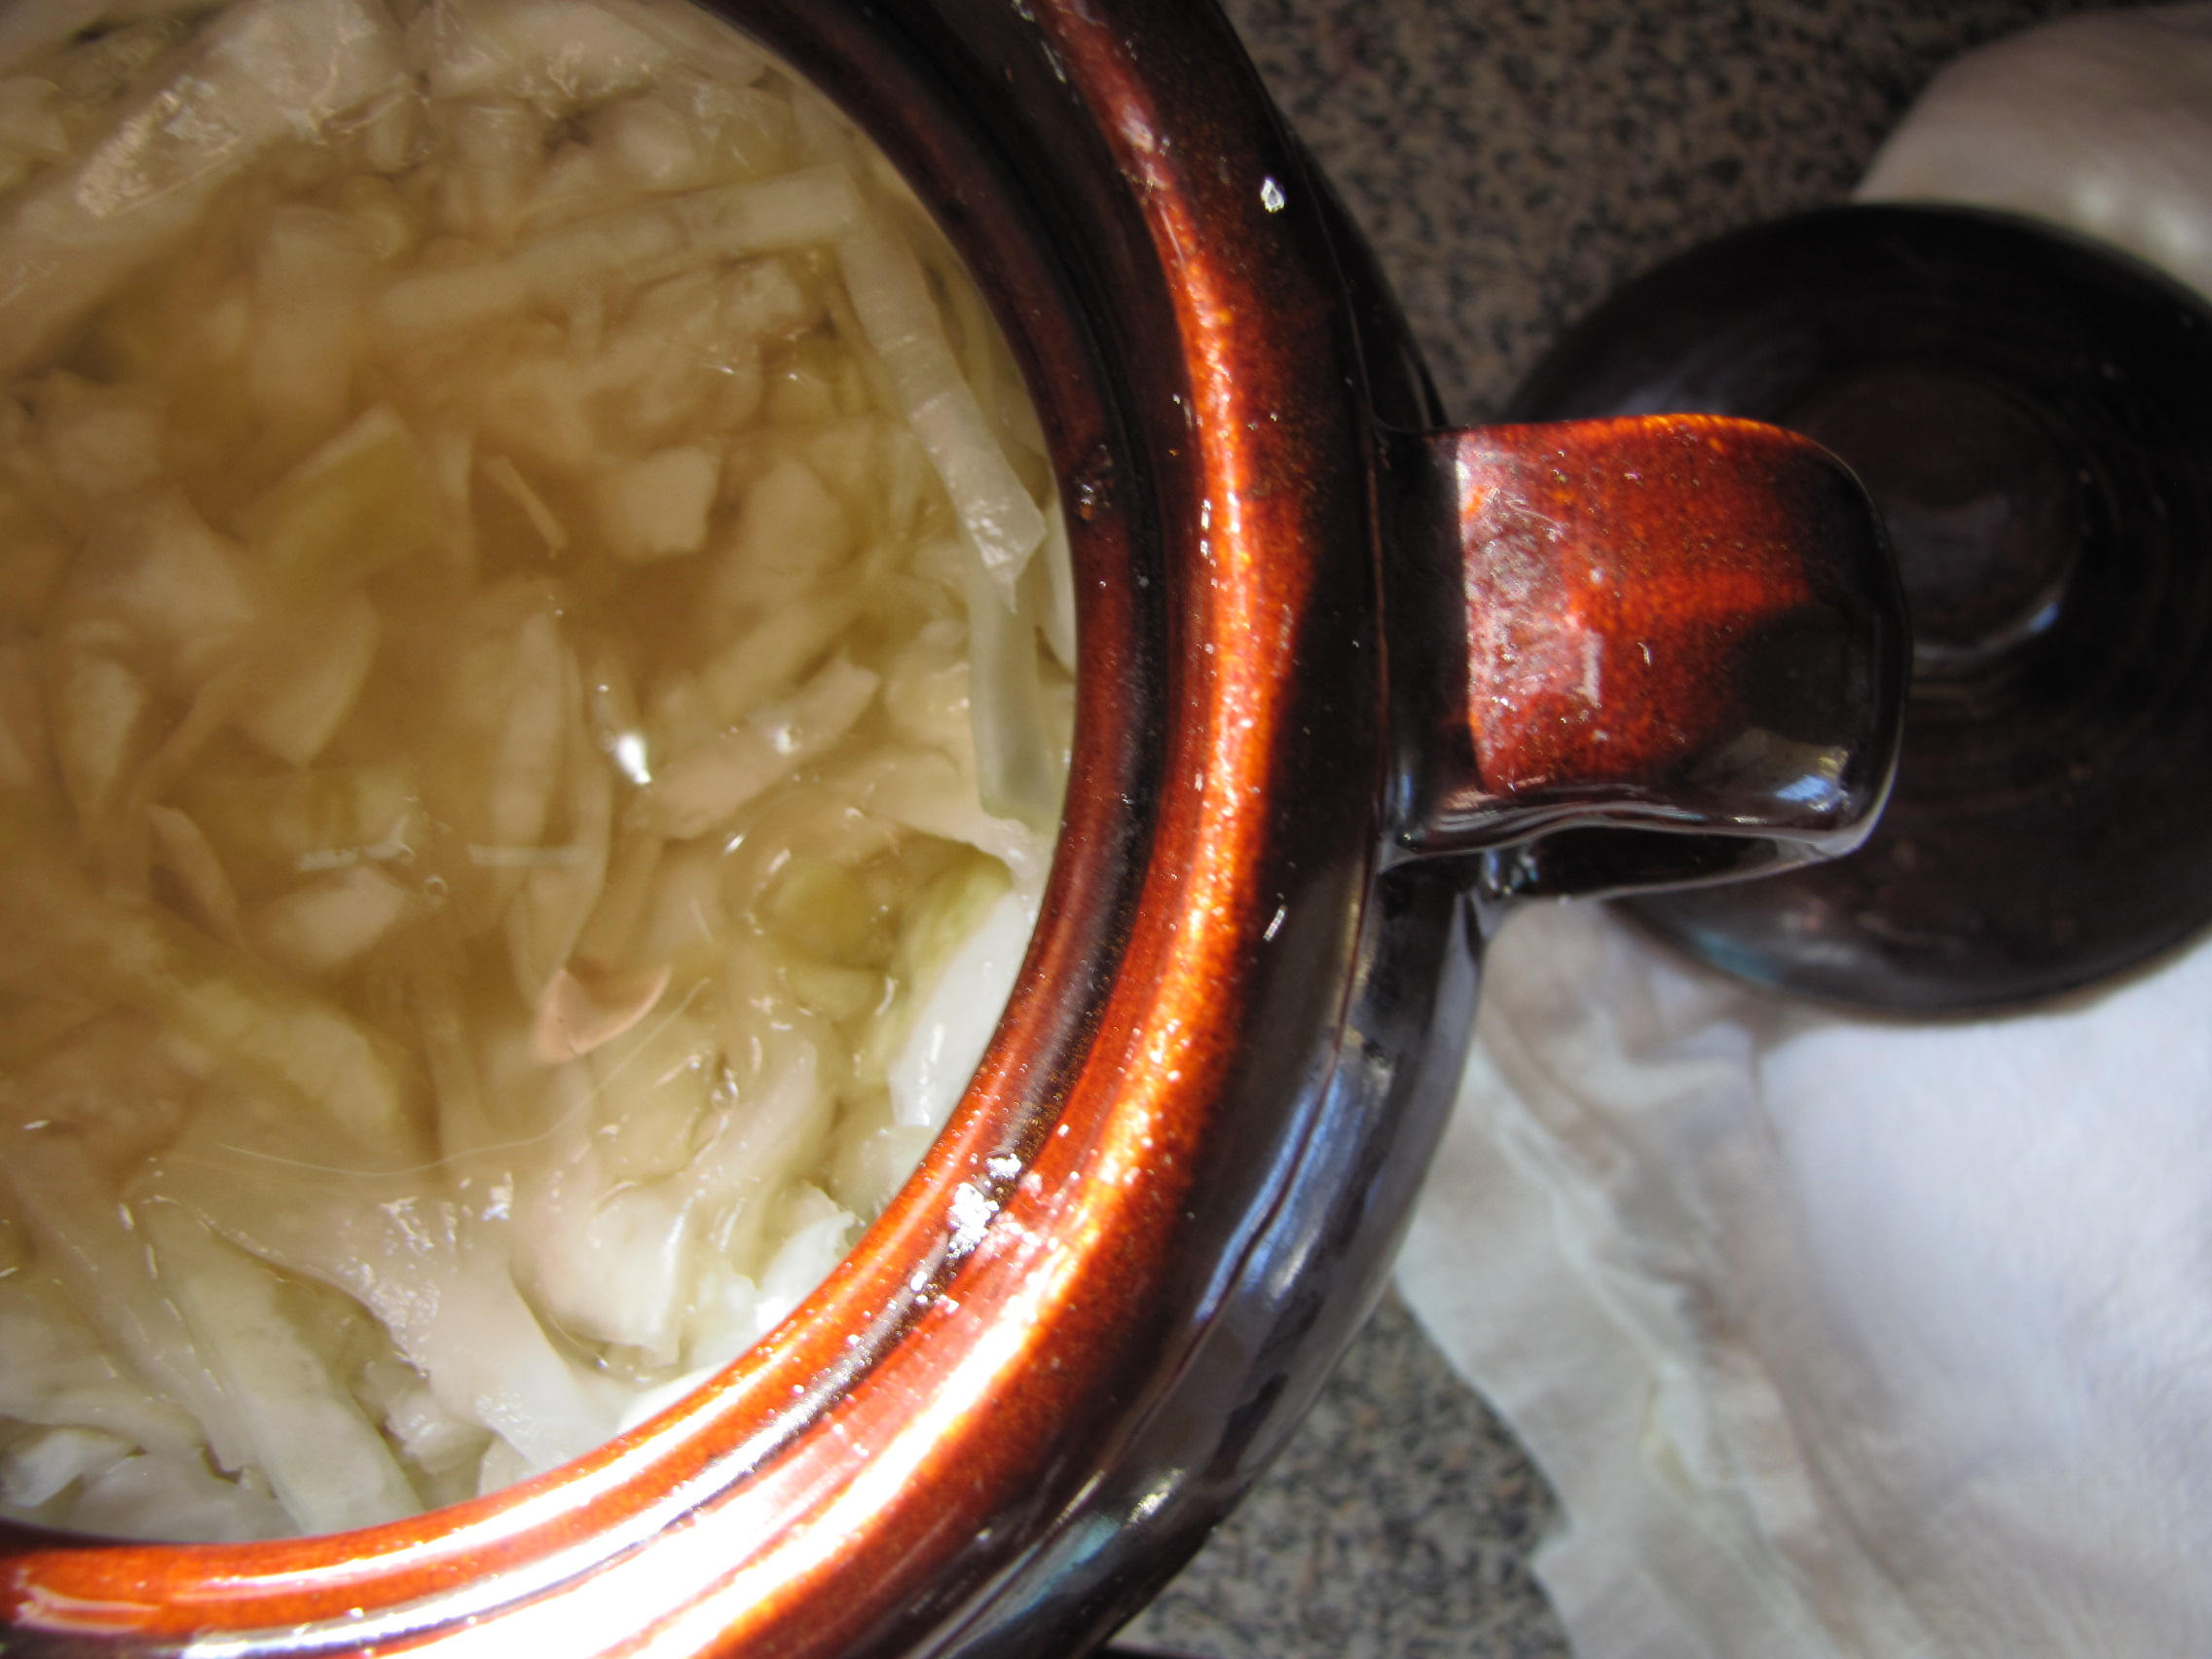 Daily checks on fermenting veggies. Â Jalapeno Purple kraut all finished and getting jarred up for gifts. Â Plain sauerkraut coming along nicely. Â It will be ready to serve with Christmas dinner. (The weight goes back on top when I’m done checking, so all cabbage is submerged below the brine.)
 Vying for space in front of the heater vent to thaw frozen fingers and toes,