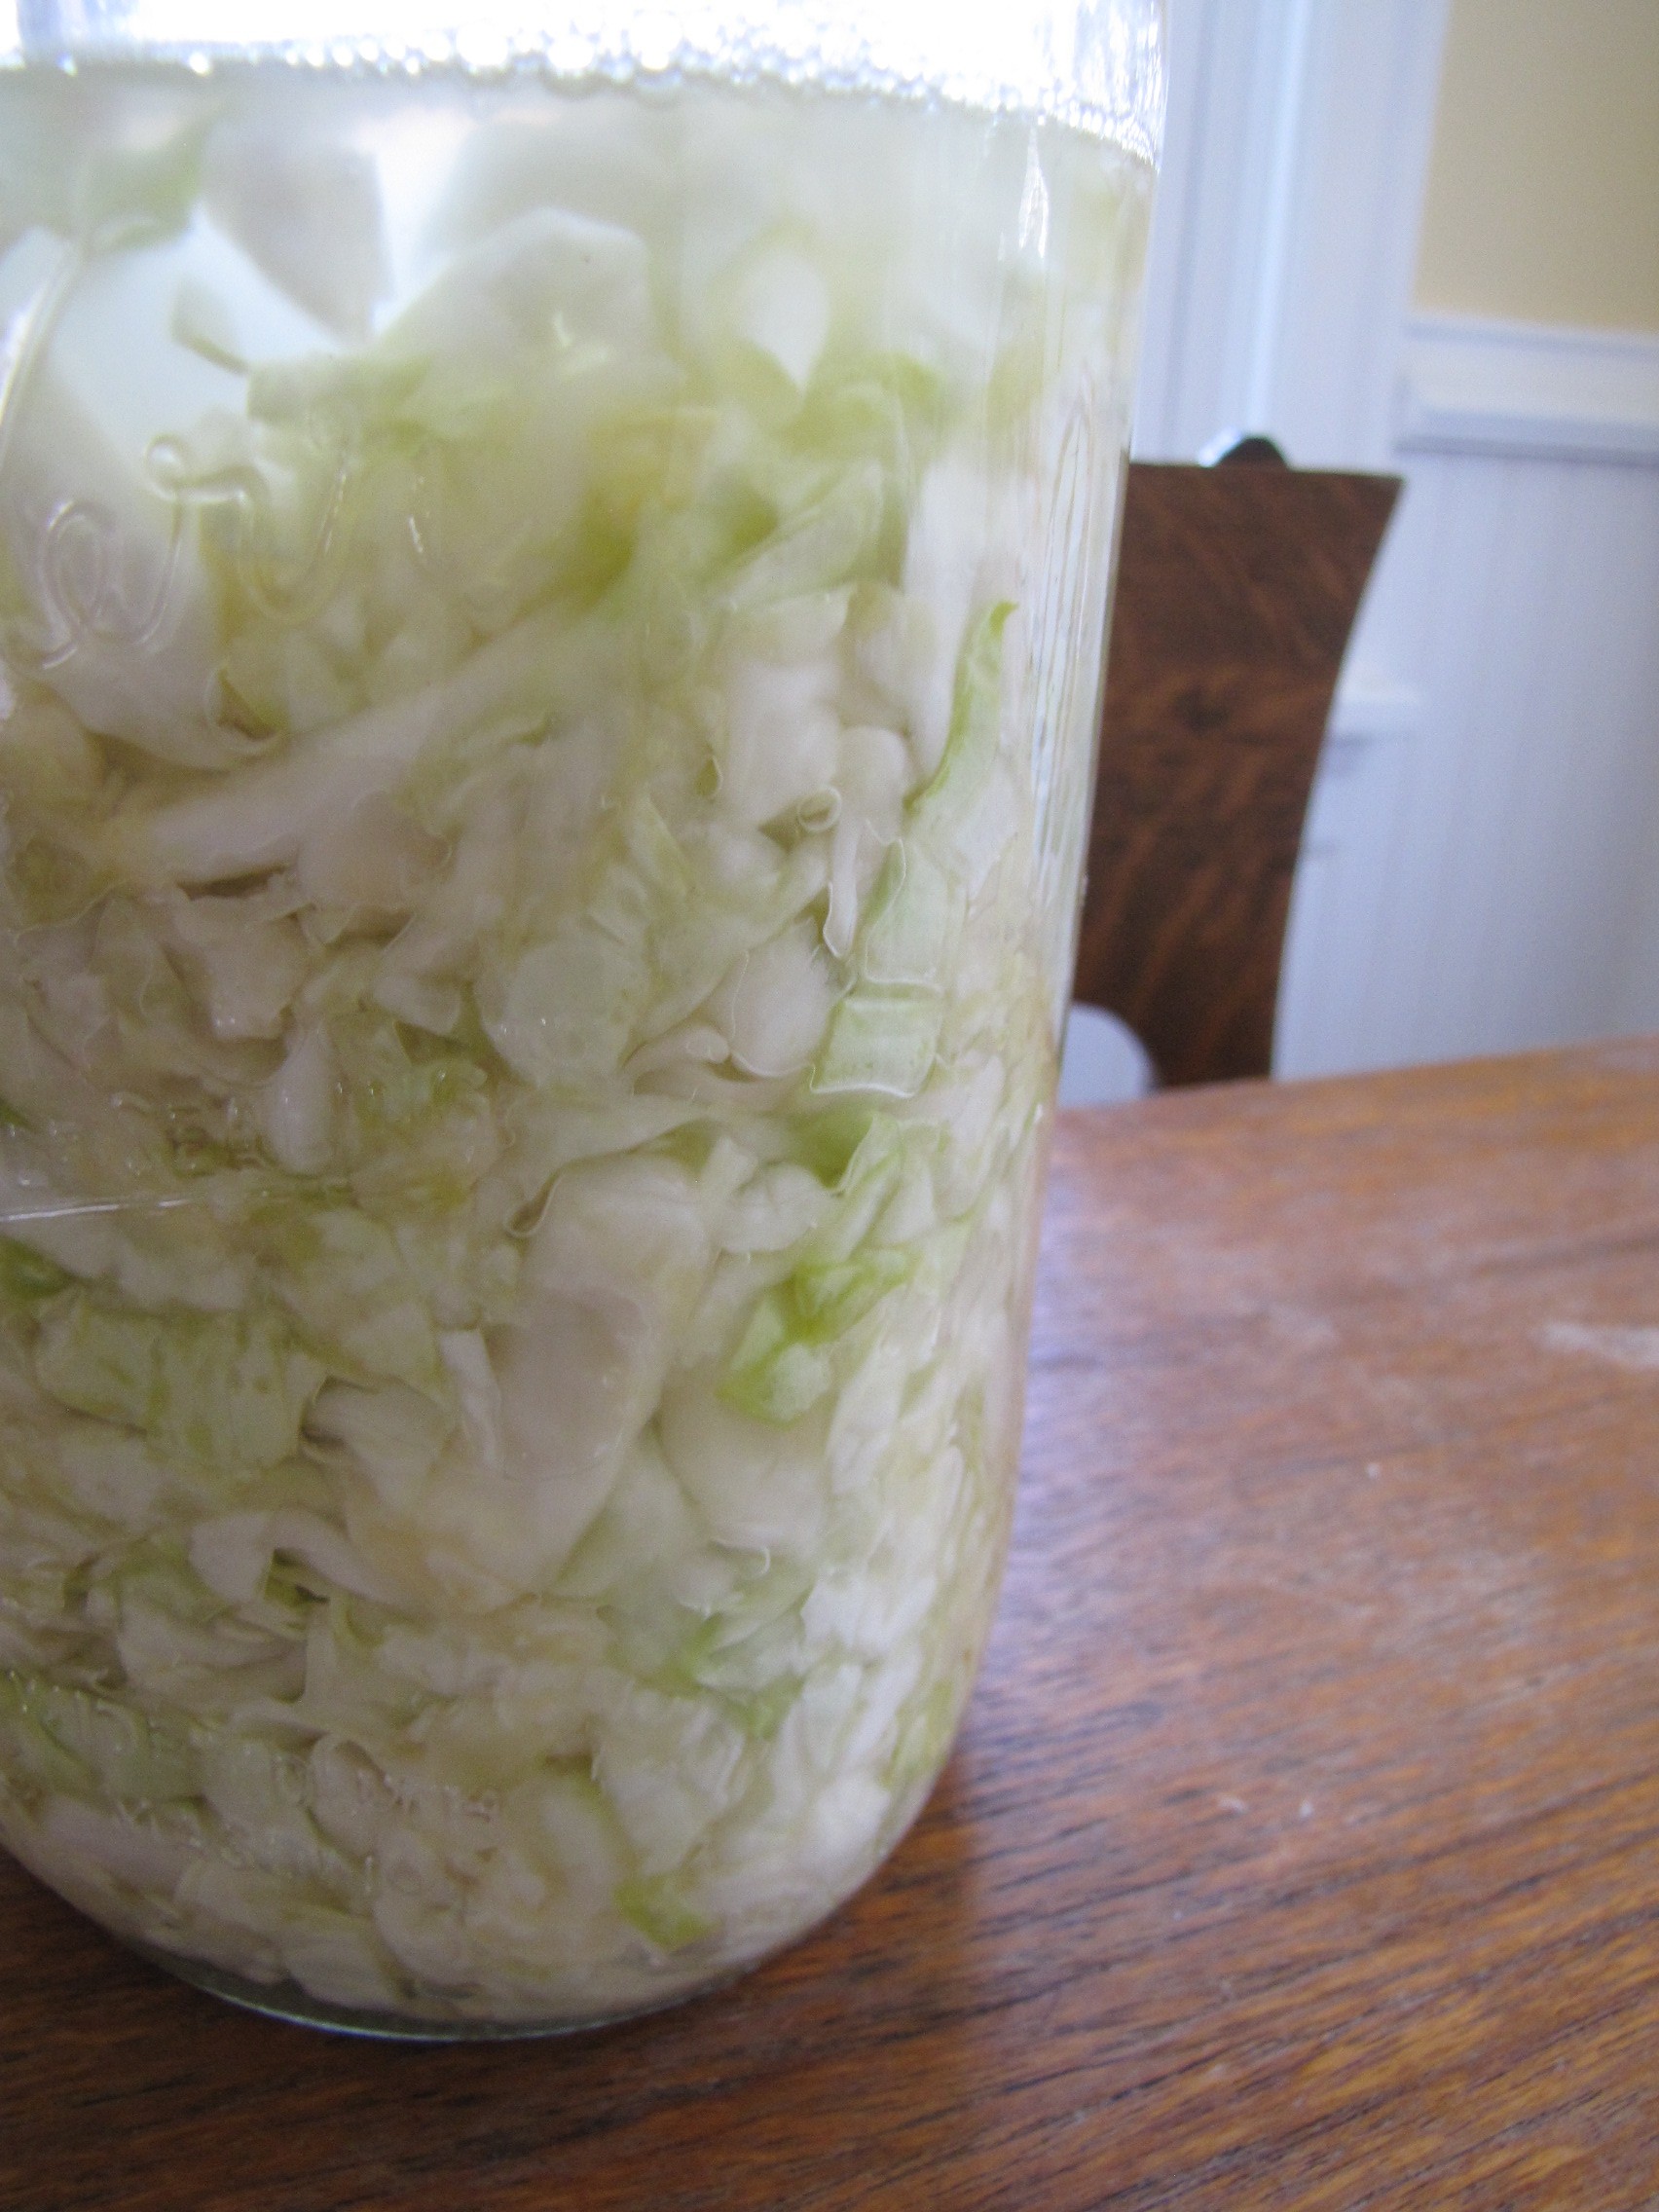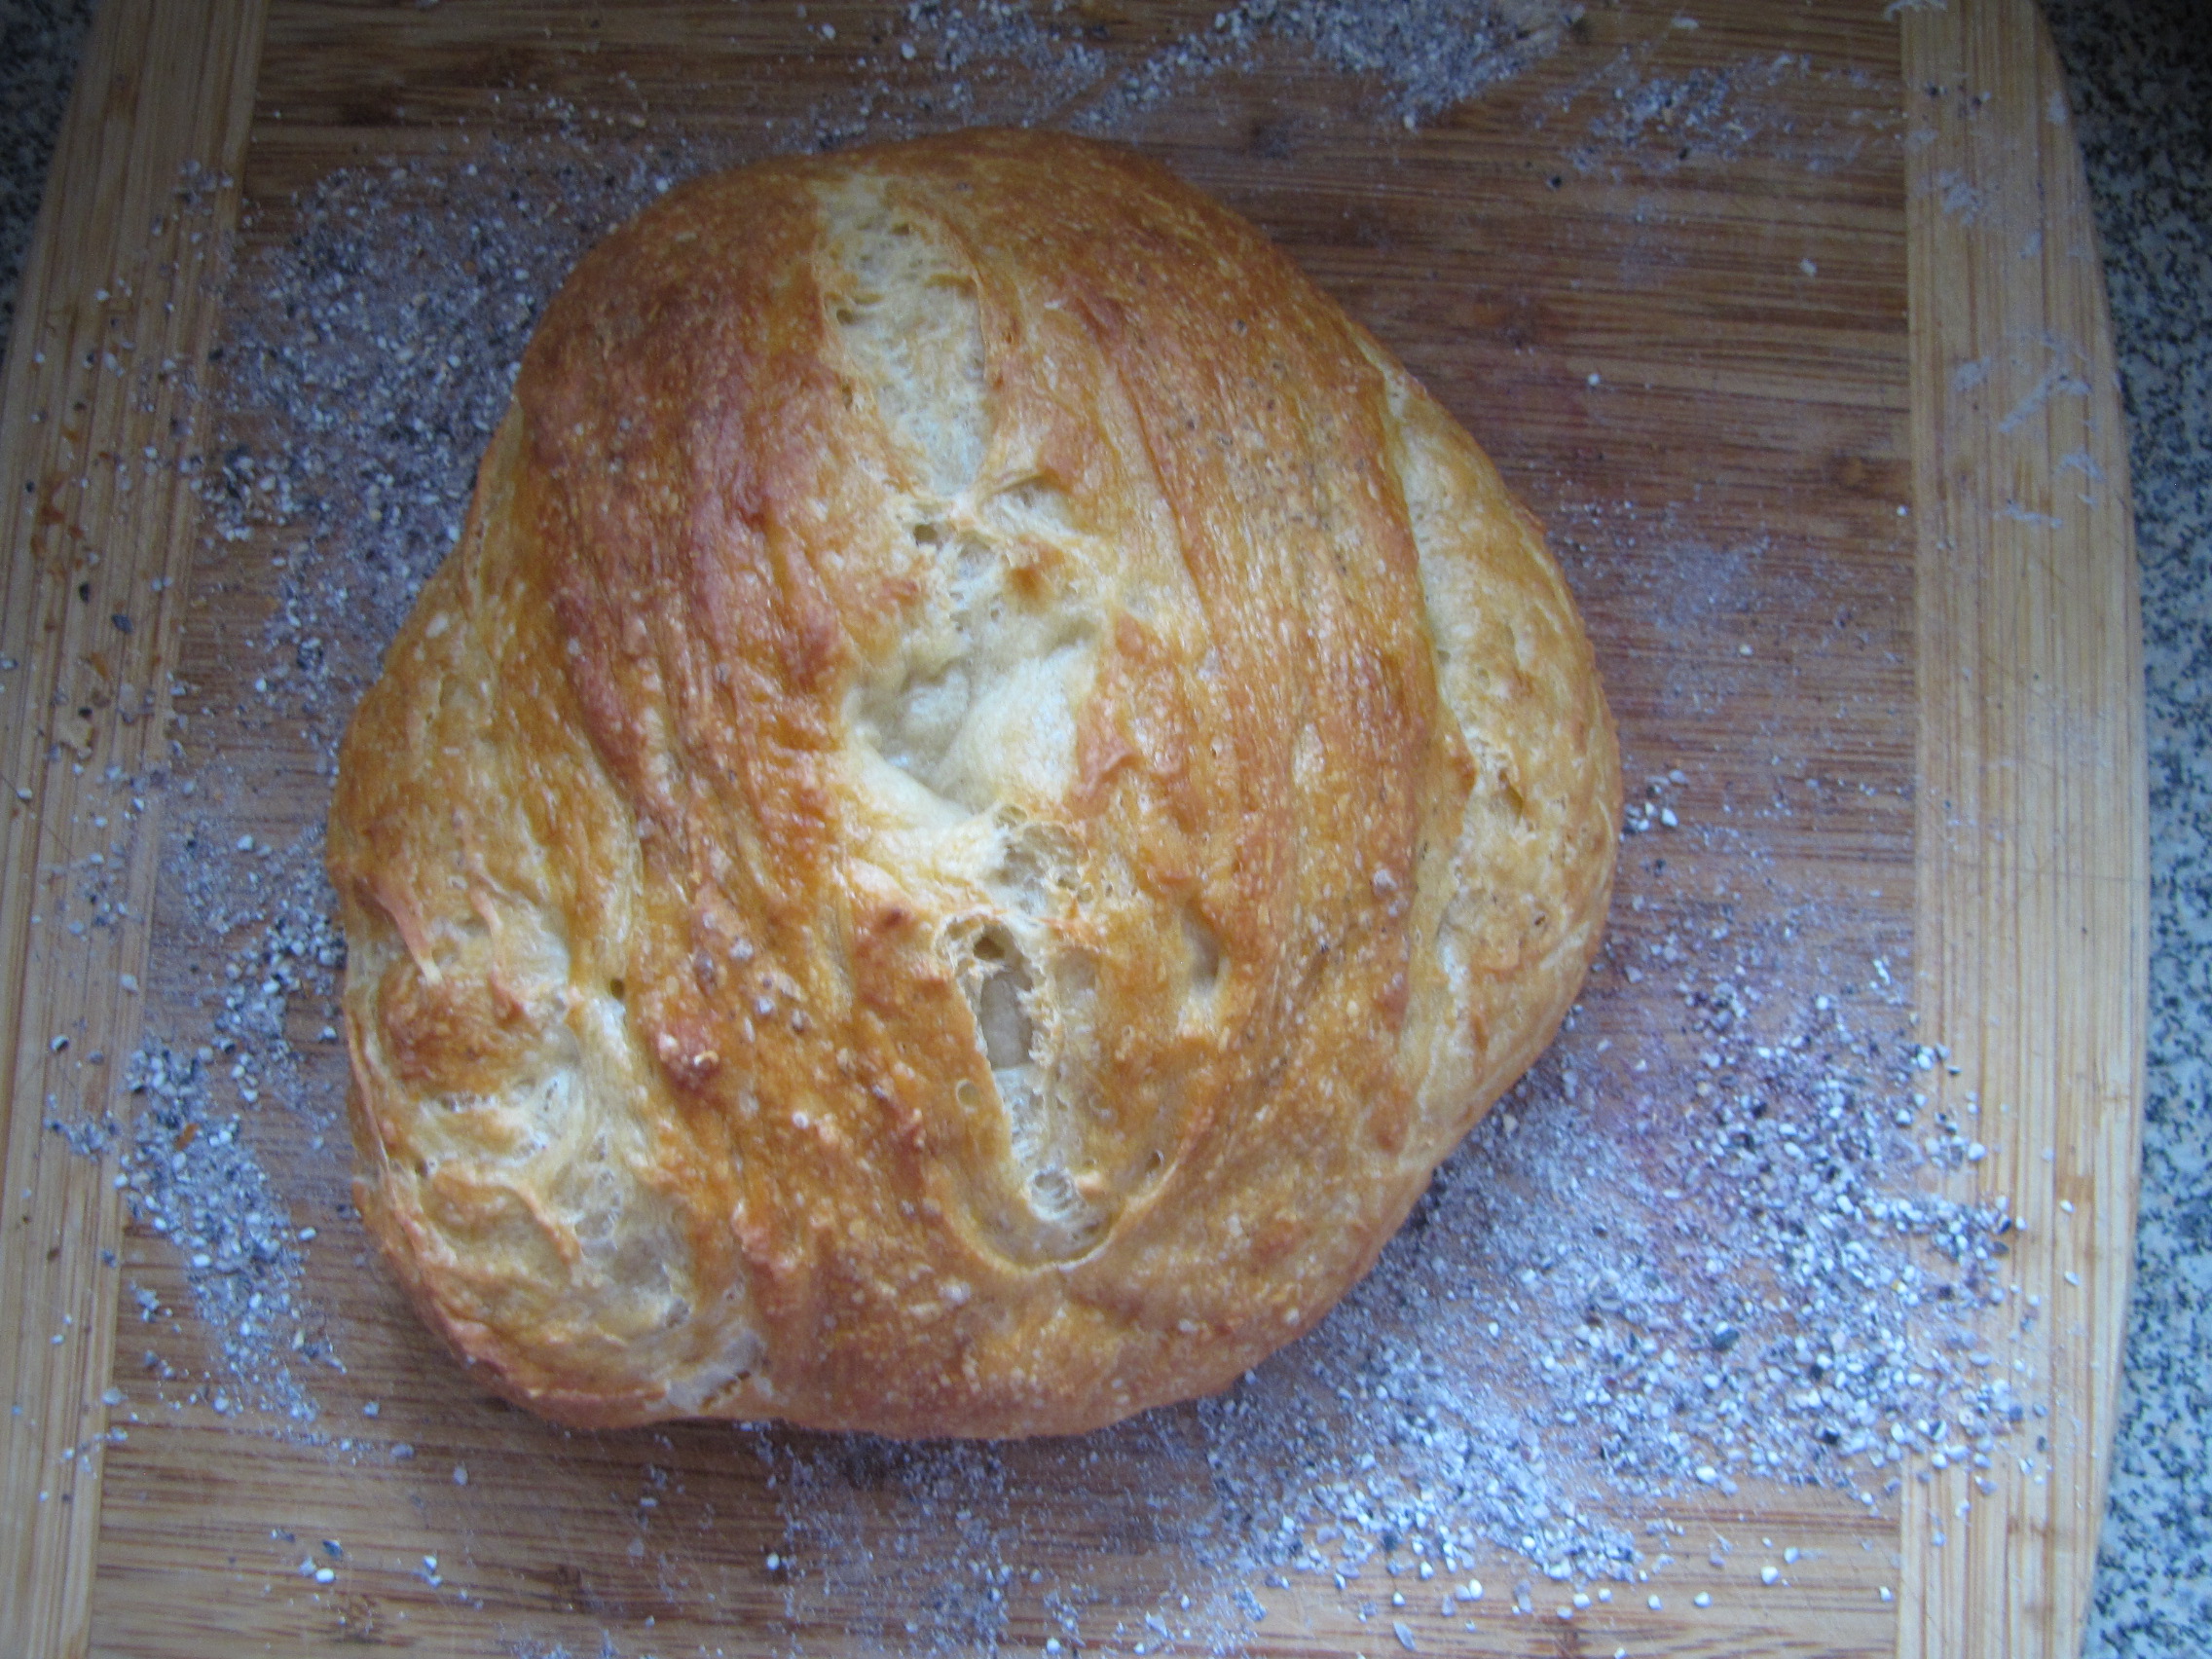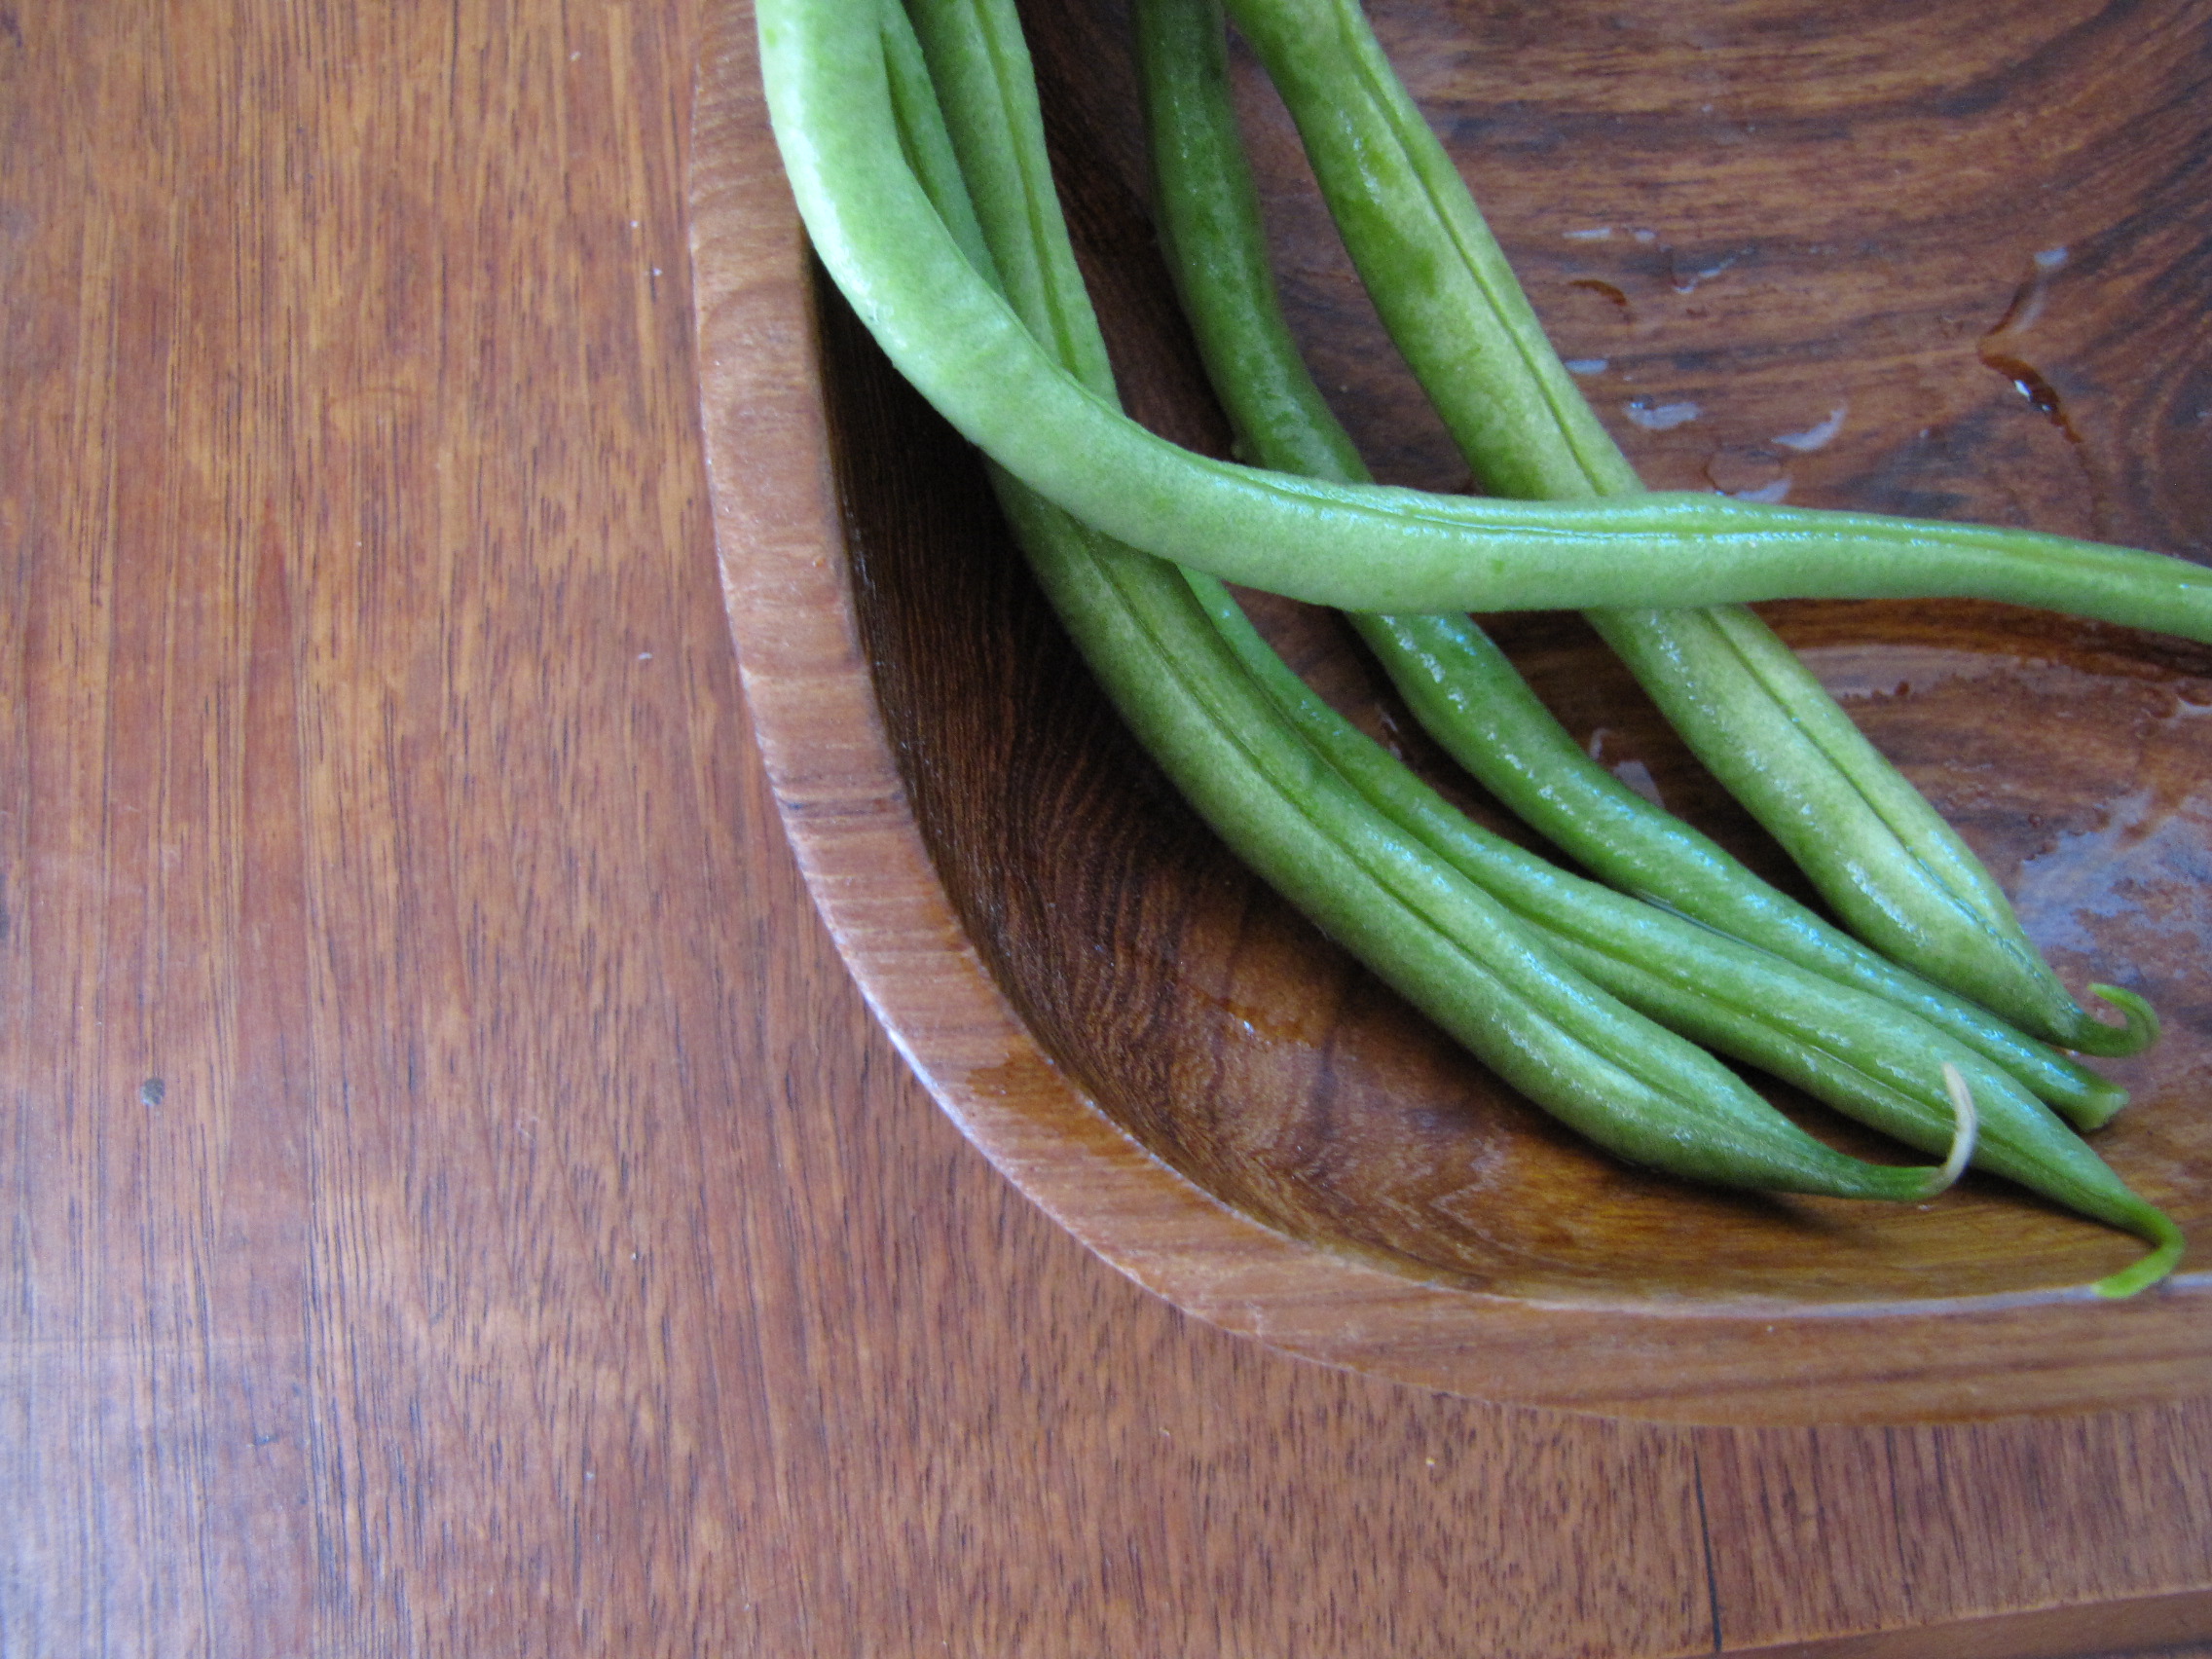
Lately I’ve been getting back to making home fermented foods, for our health and for simplicity’s sake. Â I routinely make sourdough, yogurt, and buttermilk, but had gotten away from cultured vegetables (life gets busy). Â But the past several weeks, I have re-discovered how much we love lacto-fermented veggies.
Lacto-fermentation is the process of using beneficial bacteria (primarily Lactobacillus acidophilus and L. bifidus) to create lactic acid and ferment raw fruits and veggies into foods that are more easily digestible and have more bio-available nutrients. Â The process also preserves food for many months.
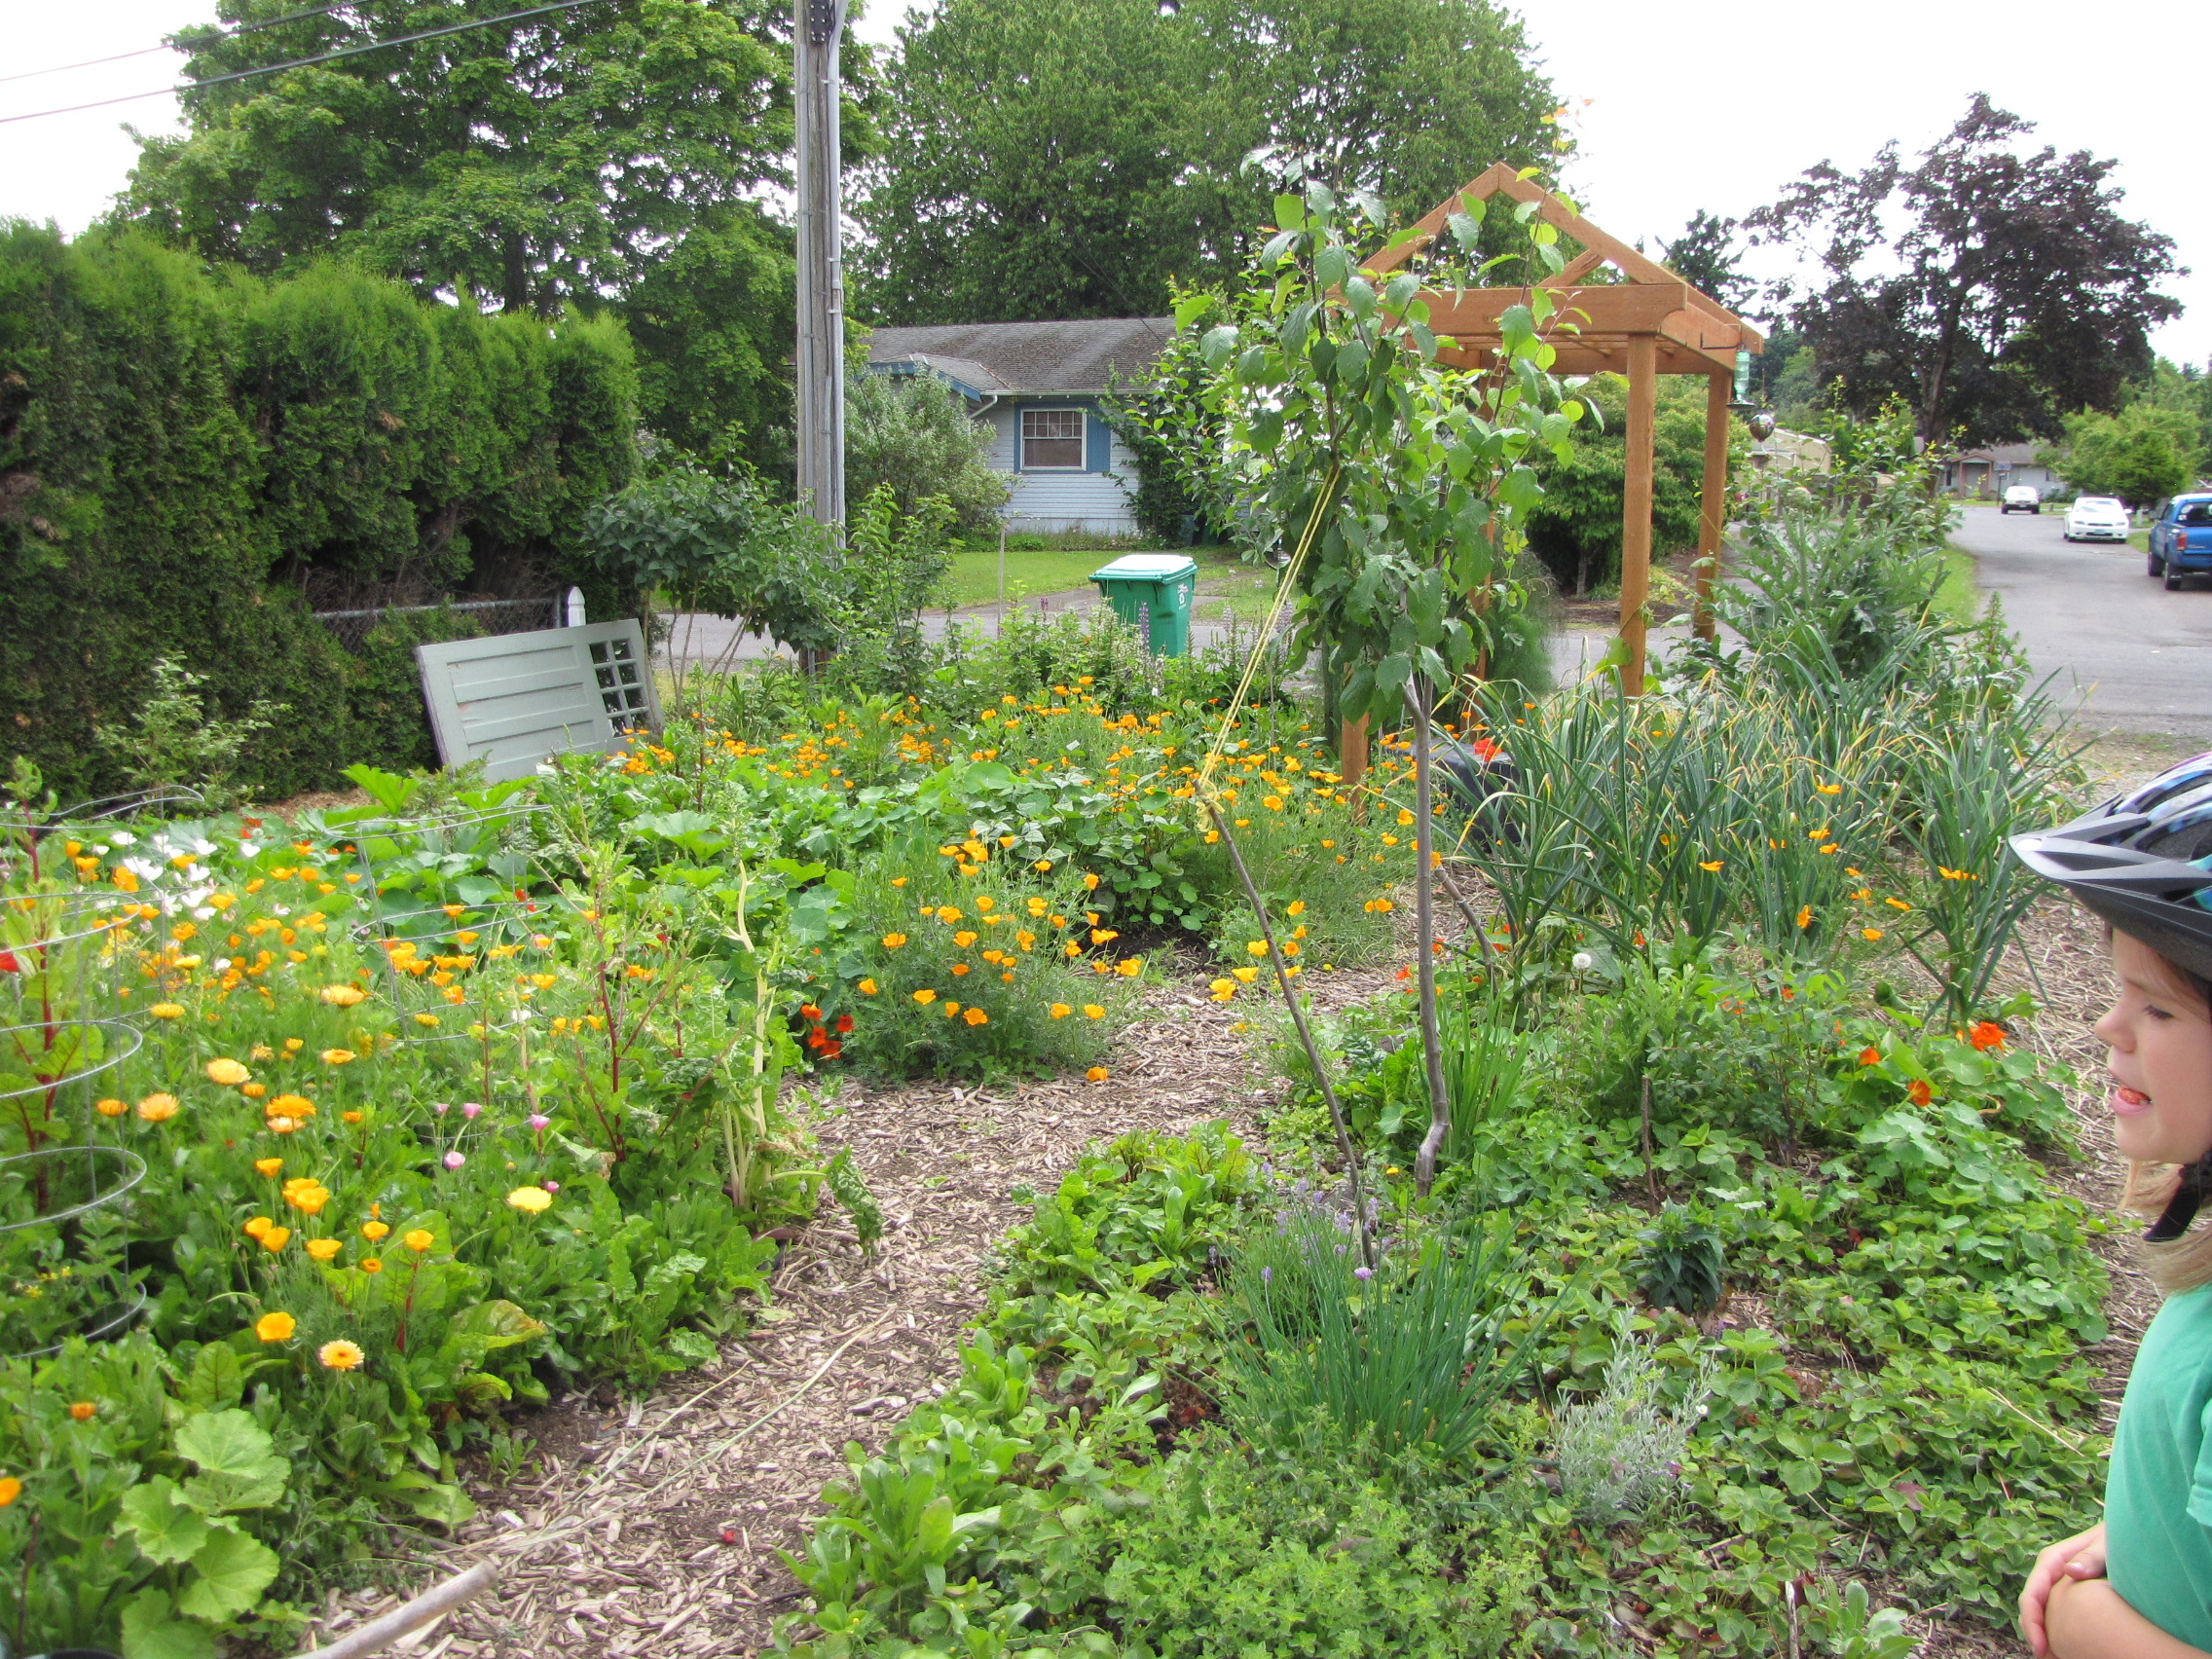
The garden is bursting with produce, but my schedule is hectic and time is precious, so even setting aside the health benefits, lacto-fermentation is the best option for preserving and enjoying much of our garden produce. Â Unlike canned pickles, lacto-fermented veggies do not require heating up the kitchen and hours slaving over a canner on hot summer days. Â They only require a few minutes to prep the ingredients, a little care in setting up the ferment.
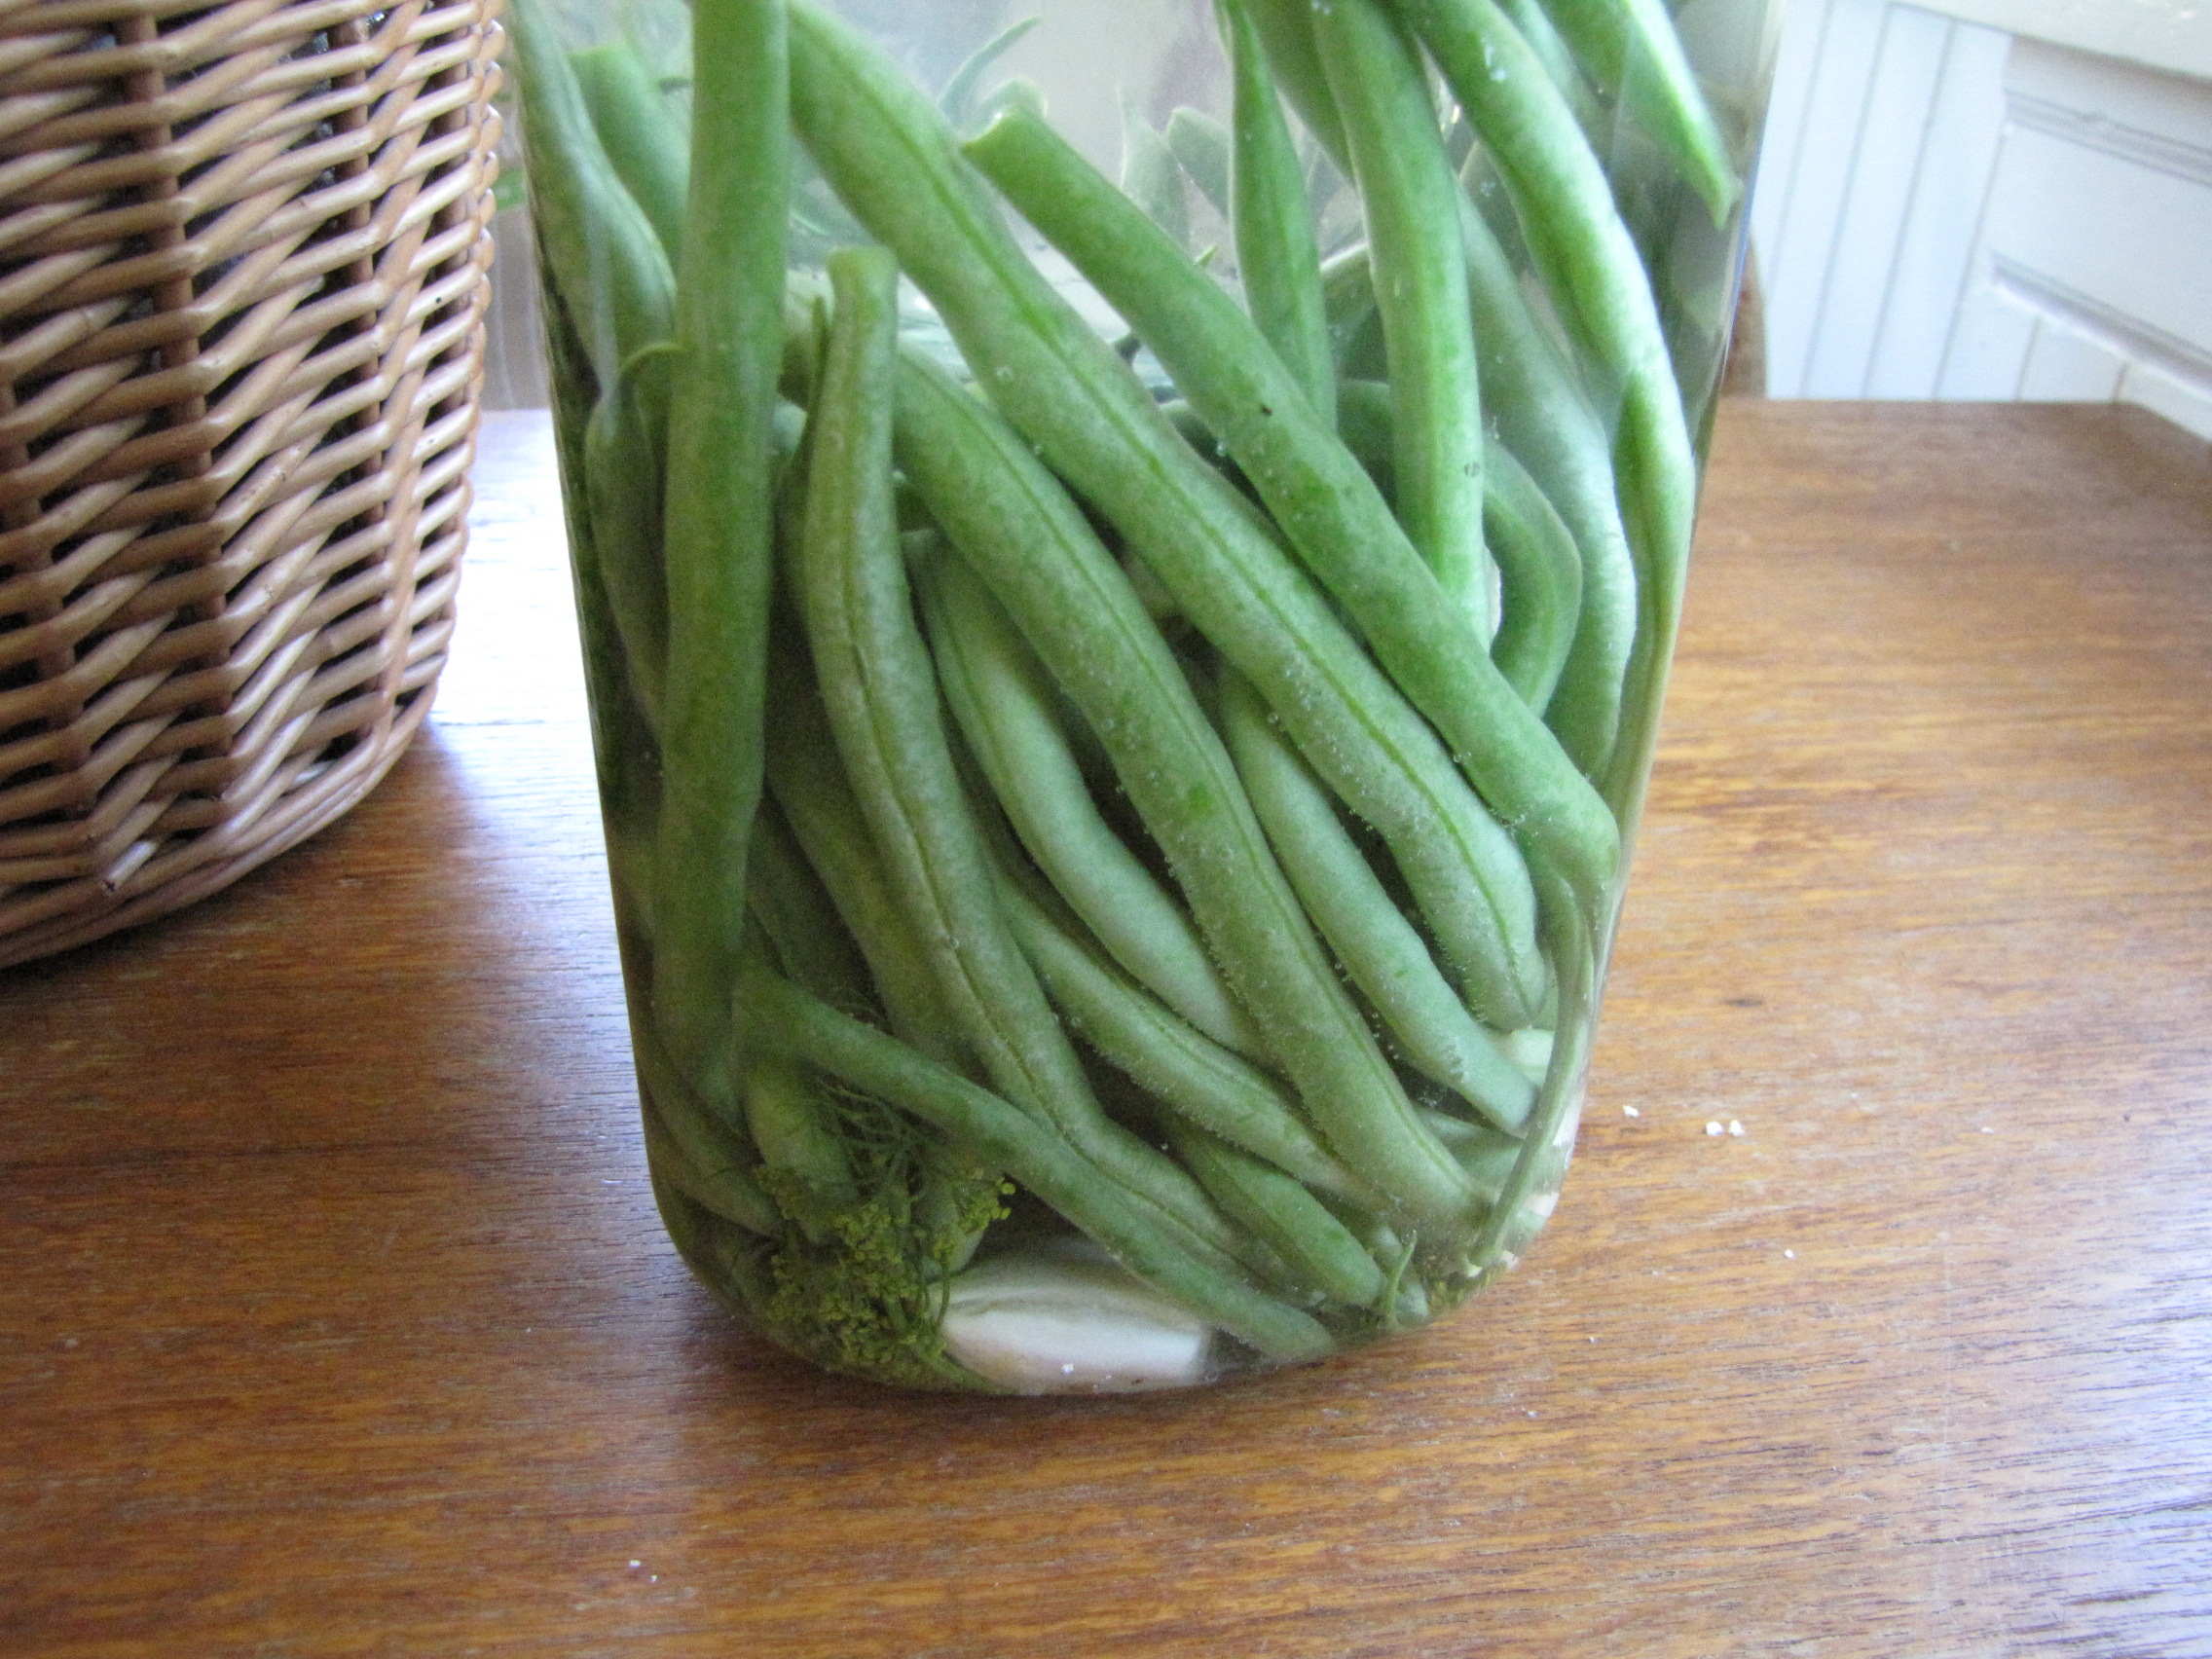
Today, a batch of Dilly Beans finished after five days on the counter, and I couldn’t wait to crack into the jar. Â I must say, they are superb. Â They are exponentially better than the less-than-crisp hot-water bath canned bean pickles I’ve made in the past. Â A completely different and superior food, and I can’t stop eating them! Â These beans are crispy, crunchy, salty, tangy, with just the right balance of dill and garlic. Â Did I mention how crunchy they are?
Here’s my recipe, but first a few notes that will help your fermentation be successful:
On the brine – in order to create the proper environment for the good bacteria and inhibit mold growth, the brine MUST be salty enough. Â The traditional ratio is 3 Tbsp of salt for 1 Qt. of water. Â Also remember that all of your pickles must be fully submerged in the brine – any pieces sticking up out of the brine may mold or grow funky bacteria and spoil your batch.
For a less salty, and quicker fermenting brine: Â omit 1 Tbsp salt and substitute in 1/4 cup whey from making yogurt, creme fraiche, or cheese. Â (You can strain a cup or so of store-bought yogurt with active cultures (REAL yogurt, not one with added guar gum and thickeners and such) to get your whey if needed. Â I like Nancy’s Organic Wholemilk Plain. Â It’s what I use as a starter for homemade yogurt, too.)
On the fermenting vessels – My friends at The Liberated Kitchen suggested picking up large fido jars at Ross or Marshalls.  What a great idea!  For $3 or $4 each you can snag half-gallon and gallon-sized jars which work great for fermenting.  I pack my veggies in, add the brine, and then insert a small juice glass to push the veggies under the brine before sealing it up.  (Note: I used to believe that you had to burp the jars to reduce pressure and avoid spill-over or breakage, but have since learned that Fido jars actually allow gases to escape through the gasket, without oxygen re-entering or the need to burp the jars.)
Best Dilly Beans EVER
1 1/2-2 lbs of fresh, organic green beans
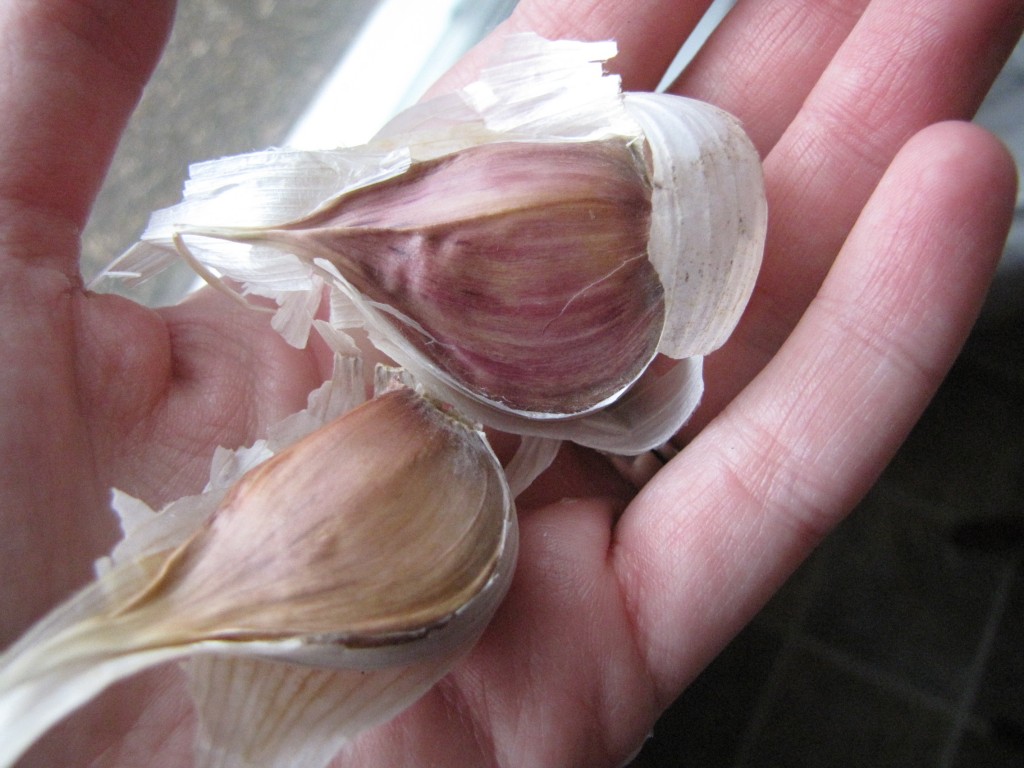
4 cloves of garlic, smashed with the side of a knife
2 heads of dill buds/flowers OR a good handful of dill fronds (which aren’t as potent)
1 heaping tsp black peppercorns
Enough brine to cover the beans +1 inch (My beans were quite long, and I needed about 1 3/4 Qts.)
Directions:
1)Place garlic, dill, and peppercorns in the bottom of the jar.
2)Stack beans (standing up on their ends) into the jar.
3)Fill jar with brine, being sure to fully cover beans, but leaving headspace.
4) Leave on the kitchen counter (60-80F is ideal) for 5-10 days, until desired tangyness is achieved, then move to the fridge (Be sure to  check the contents daily, and don’t overfill or  you may break your jar, especially if it is warm in the house and it ferments rapidly).  Will keep for several months in the fridge.
For more info on lacto-fermentation and other fermented foods, plus tips on trouble-shooting and inspiration from other fermenters, visit the Wild Fermentation FB Group.
![IMG_0174[1]](https://blog.parkrosepermaculture.com/wp-content/uploads/2014/11/IMG_01741-e1415315875820.jpg)
![IMG_0259[1]](https://blog.parkrosepermaculture.com/wp-content/uploads/2014/11/IMG_02591.jpg)
![IMG_0220[1]](https://blog.parkrosepermaculture.com/wp-content/uploads/2014/11/IMG_02201.jpg)
![IMG_0210[1]](https://blog.parkrosepermaculture.com/wp-content/uploads/2014/11/IMG_02101.jpg)
![IMG_0219[1]](https://blog.parkrosepermaculture.com/wp-content/uploads/2014/11/IMG_02191.jpg)
![IMG_0208[1]](https://blog.parkrosepermaculture.com/wp-content/uploads/2014/11/IMG_02081.jpg)
![IMG_0200[1]](https://blog.parkrosepermaculture.com/wp-content/uploads/2014/11/IMG_02001-e1415316066359.jpg)
![IMG_0195[1]](https://blog.parkrosepermaculture.com/wp-content/uploads/2014/11/IMG_01951.jpg)
![IMG_0180[1]](https://blog.parkrosepermaculture.com/wp-content/uploads/2014/11/IMG_01801.jpg)
![IMG_0203[2]](https://blog.parkrosepermaculture.com/wp-content/uploads/2014/11/IMG_02032-e1415316409830.jpg)
![IMG_0126[1]](https://blog.parkrosepermaculture.com/wp-content/uploads/2014/10/IMG_01261.jpg)
![IMG_0125[1]](https://blog.parkrosepermaculture.com/wp-content/uploads/2014/10/IMG_01251.jpg)
![IMG_0134[1]](https://blog.parkrosepermaculture.com/wp-content/uploads/2014/10/IMG_01341-e1413782005927.jpg)
![IMG_0137[1]](https://blog.parkrosepermaculture.com/wp-content/uploads/2014/10/IMG_01371.jpg)
![IMG_0073[1]](https://blog.parkrosepermaculture.com/wp-content/uploads/2014/10/IMG_00731-e1413248536445.jpg)
![IMG_0069[1]](https://blog.parkrosepermaculture.com/wp-content/uploads/2014/10/IMG_00691-e1413248611218.jpg)
![IMG_0062[1]](https://blog.parkrosepermaculture.com/wp-content/uploads/2014/10/IMG_00621.jpg)
![IMG_0089[1]](https://blog.parkrosepermaculture.com/wp-content/uploads/2014/10/IMG_00891.jpg)
![IMG_0097[1]](https://blog.parkrosepermaculture.com/wp-content/uploads/2014/10/IMG_00971-e1413248756523.jpg)
![IMG_0100[1]](https://blog.parkrosepermaculture.com/wp-content/uploads/2014/10/IMG_01001.jpg)
![IMG_0122[1]](https://blog.parkrosepermaculture.com/wp-content/uploads/2014/10/IMG_01221.jpg)
![IMG_0116[1]](https://blog.parkrosepermaculture.com/wp-content/uploads/2014/10/IMG_01161.jpg)
![IMG_0103[1]](https://blog.parkrosepermaculture.com/wp-content/uploads/2014/10/IMG_01031-e1413248685844.jpg)
![IMG_0120[1]](https://blog.parkrosepermaculture.com/wp-content/uploads/2014/10/IMG_01201-e1413248823724.jpg)
![IMG_0106[1]](https://blog.parkrosepermaculture.com/wp-content/uploads/2014/10/IMG_01061.jpg)
![IMG_0114[1]](https://blog.parkrosepermaculture.com/wp-content/uploads/2014/10/IMG_01141.jpg)
![IMG_0086[1]](https://blog.parkrosepermaculture.com/wp-content/uploads/2014/10/IMG_00861.jpg)
![IMG_9930[1]](https://blog.parkrosepermaculture.com/wp-content/uploads/2014/09/IMG_99301-e1411854594948.jpg)
![IMG_9936[1]](https://blog.parkrosepermaculture.com/wp-content/uploads/2014/09/IMG_99361-e1411854531797.jpg)
![IMG_9904[1]](https://blog.parkrosepermaculture.com/wp-content/uploads/2014/09/IMG_99041-e1411868020894.jpg)
![IMG_9908[1]](https://blog.parkrosepermaculture.com/wp-content/uploads/2014/09/IMG_99081-e1411869774327.jpg)
![IMG_9895[1]](https://blog.parkrosepermaculture.com/wp-content/uploads/2014/09/IMG_98951.jpg)
![IMG_9897[1]](https://blog.parkrosepermaculture.com/wp-content/uploads/2014/09/IMG_98971-e1411854130638.jpg)
![IMG_9857[1]](https://blog.parkrosepermaculture.com/wp-content/uploads/2014/09/IMG_98571.jpg)
![IMG_9803[1]](https://blog.parkrosepermaculture.com/wp-content/uploads/2014/09/IMG_98031-e1411682986472.jpg)
![IMG_9808[1]](https://blog.parkrosepermaculture.com/wp-content/uploads/2014/09/IMG_98081-e1411682938588.jpg)
![IMG_9798[1]](https://blog.parkrosepermaculture.com/wp-content/uploads/2014/09/IMG_97981-e1411683343381.jpg)
![IMG_9870[1]](https://blog.parkrosepermaculture.com/wp-content/uploads/2014/09/IMG_98701.jpg)
![IMG_9690[1]](https://blog.parkrosepermaculture.com/wp-content/uploads/2014/09/IMG_96901.jpg)
![IMG_9577[1]](https://blog.parkrosepermaculture.com/wp-content/uploads/2014/09/IMG_95771.jpg)
![IMG_9723[1]](https://blog.parkrosepermaculture.com/wp-content/uploads/2014/09/IMG_97231.jpg)
![IMG_9736[1]](https://blog.parkrosepermaculture.com/wp-content/uploads/2014/09/IMG_97361-e1411447523418.jpg)
![IMG_9666[1]](https://blog.parkrosepermaculture.com/wp-content/uploads/2014/09/IMG_96661.jpg)
![IMG_9694[1]](https://blog.parkrosepermaculture.com/wp-content/uploads/2014/09/IMG_96941.jpg)
![IMG_9752[2]](https://blog.parkrosepermaculture.com/wp-content/uploads/2014/09/IMG_97522-e1411447921454.jpg)
![IMG_9697[1]](https://blog.parkrosepermaculture.com/wp-content/uploads/2014/09/IMG_96971.jpg)
![IMG_9747[1]](https://blog.parkrosepermaculture.com/wp-content/uploads/2014/09/IMG_97471.jpg)
![IMG_9782[1]](https://blog.parkrosepermaculture.com/wp-content/uploads/2014/09/IMG_97821.jpg)
![IMG_9471[1]](https://blog.parkrosepermaculture.com/wp-content/uploads/2014/06/IMG_94711.jpg)
![IMG_9473[1]](https://blog.parkrosepermaculture.com/wp-content/uploads/2014/06/IMG_94731.jpg)
![IMG_9474[1]](https://blog.parkrosepermaculture.com/wp-content/uploads/2014/06/IMG_94741.jpg)
![IMG_9475[1]](https://blog.parkrosepermaculture.com/wp-content/uploads/2014/06/IMG_94751.jpg)
![IMG_9449[1]](https://blog.parkrosepermaculture.com/wp-content/uploads/2014/06/IMG_94491.jpg)
![IMG_9487[1]](https://blog.parkrosepermaculture.com/wp-content/uploads/2014/06/IMG_94871.jpg)
![IMG_9485[1]](https://blog.parkrosepermaculture.com/wp-content/uploads/2014/06/IMG_94851.jpg)
