Sewing

Little Quilt for Lucky Lola

IMG_3226

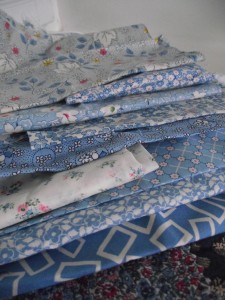
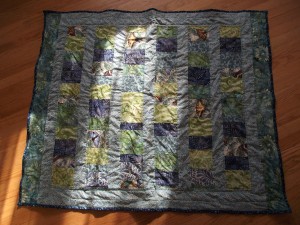
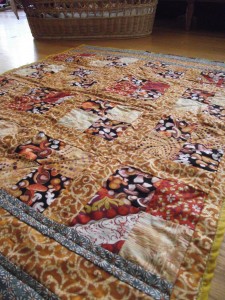
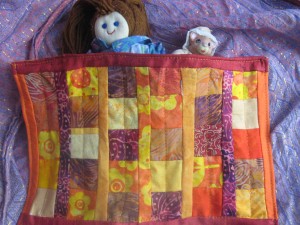
My dear friend, Trish, from Lucky Lola Studios asked me to make her a little quilt she could use for newborn portraits.  Something pastel and gender neutral.  My local thrift store is the perfect place to pick up bags of scrap fabric for $0.50-$2.  It’s often vintage or good quality quilting remnants from Fabric Depot.  If you’ve got a use for little bits of this and that all the way up to fat-quarter sized pieces, their grab-bags can be a good deal.

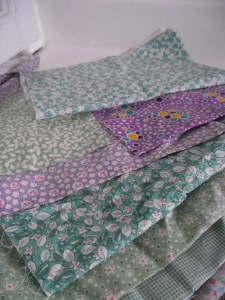
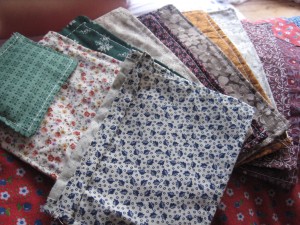
A while back, I found a bag that was all 5×5 or smaller pieces or strips of Depression-Era reproduction fabric.  Most of the pieces were 2 inches or smaller, but some were long strips.  I’d been holding it back for the perfect project, and it seemed like just enough to fulfill Trish’s request.


IMG_3228

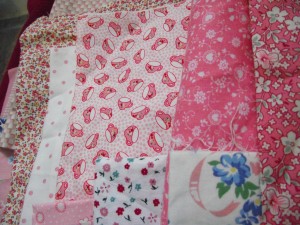
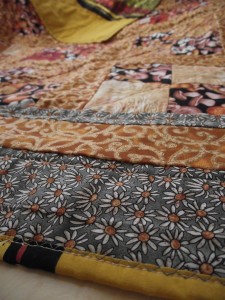
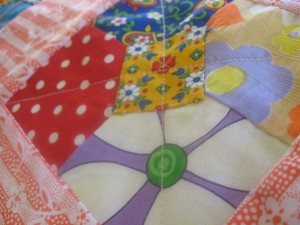
My favorite pieces were these teacup prints!  Just enough to cobble together eight squares for the main blocks.

IMG_3230

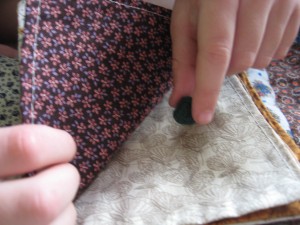
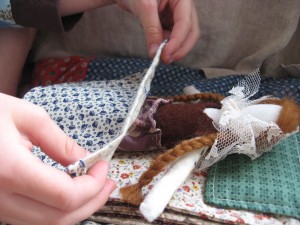
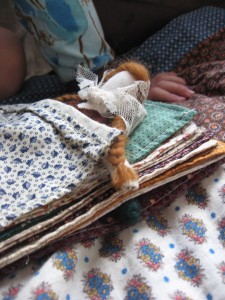
Since we’re on the subject of handwork, I wanted to share these books my sister-in-law got us for Christmas.  All of the scenes are made from felted wool!  The kids and I have loved looking through them and Ruth has been researching more about how to make felt figures with wire frames underneath.

IMG_3229

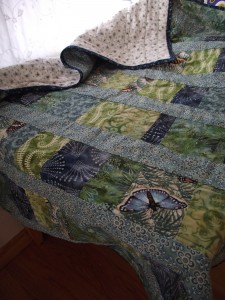
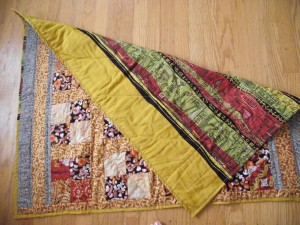
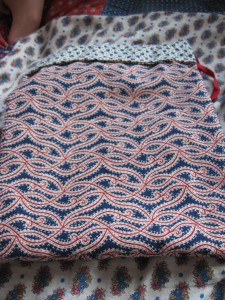
I finished the quilt with some machine quilting and used some vintage thrift store fabric for the back and thrifted bias tape for the binding.  Looking forward to getting it off in the mail this weekend!

Quick Project – First Aid Kit

IMG_1394

A little sewing from the weekend:   There tends to be a seasonality to my craft habits, and summer time is sewing time.  When life gets a little stressful (and I can’t go skate), I can retreat to the sewing machine upstairs, rummage through the scrap pile, and crank out a few quick projects.  And feel a little better.

IMG_1395

I found this tutorial on Pinterest, and whipped up some little First Aid Kits for gifts.  Bea asked if I’d make her one from scraps of strawberry fabric, so this one is for her.

IMG_1397

IMG_1391

These kits were a great use of scrap fabric (which I have in abundance thanks to our local thrift store) and took about 20 minutes start to finish.  I think I’ll be making quite a few more for gifts.

Back to tomorrow with an update from the orchard.

Yarn Along – Just Barely

IMG_8090

Life is so frantic lately, I almost didn’t make Nicole’s KCCO or  Ginny’s Yarn Along this week.  I am having trouble keeping my head above water some days.  It seems to be a constant problem – four kids, busy schedules, deadlines, nowhere to cut back and simplify.  When life gets like this, I’m going to drop a ball somewhere, I just don’t know where yet…

This week, I’m re-reading some of of my favorite permaculture books.  I am working on a research project, and while I thought most of my reading would take place late at night (thanks to chronic insomnia), the kids had other plans.

Ruth and Bea (ages 10 and 8) found the stack of 7or 8 permie books and asked if we could read through them together.  Ruth, ever the artist,  is fascinated with all the diagrams and base maps and sketches.  Bea, ever the idealist, enjoys thinking about designing for conservation of resources and regeneration of the land.  We all enjoy reading them together.

(Our favorite is Jenny Allen’s Australian book, Smart Permaculture Design.  Oh, if only we could grow mangoes and avocados!)

IMG_8096George is growing like a weed, and has outgrown some of the wool soakers I made him a while back.  Those that still fit take a while to dry on the line, so we’re a little short in the rotation.  Over the last few months, I’ve collected some cashmere and merino sweaters from the thrift store (for $1-$2/each), and today I hope to get them cut up for more longies and short soakers.   There should be enough to make four for George and two infant-sized ones for baby shower gifts.

IMG_8106In the late winter, I tend to be a little burned-out on knitting, and try to fill the void with spinning projects.  Last week some folks here and on the Facebook page commented on all the spindle spinning, and asked what I had going on the wheel.

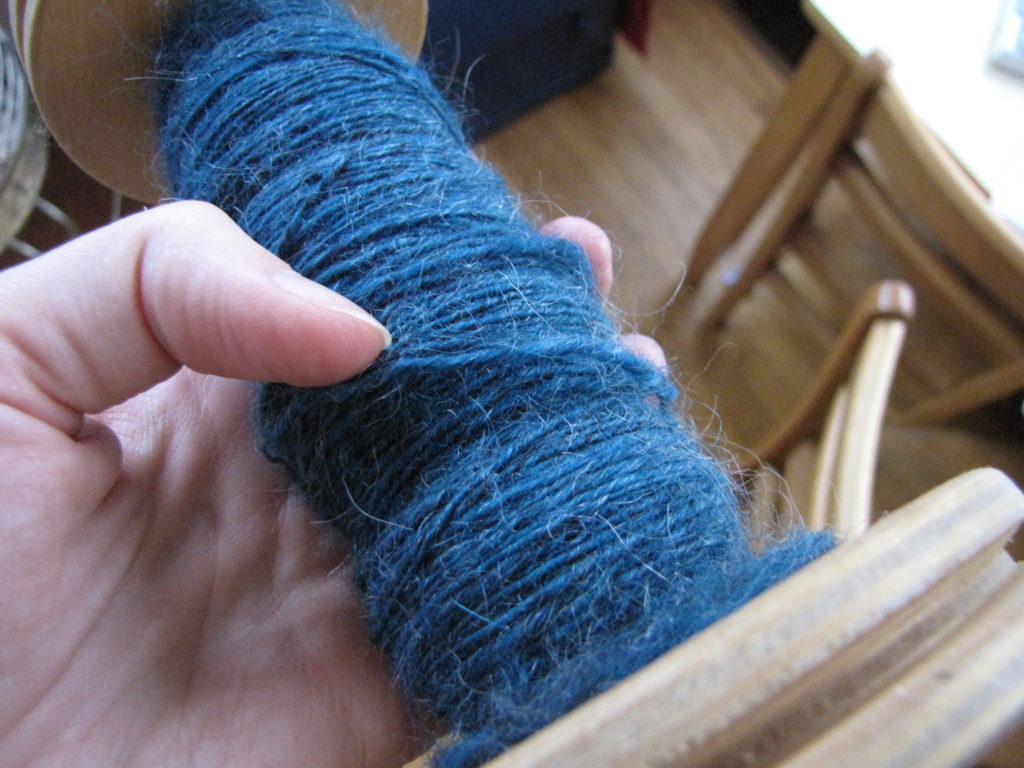
(Apologies for the fading light – it’s so hard to photograph in Oregon in January.  The color on the bobbin below is more true than above.)  Almost three years ago, I purchased a lot of mill-end Brown Sheep roving at a ridiculously cheap price (less than $8/lb).  I have worked through most of it on drop spindles, but this full pound of  teal with blue and black streaks (85% wool 15% mohair) is on the wheel.

IMG_8103

My beat-up Louet S10 came with only two bobbins (it was supposed to come with three…long story.  Buyer beware on Craigslist!), and both are currently holding this yarn.  Trying to fill this bobbin so I can hurry up and ply them.  My goal is to make matching vests for Harold and George (There should be ample yardage out of a full lb), which will be sized to fit them this coming fall (you have to really plan ahead when planning a project from a bag of roving!).

And now it’s back to school work with the kids:  Ruth is tackling addition and subtraction of mixed numbers with unlike denominators, and she needs me right there to work through the problems with her.  We are trying to wrap up school work early today, because Bea has an appointment to read to the therapy dog at the library this afternoon (such a great program for cautious and struggling readers!), and Ruth is desperate to pick up her book on hold (Harry Potter and the Order of the Phoenix).

I will catch up on the other Yarn-Alongers later tonight.  Happy knitting and happy reading!


Play Kits to go

Joining Nicole’s KCCO this week with a project I finished before the holidays, but am just now getting around to photographing.

The toy baskets were getting out of control.  One of the children would be rummaging through, looking for all the pieces of a playset, and end up dumping over the whole basket in frustration just to find a missing piece.

Christmas was coming, and I knew something had to change before the chaos in the living room got worse.

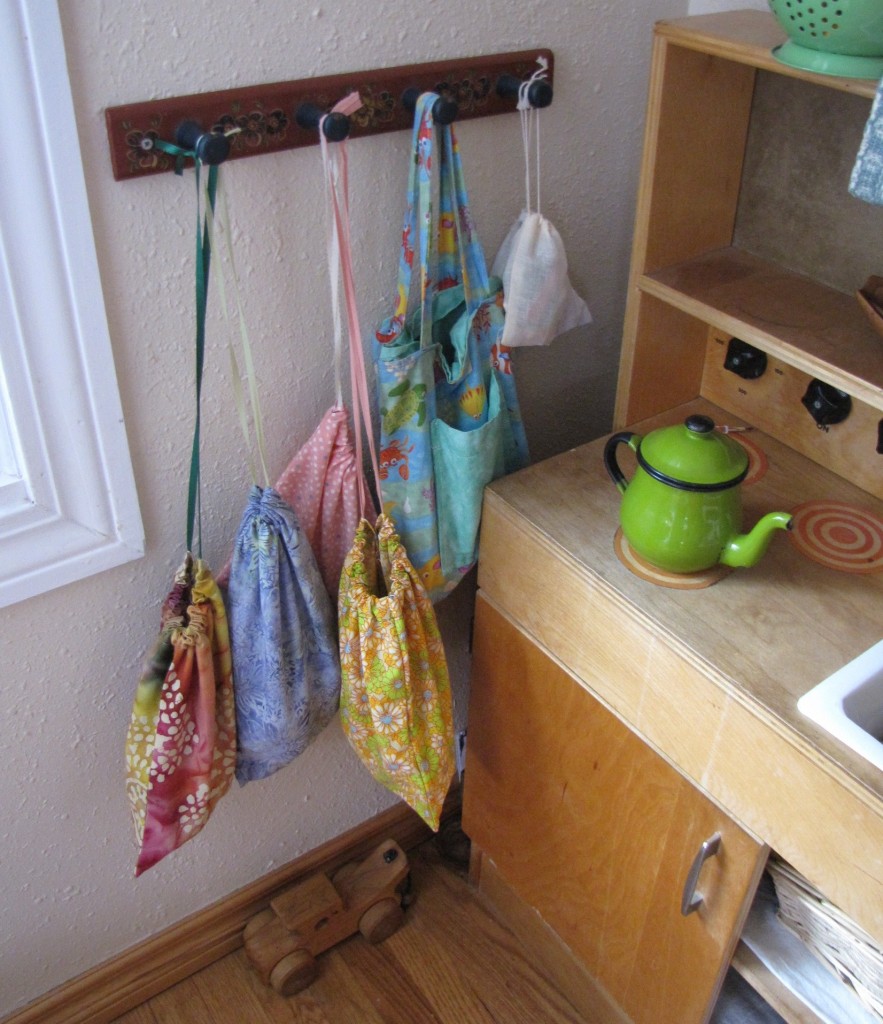
My solution:  just before Thanksgiving, I retrieved a  little coat rack from basement storage.  A dear family friend had made me when I was a very small child, and it used to hold my dress-ups.  I screwed in the rack at child-height next to the play kitchen.

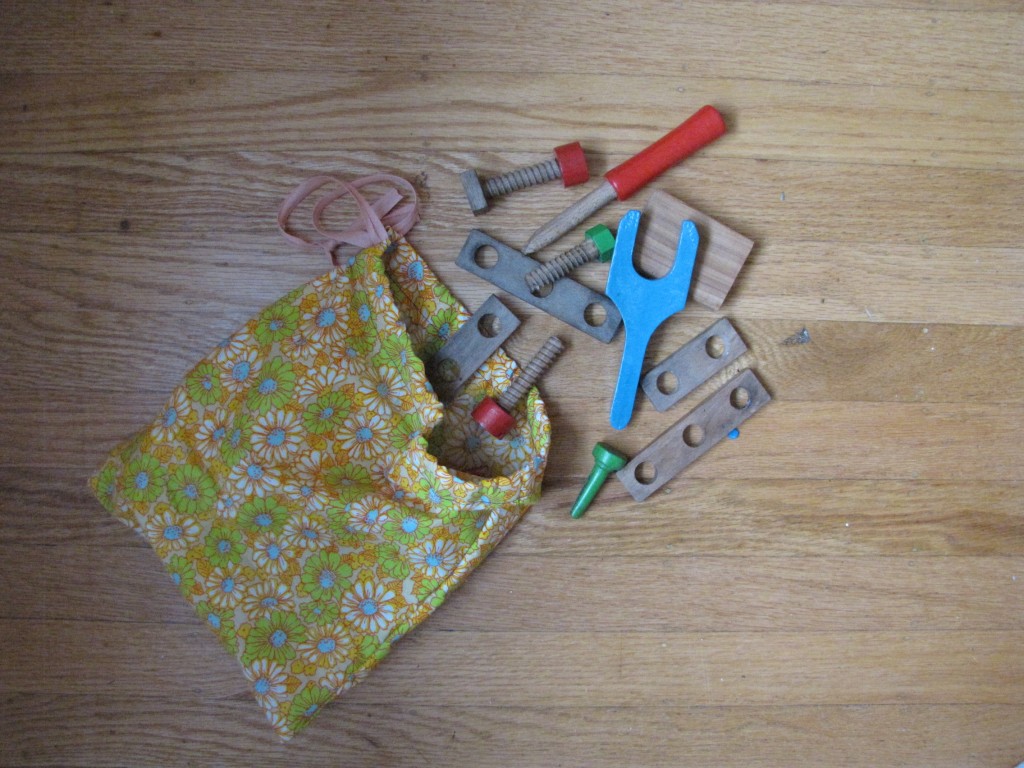
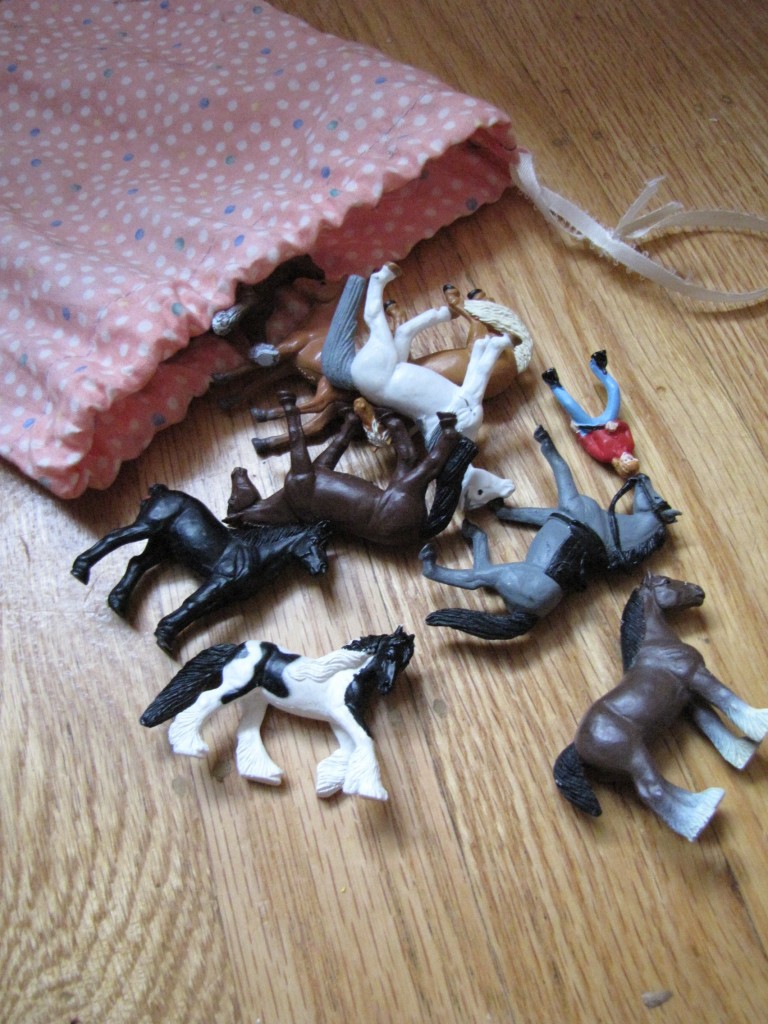
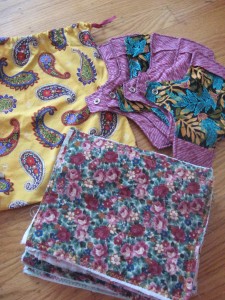
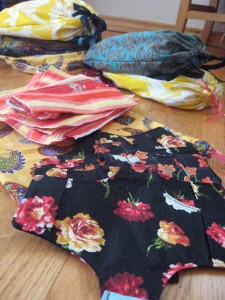
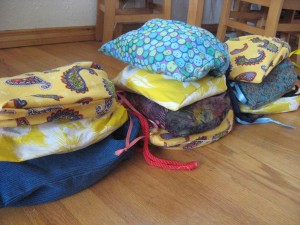
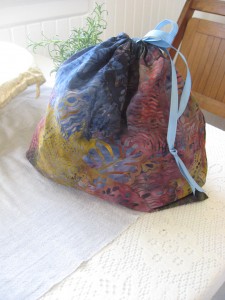
Then, during George’s nap one afternoon, I made some drawstring bags of different thrifted prints and of varying sizes.  Into each bag went a playset (wooden tools, Playmobils, finger puppets, flower fairies, cars…you get the picture.)  The most frequently-used sets went up on the rack, and some others were tucked into my purse and into the car for “emergency” situations (church, doctor’s office, waiting in line at the post office…).

So far, the system is working well.  The kids can find the toys they want to play with, and when they are finished, it is easy to scoop the pieces back into the bags.

Back tomorrow for the Yarn Along.

Christmas Preparations

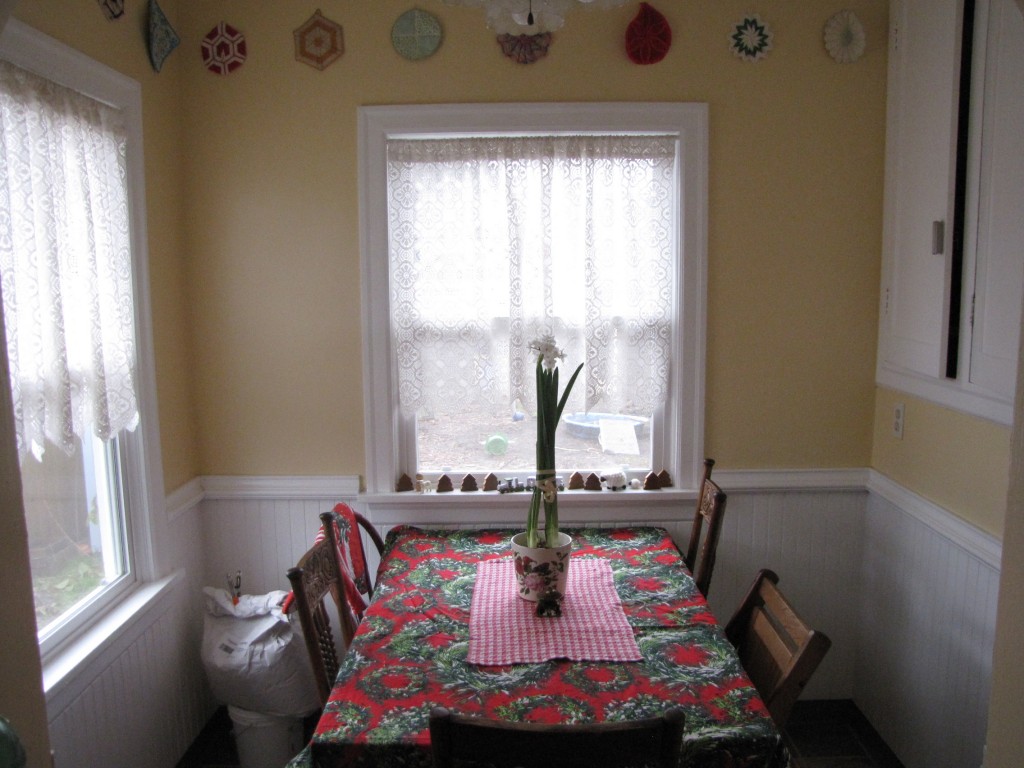
We’re finally getting the sewing cleared away and readying the dining nook for Christmas dinner. (That big bag of oats will shortly become granola for Christmas gifts. )

And putting out some last-minute decorations…

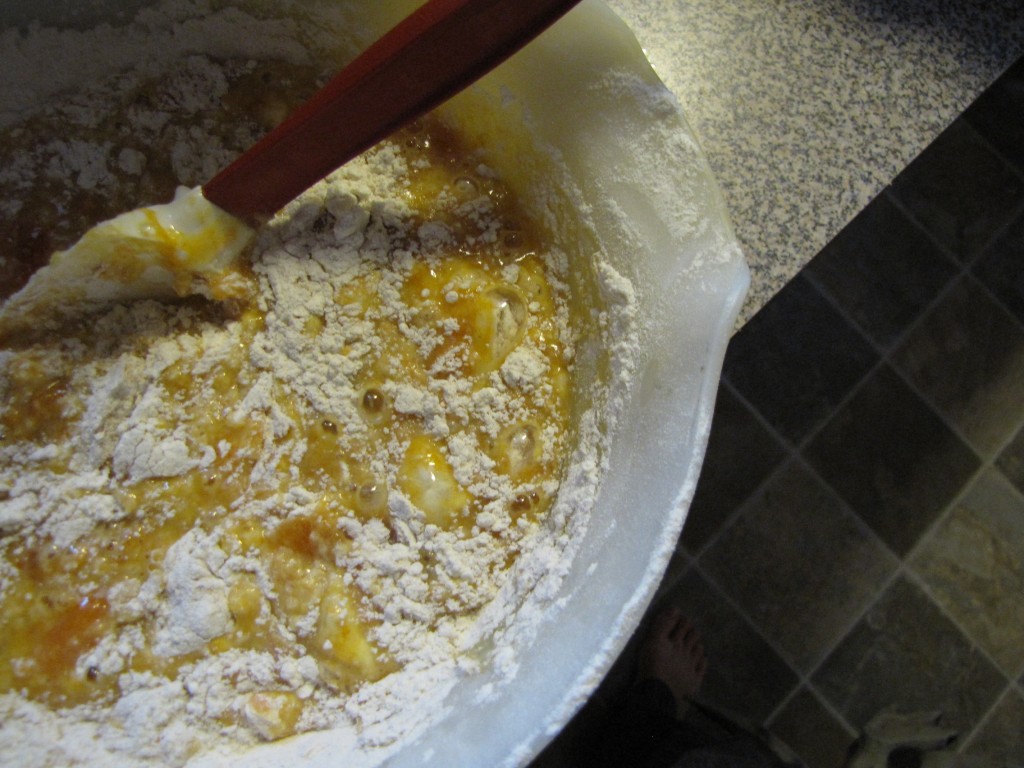
and making our traditional holiday persimmon bundt cake while the boys play with dinosaurs at my feet…

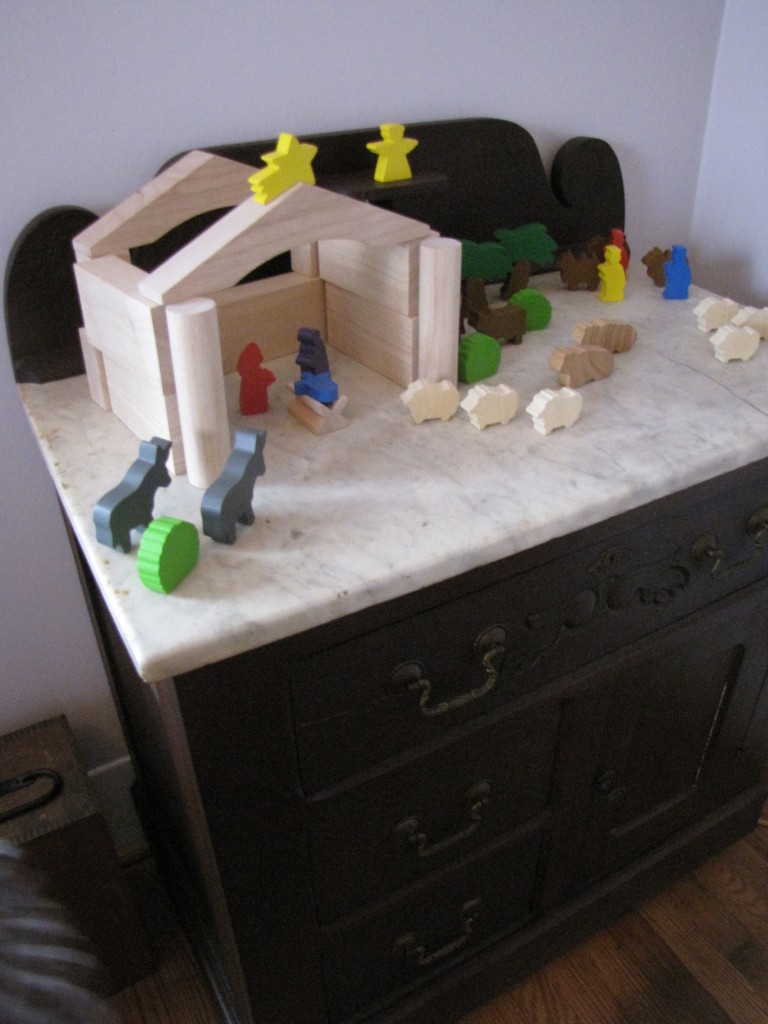
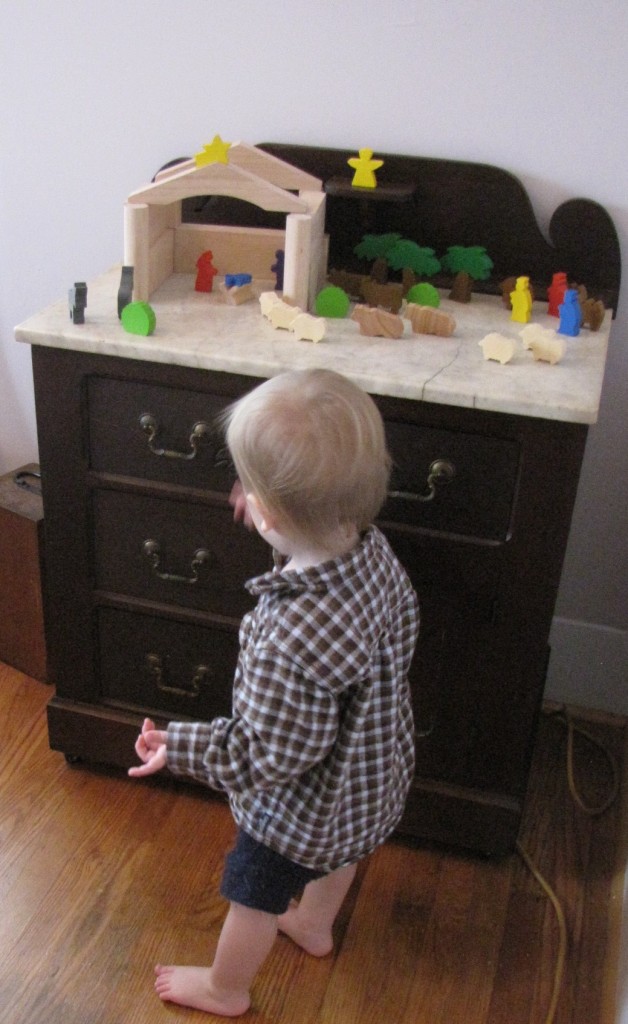
and putting out the last few pieces of the children’s new Nativity on my grandma’s marble-top washstand. (As much as I’d love to have a Nativity set like this one or this one, I am really enjoying this budget-friendly set – the children can play with it as much as they wish – and they do!  They check each morning to see if a new piece been placed out, and if one of the kids seems to have disappeared, I know he or she will be in the guest bedroom quietly playing at the Nativity.)

and running ribbons through the last batch of drawstring gift bags, so we can start wrapping up presents!

So many other projects and preparations before Christmas Eve!   I am trying to balance the pressure to complete everything with the need to slow down, connect with the kids, read to them, play with them, and enjoy time as a family.   Doing our best to keep the time sacred in the midst of so much activity.

Wishing you comfort and peace at this time of year.

KCCO – Christmas skirts

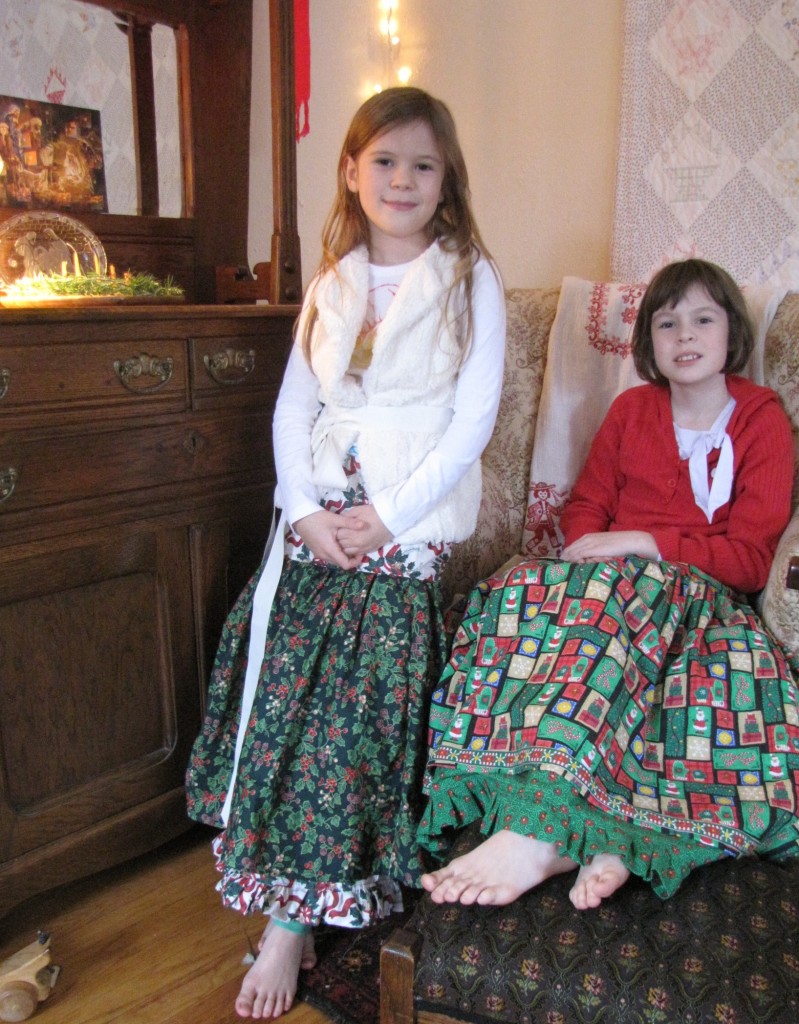
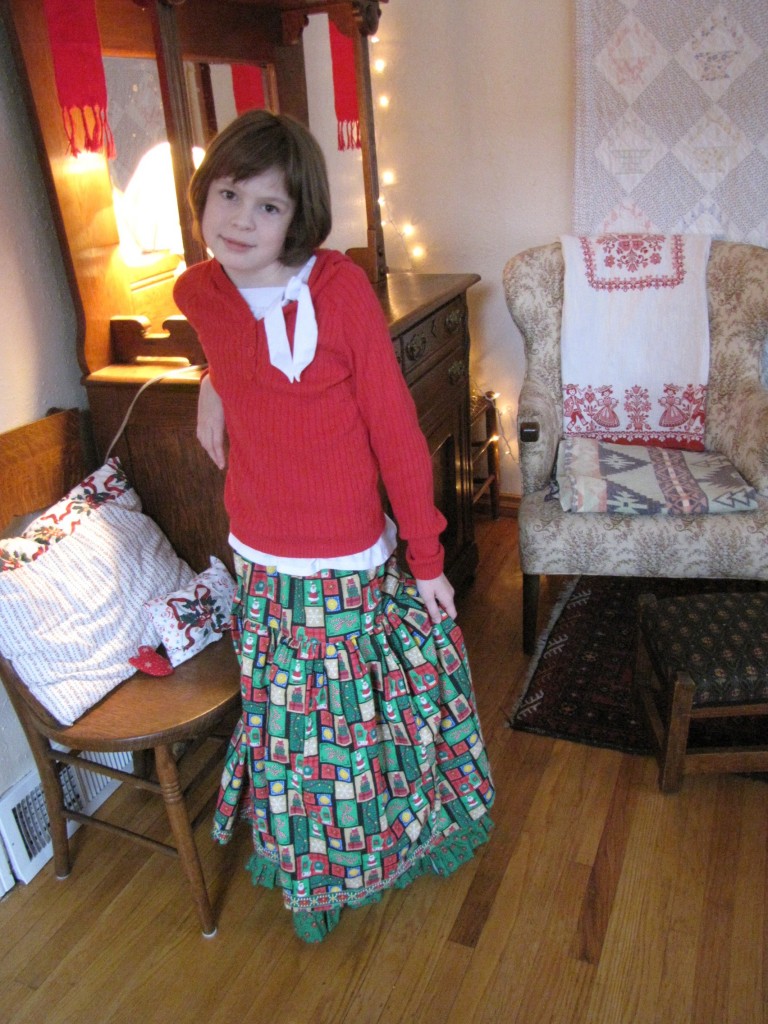
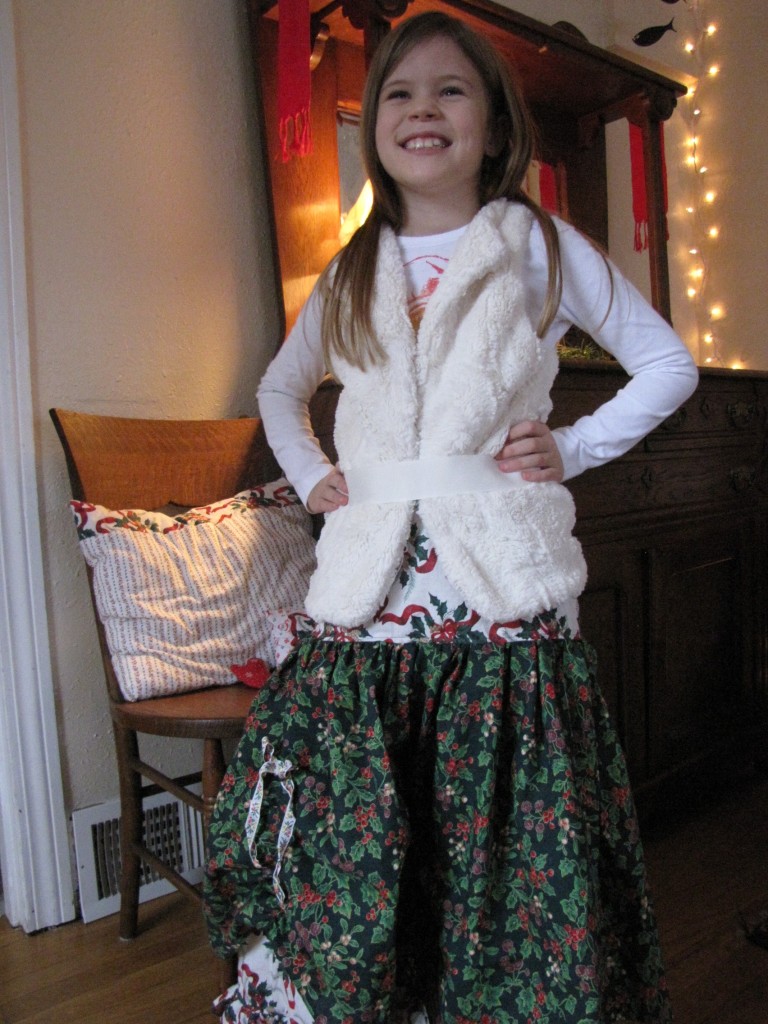
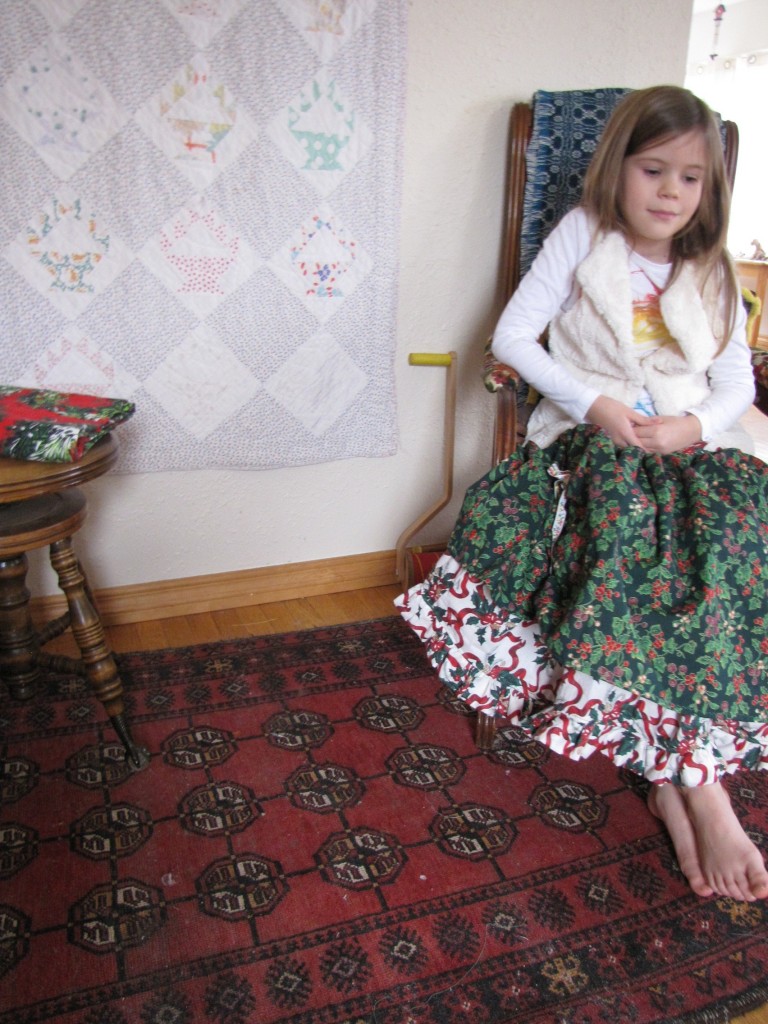
After what seemed like endless gathering and pinning, the Christmas skirts are finished.  Bea and Ruth are happy with how they came out, thank goodness!

The girls chose whatever fabric they wanted from a stack of thrifted Christmas prints my sister and I had accumulated over the past few years.  Ruth asked for them to be double layered for warmth and to feel old fashioned (like a petticoat).

And she wanted it long – nearly to the floor – with ruffles.  I tacked on some vintage woven ribbon along the hem for good measure.

Bea wanted a drop waist and full-bodied skirt.

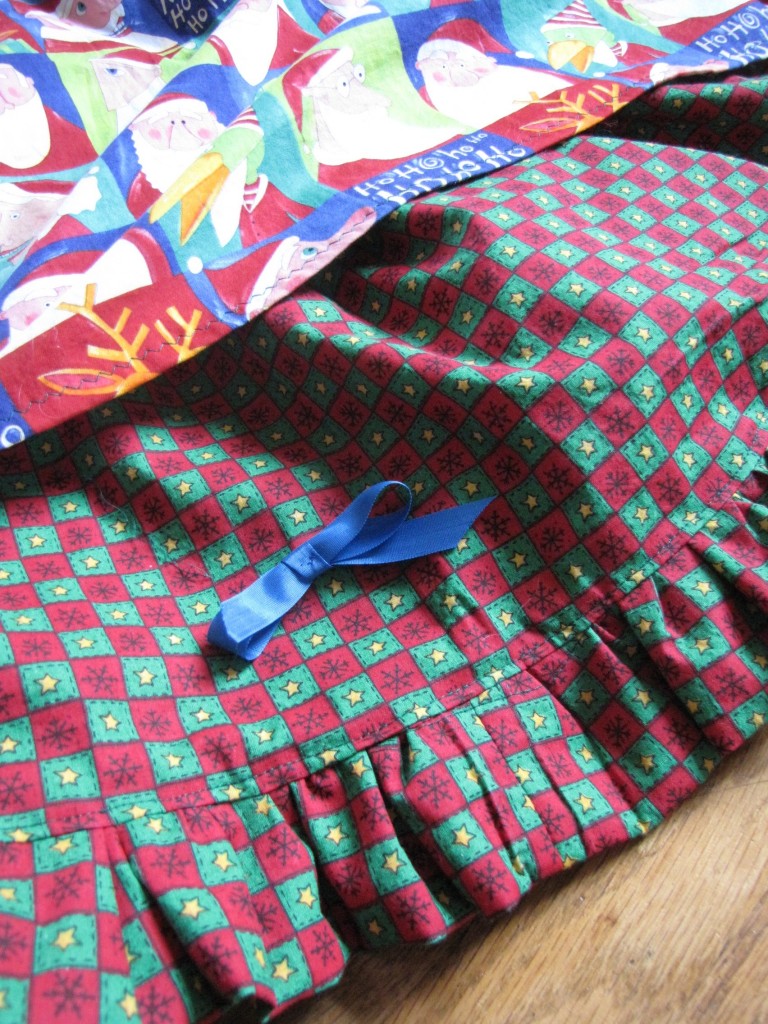
We also made a skirt for cousin Ruby:

Both girls helped choose and cut the fabric and even do some of the sewing.  Ruth added the bows as an afterthought.

I’m joining Nicole for her KCCO today, and then I’m packing up the sewing machine until after Christmas.

 I’m off to wrap presents and bake Christmas cookies with the children this afternoon.  Blessings on the rest of your week.

Ruffles

Almost done with Christmas skirts…

Joining with Amanda today, but will be back for a full post this weekend.

Holiday Sewing

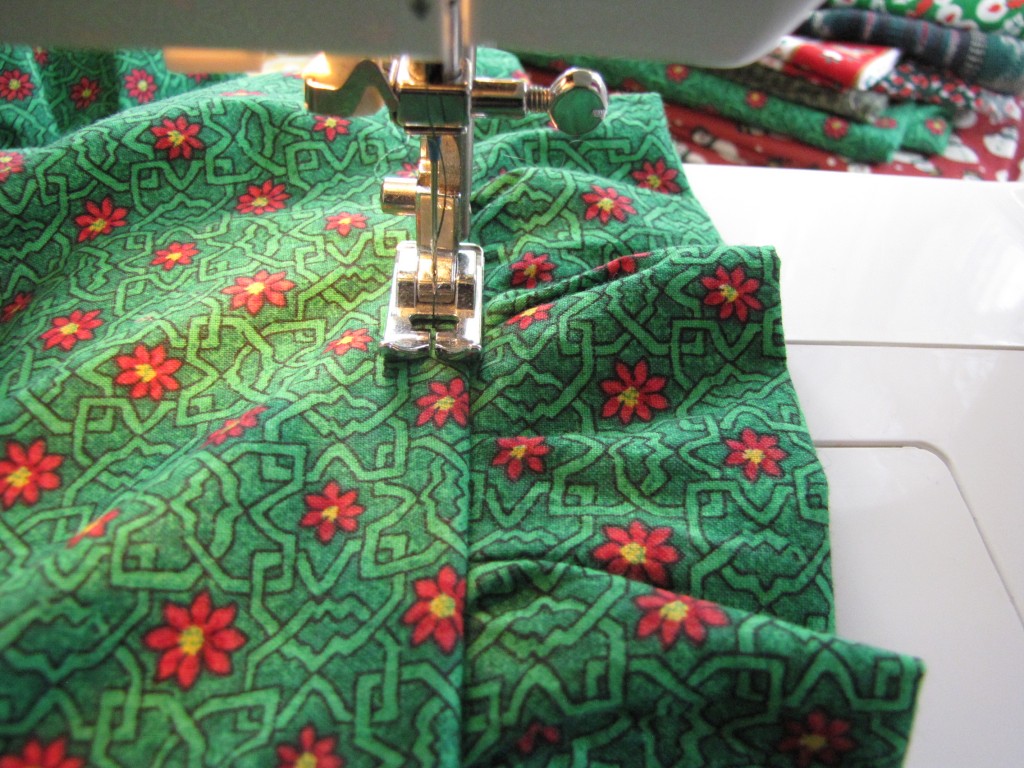
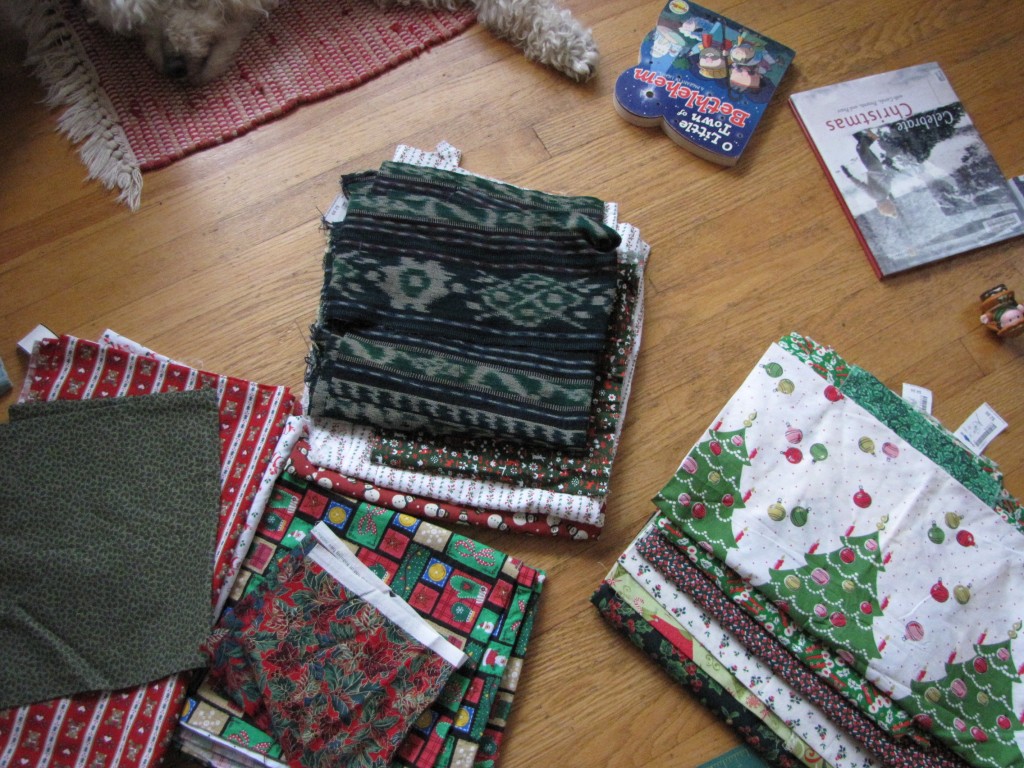
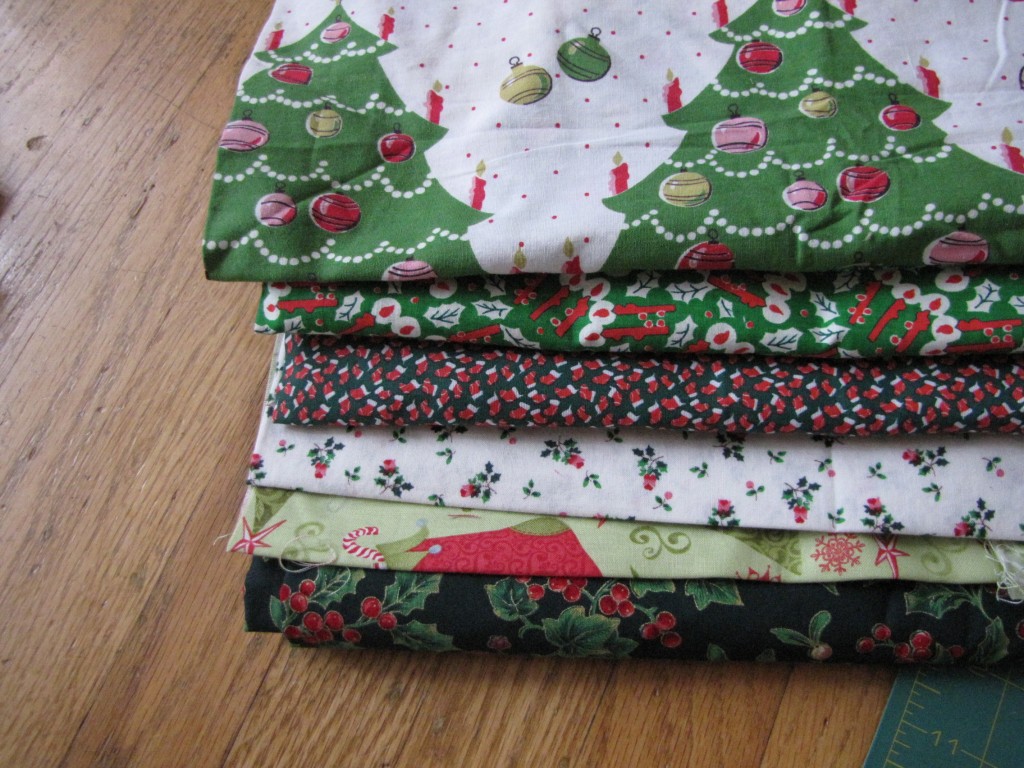
Today is dedicated to finishing up Christmas sewing projects.  A three year accumulation of thrifted holiday fabric was sitting in a box upstairs, and the time had finally come to do something with it all, or donate it back.  So, sewing marathon it is!

Some of the fabric is fairly ugly 1980s through mid-90s prints of teddy bears and snowmen, but works just fine for gift bags and such.  More than half the fabric is quite old – 1950s and 1960s cotton prints of holly, ribbons, candles, and I’m pretty excited about sewing with those.

We’ve already completed many, many drawstring gift bags. (The girls can make them with minimal help, because it is all simple straight seams), and Ruth made some small pillows for gifts (I wasn’t allowed to look!).

The girls selected their own fabrics to make Christmas skirts, and they contributed to the design as well. (The old fabric above was a challenge, as there was foxing around the edges and it was difficult to find enough “clean” yardage for Bea’s underskirt).  Today will be lots of gathering ruffles, pinning, sewing.  If I have time, I will make the boys each a vest, but that may be overly ambitious.

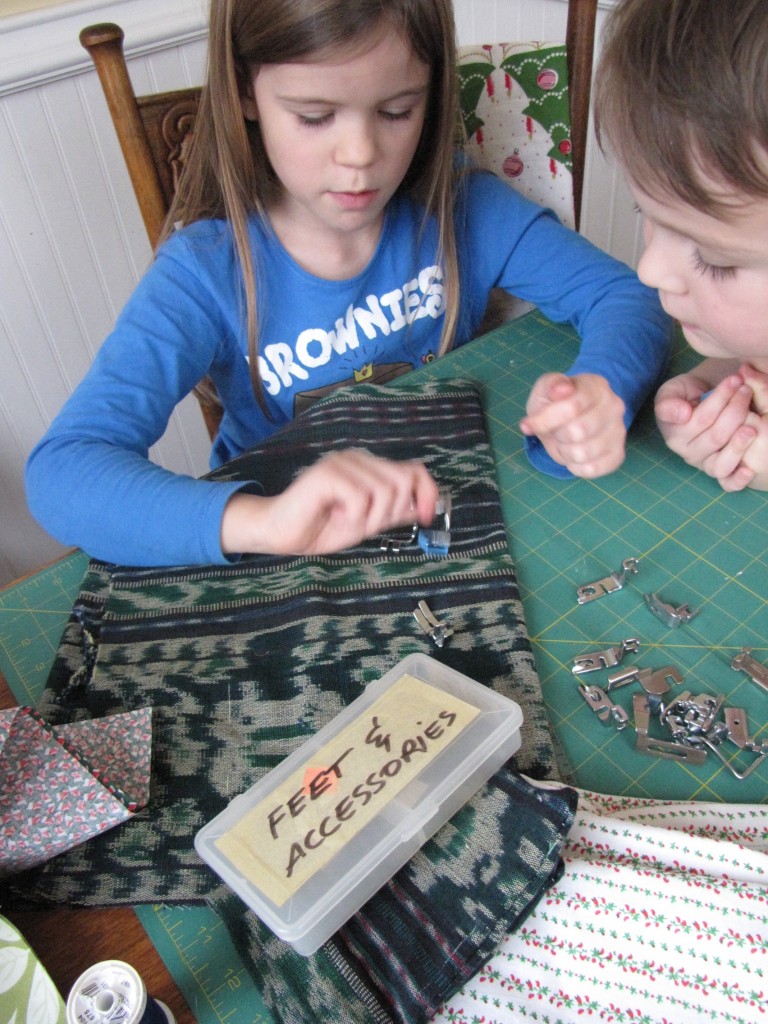
While I sew, the kids love playing with the sewing machine feet and scraps of fabric and thread.  Isn’t it wonderful how children can make imaginative play with just about anything?  Who knew snippets of fabric and presser feet could act out such elaborate stories?

Joining with Nicole’s KCCO today, and will post the skirts when we’re finished.

Blessings on your winter day.

Christmas Posey

Our first frost date is October 15, but we have yet to have a hard freeze this year.  Tender plants that are normally wrapped in burlap or provided with wind screens are thriving free in the mild weather.

While George was napping, and the big kids were playing quietly inside, I spent a little time working in the yard.  I am grateful for the mild weather, because I hadn’t finished planting garlic (usually completed in October), and the un-frozen ground allowed me to get several rows in and mulched right next to the driveway.

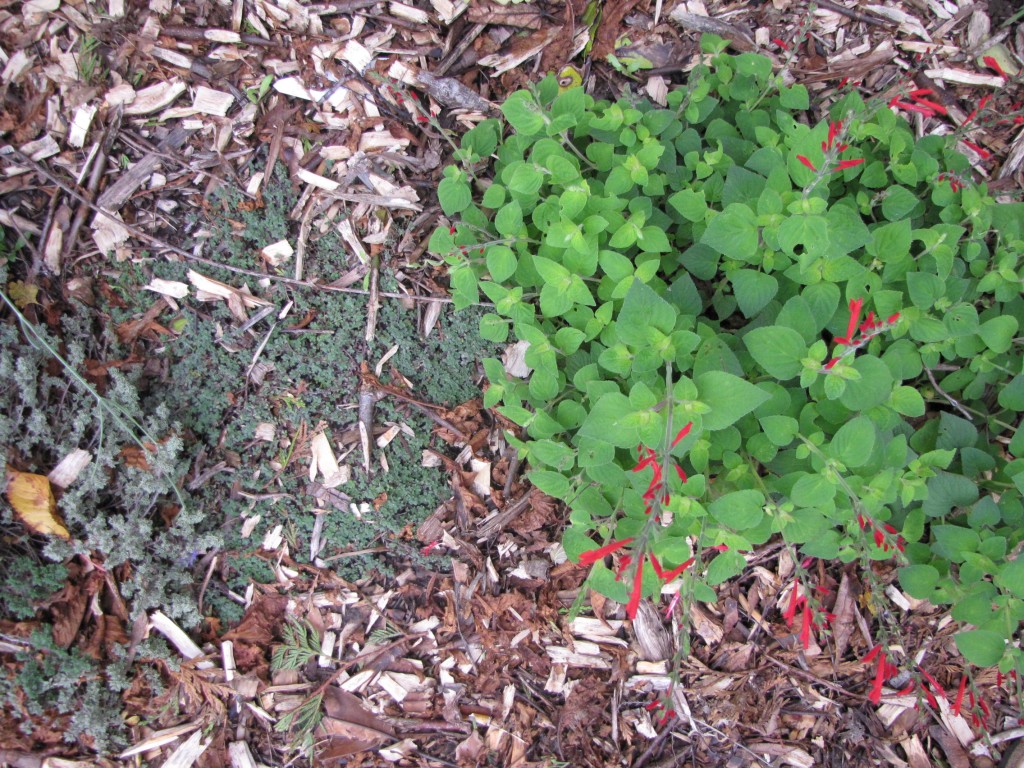
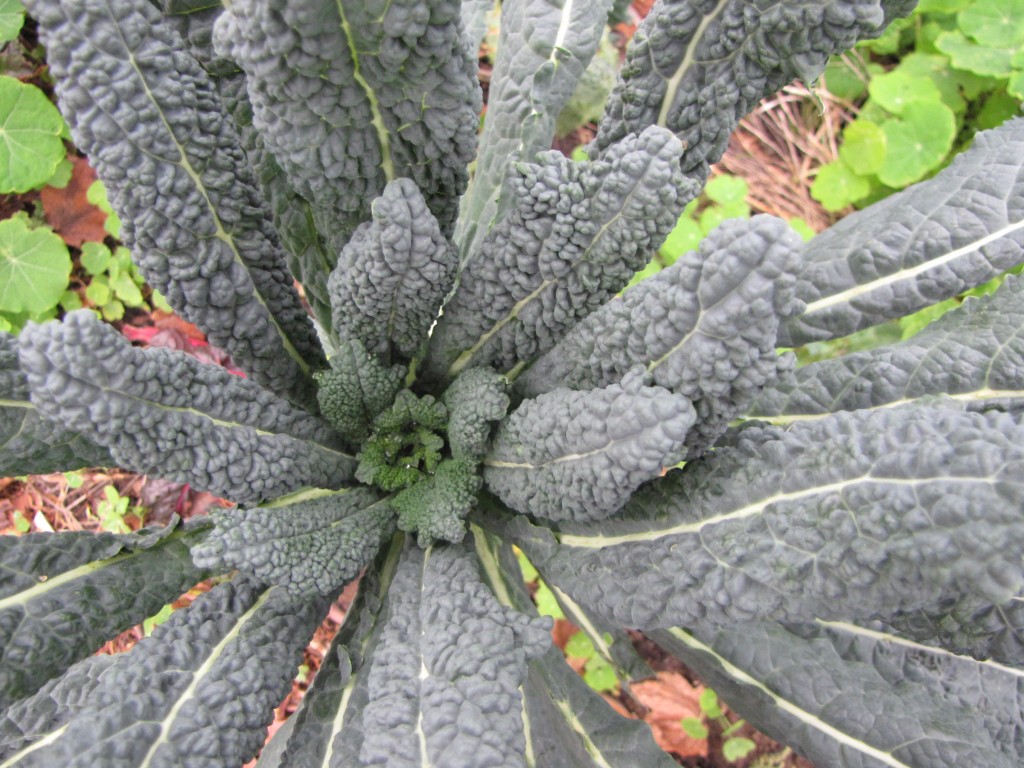
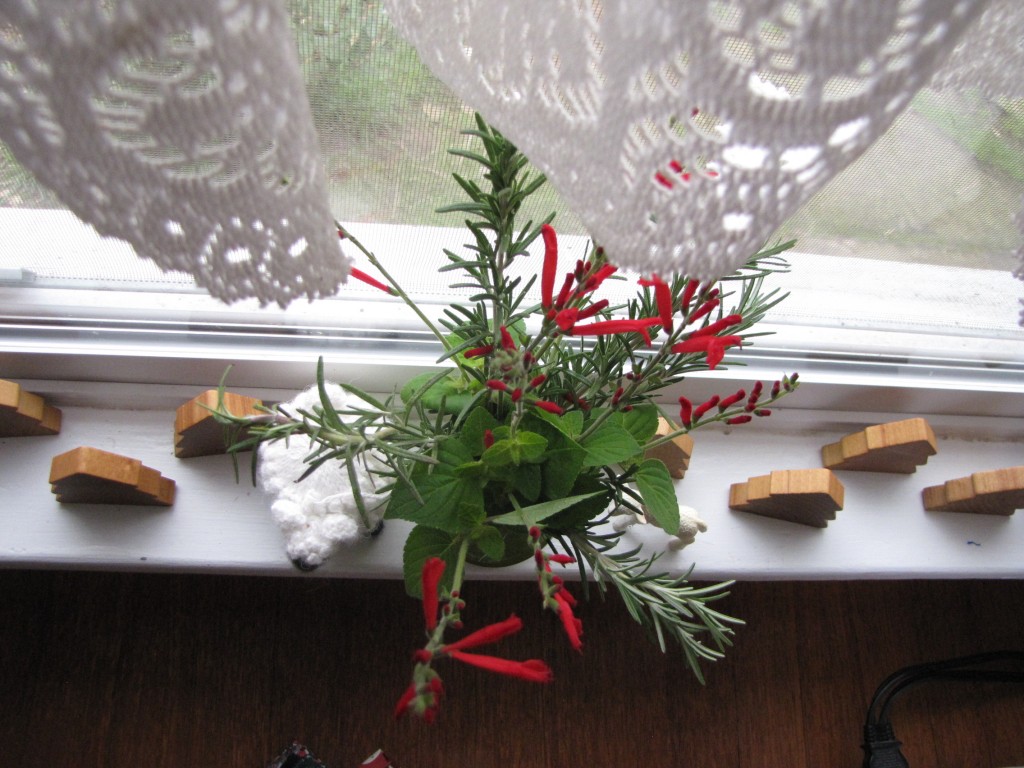
Afterward, while picking some Lacinato Kale (above) for dinner and poultry snacks, I noticed that the Tangerine Sage (Salvia elegans) was still blooming.  What a surprise!

Tangerine Sage (far right of top photo) is a tender perennial, and rarely survives the winter here.  I planted mine two summers ago in a sheltered area, and mulch it for the winter, and wrap it in burlap when temps dip below 25.  Even so, it struggled to make it through last winter.  Any yet, with temperatures in the 40s, it thrives and blooms beautiful red spires.

Some bright red sage blossoms and a few sprigs of rosemary seem like a fitting Christmas posey.

Time to get some sewing completed (finishing up Christmas skirts for the girls and their cousin).  So, we’ve put the holiday greenery in the windowsill next to the sewing machine.  I’ve always loved the particular combination of citrus and rosemary, and it fills the breakfast nook with an energizing aroma as the girls and I get ready to tackle a mountain of fabric.

.  Back tomorrow with pictures of our sewing (provided we actually finish this afternoon!)

Wool Along

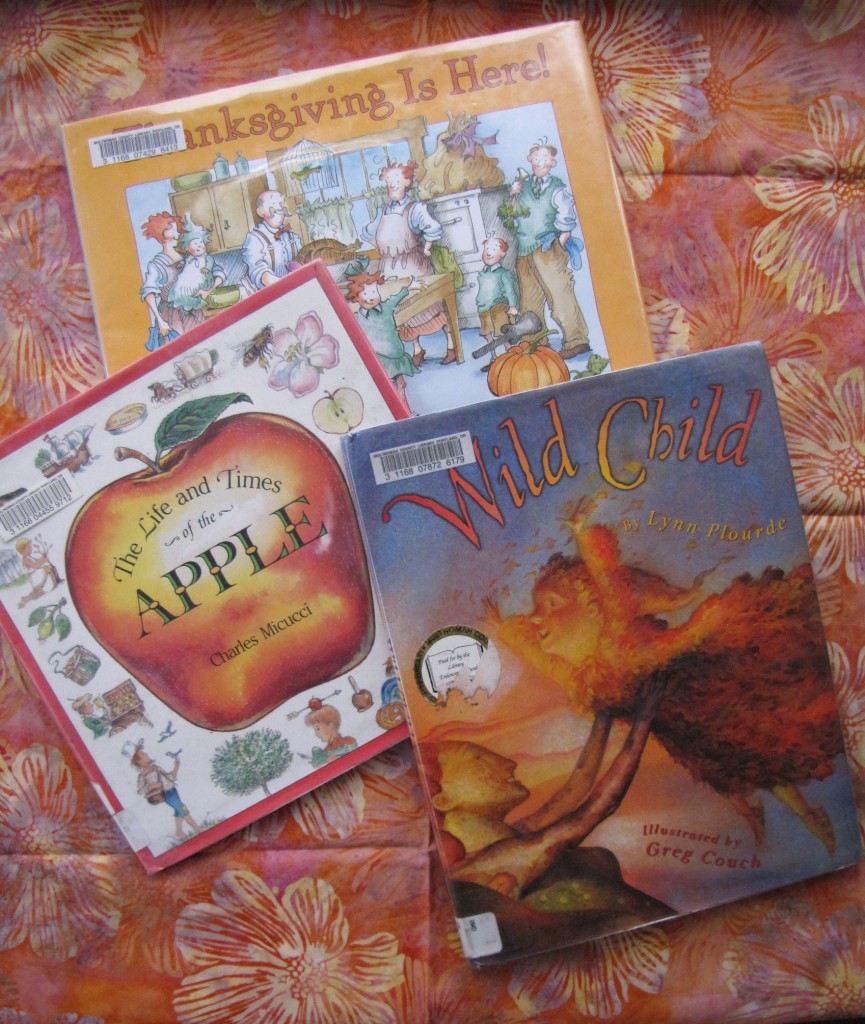
Joining with Nicole for KCCO and Ginny for the Yarn Along.  We’re finishing up some Thanksgiving and autumn-themed books this week before diving in to Advent books next week.  I think we’ve read and re-read Wild Child at least a dozen times in the past few days.  It’s always been a favorite in our home.

The children really enjoyed The Life and Times of the Apple. Harold is intensely interested in gardening (go figure) and he was fascinated with the section on fruit grafting.

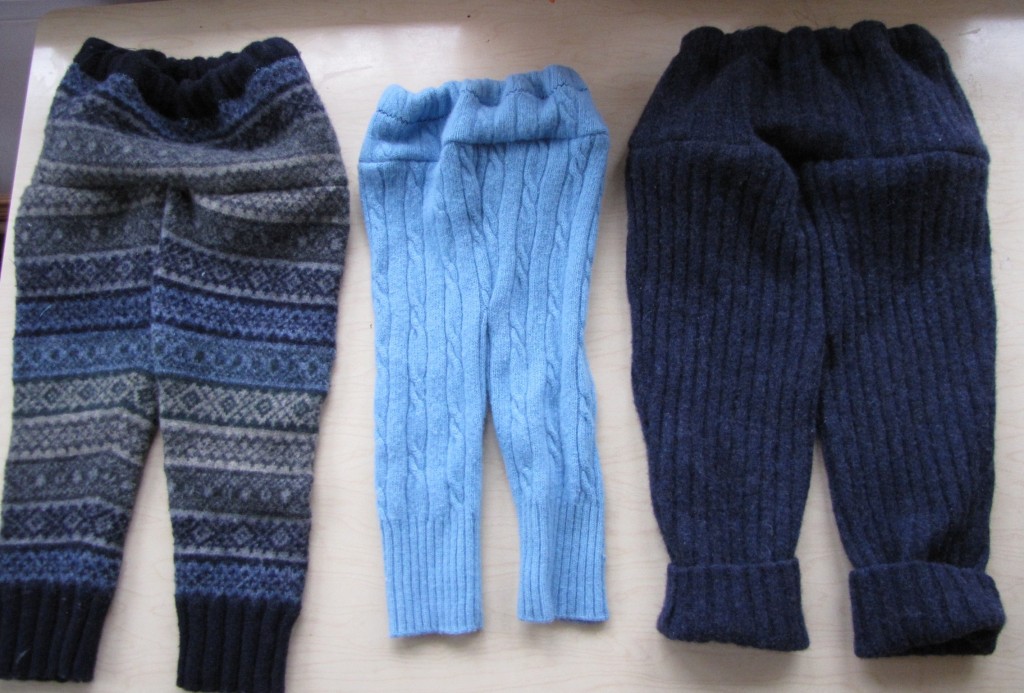
Today there is no knitting or spinning to share, but I have been working on some wooly garments.  I have a few knitting projects going, but they were pushed to the back burner this weekend as I tried desperately to get a big stack of sewing finished. The weather has turned cold + George is growing rapidly = he is short on diaper covers.

For several months, I had been collecting wool sweaters at the thrift store and a few rummage sales, washing/fulling them, and storing them until time could be found to sew.  I managed to complete half of them while George napped, and got the other half cut and pinned.

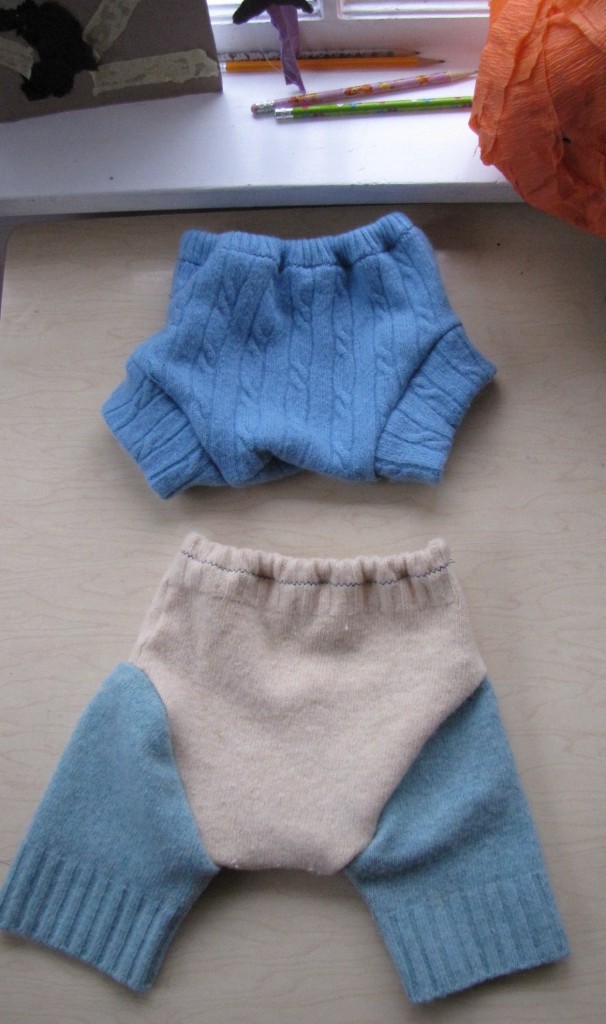
With the leftover sleeves, I whipped up some wool longies for overnight and extra chilly days.  They look a bit wonky here, but will lay flat once blocked.  The two larger ones are for George.  The sky blue one is for a baby-shower gift – in its former life it was a velvety-soft wool and cashmere J. Crew sweater (thank you, UU church rummage sale).

Total cost for enough wool and elastic to make 6 soakers and 4 longies = $3.25

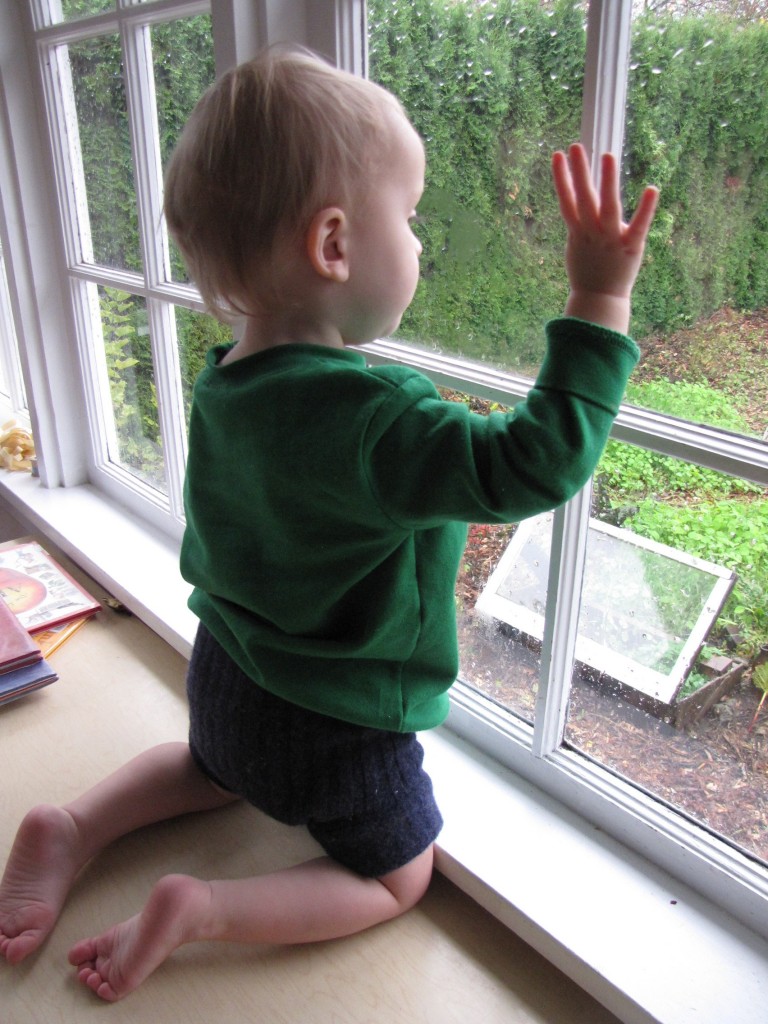
Here’s George in his new soakers after they were blocked and waterproofed.   Next week I will have a tutorial up on waterproofing wool soakers with lanolin.  I’ll walk you through the process so you, too, can have excellent results using wool covers with cloth diapers.

And now back to making pie crusts!

Fabric grab bag

DSCF4456

It has been a hard week around here, as we battled two upper respiratory bugs back to back.  Finally, we’re on the mend!   So,  to cheer everyone up after all that time cooped-up indoors,  following homeschool co-op yesterday, we had lunch at our favorite Asian market (where else can you get a fresh, delicious hot lunch for $1.25/kid?  Steamed buns stuffed with Asian pork sausage, hard-boiled egg, shiitakes and onions?  Yum!!).

After lunch, we walked across the street to the best thrift store in Portland.  We’re not big on shopping, but a trip to the thrift store tends to be our favorite pick-me-up ( besides our weekly visits to OMSI).  PACS thrift store had the nicest volunteers, great prices, and an amazing selection of vintage fabric, games, toys, craft supplies, dishes, stationery, books, etc.   And it’s right in our part of town – about 5 minutes from our house (and, of course, just across the street from the above-mentioned amazing Lily Market).

We have pretty strict  self-imposed rules for thrift-store spending – we may not spend more than 50 cents on a toy, $1 on dishes, $2 on vintage board games or linens, $5 on a bag containing several items or any one “extraordinary” item.  Well, yesterday in the fabric section, there was a 1x2x3ft plastic bag crammed full of wrinkly bundles of fabric.  The price was $5 (on sale!).  I could see some pieces of very pretty high-quality quilting fabric, and took a risk and bought it.

Oh my goodness, it was a good risk to take!!

DSCF4448

DSCF4439

DSCF4446

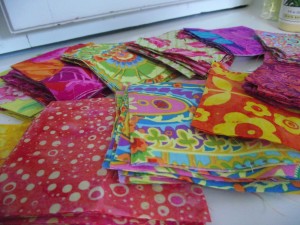
When I got home and sorted through the bag, there was quite a stack of good-quality flannel (enough to make about three kits when we have another sewing service party in the coming months.), and a total of approximately 4+ yds of fat-1/4, 1/4 yd and 5×5 inch squares of lovely cotton prints.  But, the vast majority of the fabric was my favorite – Depression-era reproduction fabric!

Altogether, there were over 40 pieces of 1/4-yd, fat-1/4 and 1/2 yd remnants of high-quality Depression-era reprints (just a few are pictured above), and many more little pieces (great for doll and scrap quilts).

DSCF4449

My favorite (even though I’m not partial to pink), is the 1/2 yd of coffee-mug print above.  It will go perfectly in some French-press cozies or some mug rugs for Christmas gifts, don’t you think?

Well, now to get outside and string up our raspberry canes (yes, better late than never), and muck out the chicken coop.  Then, we have nothing on our schedule for the afternoon except playing the two new games we also picked up yesterday (a wooden puzzle-based game and a 1960’s board game) and Christmas-gift crafting!

Blessings on your weekend!

Forest Quilts

DSCF4386

A friend from the coast and my next-door neighbor are both expecting, and we wanted to make them both something special.  The girls and I shopped the remnant section at Fabric Depot, as well as the fabric shelves at our local thrift store, and put together two forest-themed baby quilts.

DSCF4394

This one is a Rain Forest theme for the next-door neighbor.  We used thrifted flannel sheets (triple layered) for the batting and a thrifted cotton sheet for the backing fabric (thrifted sheets = my favorite frugal quilt backing).

DSCF4384

This was the first time in years I’ve made a separate bias binding instead of doing a self-binding backing.  What a pain it was!!  I forgot how long it takes to make, and iron and while the effect was nice, I won’t use it on my next few quilts…

DSCF4395

The next quilt is for a friend who is an amateur mycologist – it’s a Forest Floor quilt, complete with mushroom and tree-ring prints.

DSCF4353

DSCF4355
The quilt is just a simple four-patch with some mustard-colored Egyptian-print thrifted fabric for the back and binding.  Bea helped me lay out the pattern and cut some of the blocks, Ruth helped sew about half of the 4-patch blocks, and sewed the borders on.

Now, to find a time to drag 4 kiddos to stand in line at the Post Office so we can send it out….

I have come to realize that there is absolutely no way for me to maintain a clean house, work on learning projects with the kids, get the yard/poultry chores done, cook meals, care for an infant, and accomplish any serious crafting.  It’s just not possible to keep up with it all, no matter how it may appear from the limited perspective of crafty-homeschool-mom blogs.  For the moment, the unfolded laundry is piling up, the living room is home to dust bunnies and crumbs galore and the toy basket looks like it exploded all over the front rooms, but that’s okay, because we had a great time working together to bless our friends in a small way.

DSCF3967

And, now to have a “cleaning and catch-up day” before we start all over with a new quilt for another friend expecting an addition to her family…

“It’s a Girl Thing” Kits

IMG_8240

IMG_8242

The kits are finished!!

IMG_8241

IMG_8244

Many, many thanks to the nine ladies and three girls who helped sew, and the ladies who purchased fabric and undies for this project!

Together, we have blessed and changed the lives of eleven young ladies in Ethiopia in a simple, but substantial way.  Thank you!

Sewing Service – “It’s a Girl Thing”

IMG_8160

I’ve been given permission to put up a section of a recent post from Andrea’s blog, Babe of My Heart:

Every month, I have to deal with what most girls deal with…a monthly cycle. Sorry if that’s too personal to say–but it should come as no surprise to you. I take for granted that every month I stock up on the things I need…and I can get them in any size, weight and style I would like. And not only that–I complain about my cramps. I complain that I am a bit inconvenienced and I remind my husband that he is lucky to be a boy and he doesn’t have to endure such hardship each month.

SO…let me ask you this—what do you think the women and young girls of Korah do during this time? What will it be like for the hundreds of girls who are (praise GOD!) being sponsored to leave Korah this Fall and go to a boarding school? What will they do as they try to sit in class during this time? What do the woman and girls we support in Zambia do?

EVER THOUGHT ABOUT THIS?

Well, let me tell you what they do. They squat. They wait for their week to end. On their heavy days, some roll up newspapers and make their own tampons. Many get infections. The infections make their parents and husbands think they have STDs and they endure being left or abused. Some use a single piece of old clothing–and when it’s soiled–they rinse it and use it again…although it’s still wet—it’s some what clean.

Did you know that in Africa the dropout rate for for young girls in school is 40% when they have no sanitary supplies? BUT when they are provided them–it rises to just 8%?

What can we do about it?

IMG_8164

Andrea, and also  Sarah at Titus Home, have put out a call, and given us a practical way to help these girls – they are encouraging ladies around the country to have sewing parties and make washable feminine products to be sent to these girls and young women in Ethiopia and Zambia.

So, if you’d like to take up the challenge, and spend a few hours in service to these young women (and make a concrete difference in their lives!), I’d like to invite you to join me

on September 25 · 9:00am – 12:00pm

at Central Bible Church

8815 NE Glisan St

Portland, OR
for a morning of sewing, to put together as many washable feminine kits as we can, to be sent to these young women October 1.

WHAT TO BRING: your sewing machines, sergers, cutting mats, scissors, rotary cutters, thread, old towels or flannel sheets (for batting). Any spare velcro, snap closures you might have.

WHAT IS PROVIDED: patterns, ALL FABRIC, a few extra sewing machines and sergers. Coffee, snacks and CHILDCARE.

IMG_8162

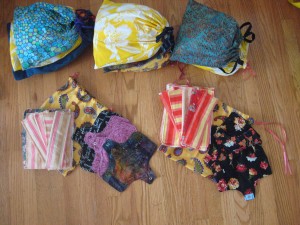
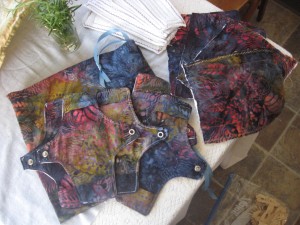
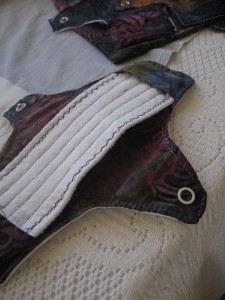
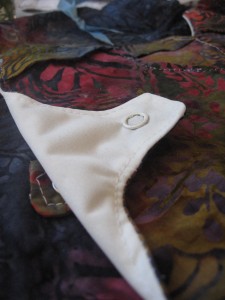
Last night, I made a sample kit today using the pattern supplied by The Red Tent Project.  The kit consists of 5-6 envelopes, each with snap closures, and half with leakproof PUL, for heavy days (see above).  It also includes 4 thick, “maxi” pads (see below), which unfold for easier drying on the line,  and 8 regular pads (see 2nd picture in this post),  which can be doubled up if needed.

If you are interested in making kits, but are unable to attend on the 25th, please e-mail me at angela.baker.knits@gmail.com, and I will send you the pattern and instruction details, as well as shipping addresses.  Or, if you prefer, select a pattern you like from the internet.  They are requesting that you use bright or dark print fabric, and prefer foldable inserts, since thicker pads and AIO designs do not dry well on the line.

IMG_8165

To round out the kits, we are sewing a drawstring bag for all of the pieces, and attempting to collect 2-3 pair of new undies to include, as well.  If you might like to contribute to the project by donating funds for new undies, please contact me at the above e-mail address.  Thanks!

IMG_8159

Party Frock

IMG_8080

Look what a $1 thrifted double bed sheet, $0.35 worth of thrifted ribbon and eyelet lace, 2 buttons, and 3 hours of time can produce:

A PARTY FROCK!

IMG_8098

IMG_8102

IMG_8095

The project is based on Made by Heidi’s Tutorial, although I made a few small changes (fully lined the dress, widened the bodice, used eyelet trim for the shoulders instead of making a ruffle…).  Heidi’s method of making this dress was GREAT – easy for a novice seamstress like me to follow and reproduce – I could just wing-it and still have the dress turn out nicely, which is exactly how I like to sew!!

IMG_8103

Firecracker usually ends up with hand-me-down dresses from her big sister, and was surprised and thrilled that she got a new, extra-ladylike dress!   However, Little Hen (who, I think felt a bit left out) very politely asked if we can make her a party frock together next.   So, instead of packing up the sewing machine and cleaning up the living room, we’ll spend tomorrow after church working on a paper-patterned dress I started cutting out for her earlier in the week.

IMG_8101

Thanks, Heidi, for the inspiration!!

Twirly Skirts, revisited

IMG_8026

A few more twirly skirts for the girls (yes, I’m addicted to sewing these!)

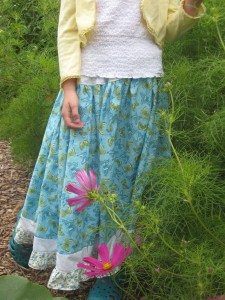
This one, which is a bit shorter (hits just below the knee on Little Hen) is a mix of thrift store fabric and 1/2 yd of clearance fabric, and thrifted ribbon (at the bottom).  Total cost = $2.10!

IMG_8025

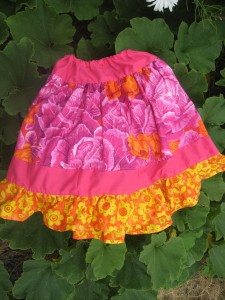
This is my favorite – so bright and cheerful – it’s 1 yd of Kaffe Fassat‘s red cabbage print (on clearance for $3/yd!), some thrifted pink cotton and remnants of orange and yellow batik-print fabric from another project.  Total cost, estimated at $4.

IMG_8028
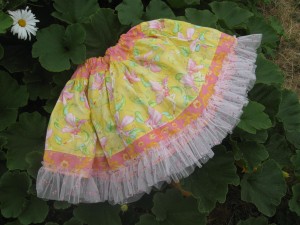
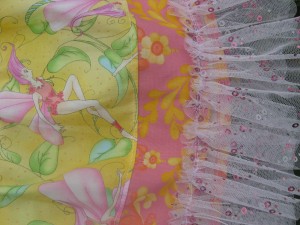
This one will be a birthday gift for Firecracker – it’s everything she could possibly want in a skirt – fairy print, sequin-bedecked tulle, and yellow and pink color scheme.  It was a bit of a splurge – $12 for 3 yds of clearance fabric (one of each color), but I only used 1/2 yd of the fairy print, and about 1/3 yd of the tulle and pink print, so there is a lot of fabric left.

IMG_8031

The tulle is added to the front of the skirt for two purposes – 1)it’s extra ruffly and pretty that way and 2)it prevents the itchy edge from being against the skin, since it’s not on the inside of the skirt.

Okay, I promise – that’s all for sewing updates for a while!  I’m off to clean all of the fabric mess out of the living room, and the next post will be a recipe!  Check back soon!

Twirly Skirts

IMG_8013

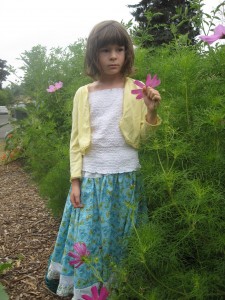
The girls have finally gotten their long-asked-for twirly skirts!  I used 7 Layer Studio’s tutorial and Going Sew Crazy’s as well, and sort of mushed them together, used whatever measurements of scrap fabric I had on hand.  Thankfully, twirly skirts are pretty forgivable and they turned out great!

IMG_8015

Little Hen’s skirt used some thrift store fabric, including the blue-bird ruffle on the bottom,  an old pale blue polka-dotted crib sheet for the waist panel and strip above the ruffle.   The elastic was also from the thrift store, but the butterfly print fabric was on clearance at the fabric store, so total cost = $3.25.

IMG_8017

IMG_8019

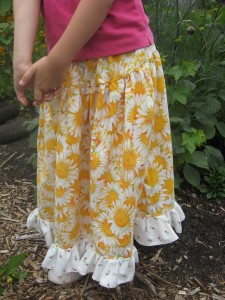
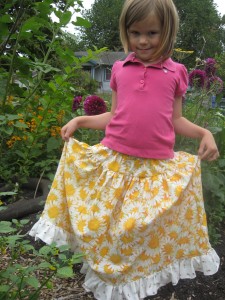
Firecracker’s skirt is entirely from thrifted fabric – the gorgeous daisy fabric is from a vintage 100% cotton fitted sheet (which also provided to elastic for the waist panel).  After making the skirt, there is a LOT of fabric left, so at $2.25, it was a steal!  The rosebud ruffle fabric was also at the thrift store for a quarter, so based on yardage used, I estimate the skirt cost about $1.25 to make.

I admit, making twirly skirts can be super addictive.  I’ve got fabric cut up for 4 more (for presents for the girls, using some seriously fun fabric, including a fairy print with pink sequin tulle for the ruffle for Firecracker’s next birthday), and, if I can find enough yardage at the thrift store, I’d love to make a few for myself.

Blessings on the rest of your week!  I know I’ll be spending mine sewing up the rest of the skirts and getting some serious garden work done.

Under the Sea

IMG_7966

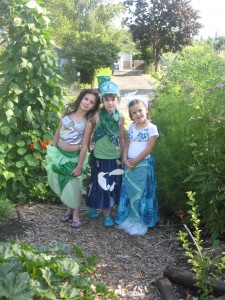
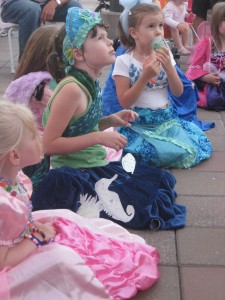
The children went to a Storybook Costume Ball with their cousins last night.   We had a two-day scramble to throw together some costumes, but we pulled it off just in time!    Here’s a little bit on what we made:
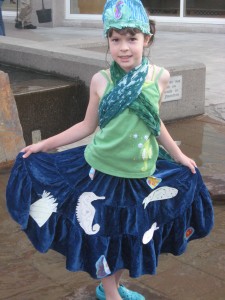
IMG_7981

Little Hen wanted to be Amphitrite, the Queen of the Ocean, wife of Poseiden, in Greek Mythology.

Her costume:

$0.50 -A blue velvet skirt from the thrift store (with about 12 holes in it that we had to mend)

$0.00 – a tank top from her closet with a seahorse on it and a “seaweed” looking scarf from my closet

$0.50 – 1/4 yd of ocean print fabric, from which we made part of her crown and cut out sea creatures to tack to her “ocean” skirt

$0.00 – more ocean creatures to sew onto skirt, which she drew out of cardstock and decorated with glitter glue.

$0.00 – scraps of leftover fabric from her brother’s costume to make her crown

$0.00 -some body glitter leftover from Halloween

—————————————–

Total cost $1.00!!!
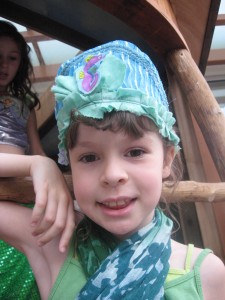
IMG_7985

She helped me cut the pieces and sew her crown out of scraps from her brother’s costume – the middle of the crown(to make it stand up) is 3-layers of very ugly flannel that came in a big bag of thrift store scraps.  We whipped it up in about 15 minutes (you can’t see the sea creatures she cut out and sewed to the sides and back from this shot…)
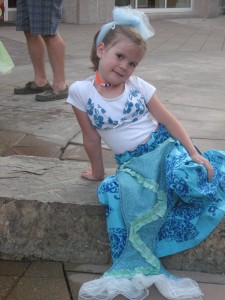
IMG_7979

Firecracker wanted to be a mermaid.  With no pattern, limited time and $, here’s what we came up with:  She didn’t want a tail-shaped skirt, because they are difficult to walk/run/play in since they are awfully narrow at the bottom.    We decided to sew her a skirt with blue fabric, which would be the sea she’s swimming in, and then make a two-piece apron “tail” that she could take on and off if she wanted.
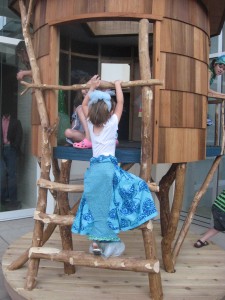
IMG_7983We lucked out at the thrift store and found an adult size 4 skirt with blue fabric (yes, it’s butterflies, but Firecracker said it looked “oceany” to her!), so I didn’t have to make a skirt from scratch – I simply cut it up and resewed it in her size, with an elastic waistband.  Voila!  Sea skirt!

$3 – blue skirt, cut down and resewn to fit a 5 year-old

$0.10 -thrift store elastic

$2.00 – 1/2 yd of clearance fabric at Fabric Depot (turquoise with swirls, Firecracker thought it looked like scales)

$0.00 – 1 yd very ugly flannel from a previously thrifted bag of fabric, for the double layer batting in the tail – to give it rigidity.

$0.00 – random snippets of green fabric for tail decoration plus a scarf from the dress up box for the tail, piece of blue tulle for her hair from dress up box

$0.00 – white leotard and blue bikini top from dress up bin

$0.10 – turquoise bias tape from the thrift store (for the apron-tail ties)

————————————————————–

Total cost – $5.20 (plus, some turquoise fabric leftover for doll quilts, etc, and it includes a perfectly good skirt for her and Little Hen to wear anytime)
IMG_7973

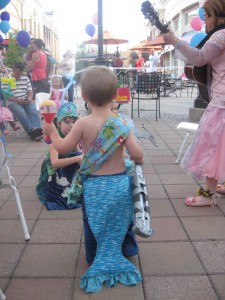
Since his big sister and cousin both wanted to be mermaids, guess what Tum Tum wanted to be?  MERBOY!!
IMG_7962

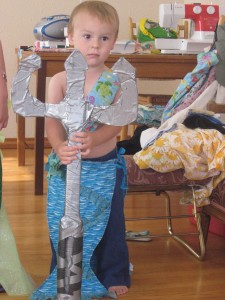
His daddy even made him a trident from coardboard and foam and duct tape (which was a bit of a dangerous idea, but he loved it!) (Please ignore the mountains of fabric in the background, as long as the sewing machine has to be out, I’m going to sew, sew, sew!  Wish I had a sewing room!)

$0.00 – Blue knit pants from Tum Tum’s closet plus blue leather moccasins

$0.50 – 1/4 yd ocean print fabric for his sash (mermen don’t wear shirts!)

$ 2.50 – 1/2 yd of blue “waves” fabric Firecracker found at Fabric Depot on clearance for the tail.  (Yay, kiddo! )

$0.10 – thrifted seam binding for the ties

$0.00 – 1 yd very ugly previously-thrifted flannel for the double-layer batting to add stiffness to the tail(s).

$0.00 – scraps from making Firecracker’s tail(s) used to make his fin and decoration on the front.

——————————————————————–

Total cost – $3.10!!
IMG_7974

IMG_7977

IMG_7982

We had a great time!!  Thanks for inviting us, Aunt Kristi and Cousin Ruby!!

Toddler Pants

IMG_7955

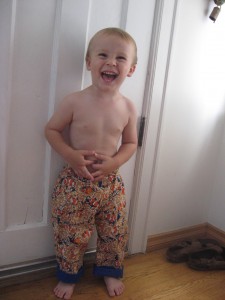
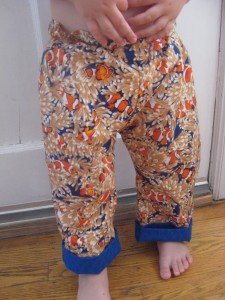
Tum Tum is a big boy – off the chart for height and weight, and finding pants to fit him is tough (doubly tough to find pants that fit him with a bulky cloth diaper on.)

The girls and I have spent the last two days frantically sewing costumes for the kids for a costume party we’re going to tonight (pictures of the outfits tomorrow!!), and since I had the sewing machine out, and the living room was already covered in thread and fabric snippets, I figured I would attempt some toddler pants, using this tutorial for inspiration.

I made the cuffs very deep, so I can let the hem out as he grows.  Also, I made the tush roomy to accommodate a cloth diaper (although, I’ll leave even a little more room next time).

IMG_7956

Total cost for the clown fish pants?  $2.35!  -  $2.25 for fabric (Firecracker picked it out for her brother a while ago on clearance at the fabric store), leftover fabric scraps for the cuffs (so, $0) and 10 cents for elastic from the thrift store.

IMG_7957

IMG_7958

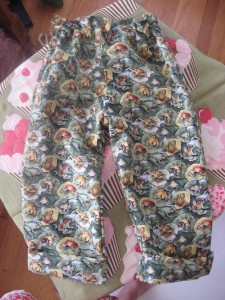
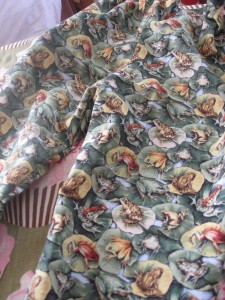
I also whipped up a pair of frog pants, which cost $0.85 – the fabric was from the thrift store, as was the elastic.

This weekend’s sewing projects? – shorts and a few more pairs of pants, and then some more twirly skirts for the girls.

Check back tomorrow for pictures of our ocean-themed costumes!

Summer Sewing

IMG_7803

The past week, we’ve been tackling some simple sewing projects (and I mean simple, and even then my seams are wonky).

Most other times of the year, sewing feels more like an obligation, but it’s really relaxing after dinner in the summer – especially after grubbing around in the dirt in the garden much of the day, it’s nice to sit down with pretty, clean stacks of cotton prints and play, you know?

IMG_7783

Last week, on the way to the library, we made an impulsive stop at The Fabric Depot (my first visit, ever), where I happened to find bolts and bolts of fabric 70% off, and therefore spent way more than I had intended – because it was such a good deal!!  All of the super cute prints were $3-4/yd, and the plan is to use much of the 10 yds (yikes!) to make several of these and these for the girls (they’ve suddenly gotten too tall for all of their skirts!).

IMG_7781

With the remnants and also some of my thrift-store fabric stash, the girls and I cranked out a few dollie quilts (especially Firecracker, who likes to sit in my lap and help guide the fabric), and also

IMG_7802

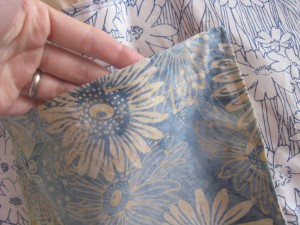
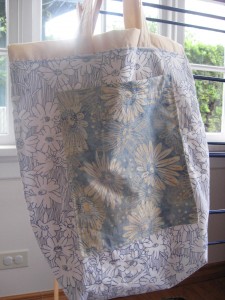
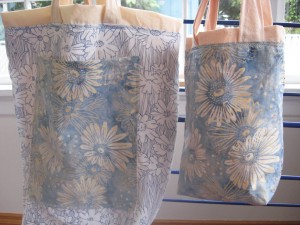
made 8 more library/grocery tote bags for birthday and hostess gifts.  (We cut out fabric for another 8, but are a little burned out, and will probably wait a few weeks to piece them together.)   The one above is my favorite.  It’s made from some vintage thrifted fabric for the body, an old 100% cotton sheet (that I tea-dyed) for the handles and lining fabric, and a little piece of that uber-expensive batik-print fabric for the pocket (I sprung for a fat-quarter, since it was so pretty).

IMG_7804

I also made some little kid-sized totes (like the one on the right).  Tum Tum LOVES his sombrero tote and carries all his little toys in it (very handy at the restaurants, church, meetings, etc), so I made a few for my nephew and some friends’ kids.  (Fabric Depot had some very cute Eric Carle fabric, as well as a fishy/octopus print that worked really well for these).  The girls each have one, as well, and keep colored pencils, stickers, notecards and cardstock in theirs – which keeps them occupied at boring meetings, as well.

IMG_7780

(Little Hen got bored with cutting fabric, and started creating her own fabric art bouquet out of the trimmings and straight pins.)

After a week of non-stop sewing, we’re going to take a little break and hopefully get the front of the house painted and some other summer household projects finished.  What summer crafting have you been up to?

Princess and the Pea

img_6432

We’re back in our old stomping ground – on the Central Oregon Coast – this weekend.  Some dear friends are having a cider pressing party, and we wouldn’t miss it for the world.  The weekend trip is also a gift to my dear husband, who celebrates his birthday today!  So, we’re staying in a yurt on Beverly Beach and I have promised the girls roasted marshmallows over the campfire.  (I hope to write a bit about our trip when we return home.)
We wanted to bring a little something for our friends who are hosting the party – she was the girls’ preschool teacher, with an amazing gift for connecting and communicating with young people – I learned SO much about relating to my own kids from watching her and feel very grateful the girls could have her for their preschool teacher and friend.   So, we decided to make something for her classroom -  a Princess and the Pea playset.

img_6438

We used Soule Mama’s playset (and also Tree Fall Design’s) as a launching point, but used a fall color scheme and scaled it down, so little hands could hold the pieces more easily.   I also added a lined drawstring bag in which to store the set.

img_6370

The girls and I selected fall colored fabrics from my fat-quarters stash, and whipped up some mattresses, a blanket and pillow.

img_6440

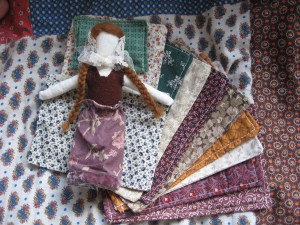
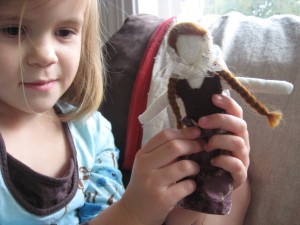
We originally thought of making a paper doll, but the girls and I decided to make a cloth doll instead, since we had the fabric and the time.  Now, I am absolutely not a skilled doll maker, so she’s a little rough, but Little Hen helped pick out the fabrics from the scrap bag, and helped me fashion her hair out of some merino roving, and I’m pretty pleased with the results.

She’s all cotton, except for the hair, her vest, and the stuffing, which are all wool – oh, and a little bit of velvet trim on her skirt.

img_6433

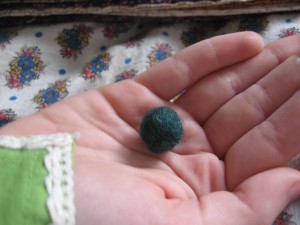
The pea, made of felted roving.

img_6435

img_6439

The princess gets tucked in, but oh, she can’t get any rest – she tosses and turns all night! That pesky pea!
img_6437

The girls and I had SO much fun making this set, and I hope to make one for Firecracker (whose favorite fairy tale is this one) as a Christmas gift.   It was joy to make something for Teacher Linda – we have been so blessed to know her, and definitely stitched our love and gratitude into every piece of this play set.

I hope you have a perfect autumn weekend – I know we’ll be pressing cider in the coastal drizzle and enjoying the company of truly exceptional folks  – definitely a perfect autumn weekend if you ask me!

Retro Fall Doll Quilt

img_6071

img_6073

Little Hen and I finished the  first scrap doll quilt in a while with more of a fall color scheme.  We made it for a friend who’s daughter has a birthday coming up.

img_6040

Actually, there wasn’t much to it -the four main blocks were in the middle of a big bag of  fabric scraps I had been given.  Little Hen picked out the orange fabric “because orange is a good fall color” (from the same bag of scraps).

img_6072

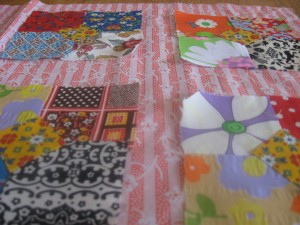
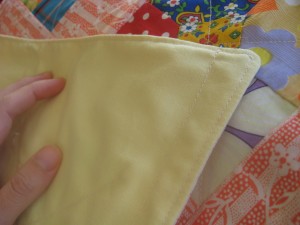
In the scrap bag was also some neutral-yellow cotton fabric in a large enough piece to fold triple thick to serve as batting and backing for the quilt.   We layered them up and quickly put the doll quilt together.  The finished quilt is about 18″ x 24″.  Can’t wait to see our little friend snuggling her dollies up in it soon!

Totes

img_6085

img_6087

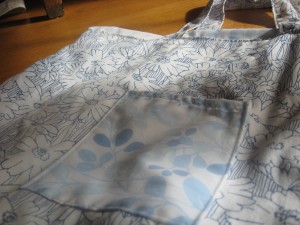
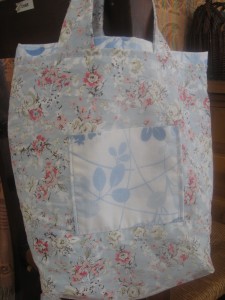
Now, my sewing skills are pretty basic, (nothing like the beautiful sewing at Pleasantview Schoolhouse), but this week I tried my hand at making some farmer’s market totes. (A few more tote tutorials can also be found here, but I like how the pattern I used has the lining fabric peeking up above the edge of the bag).

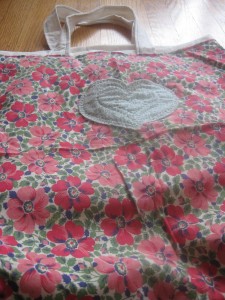
The first tote is made out of some vintage (1950’s?) fabric from the thrift store, with plain muslin lining and blue contrast stitching.  For the pocket on the front, I used a little heart I had been holding on to since I hand-quilted it at Girl Scout craft camp two decades ago.

img_6089

img_6088

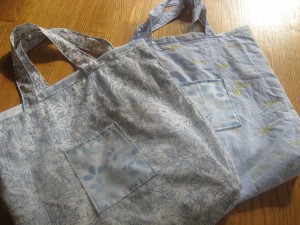
The other two totes are made from old sheets (two thrifted, and one Little Prince toddler-bed sheet with worn out elastic. ).  They are very soft, and I like the blue-on-blue in both.  The girls have already claimed the Little Prince one as a sleep-over bag for visits to Grandma’s or Auntie’s.

img_6079

I also had enough fabric leftover from a quilt I made the other day to make a little (10″ x 12″) out of the scraps.

img_6080

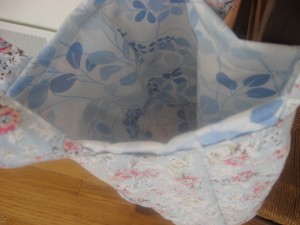
The outside material is from a skirt I cut up, and the inside and pocket are made out of the same sheet material that lines the other two blue totes.

img_6092

I think making totes is pretty addictive, and several folks will be receiving some for Christmas (yay for the Handmade Pledge!!).  The girls picked out fabric for their own totes at the Knittn’ Kitten, and I also have fabric for two more large farmer’s market-sized cut up and waiting to be sewn together.   Hopefully, I’ll get to sew them up when the baby is napping later today.

Wishing you a thrifty, productive week!

Pink and Blue Quilt

img_6066

The other night I stayed up ridiculously late finishing a little scrap quilt, and I really paid for it the next day! Of course, the children decided to wake up almost two hours earlier than normal the next morning!  I needed two cups of coffee just to be able to make toast and eggs for breakfast!

img_6038

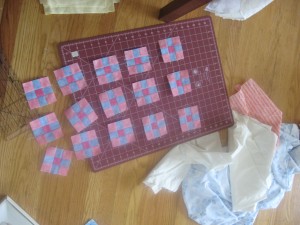
The quilt is based around a little stack of 15 pink, blue and raspberry colored blocks that came to us in a large bag of fabric scraps.  At first, I put the blocks in the bottom of my fabric drawer, because my initial reaction was that they were super ugly (circa 1992?).

I went through my fabric stash, and found a strip of equally ugly early 90’s fabric, a vintage sheet with a large rip in it, and an old summer skirt of mine, (back when I used to wear skirts above the knee!) that all sort-of coordinated.  Soon, a little quilt began to take shape.

img_6069

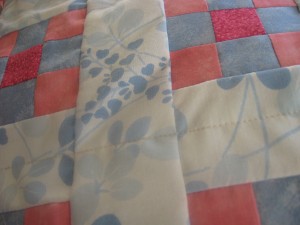
The sheet was cut into strips for the middle of the quilt (to join the blocks).

img_6068

The skirt became the sashing around the outside of the quilt, with that strip of extremely-floral fabric tucked in, too.

img_6067

The batting is two layers of a pale-blue flannel sheet that had become quite worn and was in my rag bag.  And more of the torn vintage sheet fabric was used for the back.

Overall, I’m pretty pleased with it, even if it’s not my kind of color-scheme.  It was a frugal use of some blocks that might otherwise have sat in my fabric stash for years, and I was able to repurpose all sorts of fabric odds and ends.  Of course, my super girly-girls love the pink on baby-blue look, so even if it isn’t my cup of tea, it made some folks happy.  🙂

Have you been able to utilize or repurpose a craft supply that someone else has cast off?  I’d love to see what you and your kids have created!

First Giveaway

img_5647

Welcome to the first giveaway at An Exaltation of Larks!

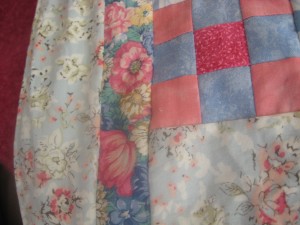
The girls and I are giving away a handmade scrap doll quilt,

img_5641

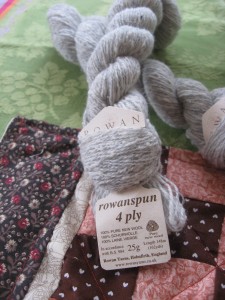
some soft, dove-gray Rowan-spun 4-ply 100% new wool yarn (enough to make two pixie hats),

img_5642

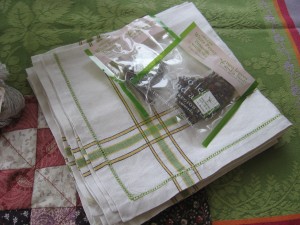
some vintage linen napkins, and assorted other goodies, yet to be revealed!

img_5643

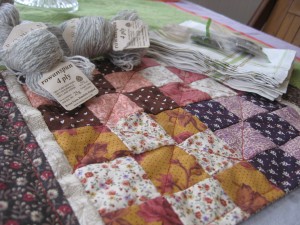
This is a comment giveaway – please leave a comment telling me 1) which Category (in my sidebar on the right) is you like best, and 2) what crafty/domestic/culinary/mama activity you enjoy doing the most (feel free to include a link to a related post on your blog so I can get to know you, too!)

If you link to my giveaway on your blog, post about it on Facebook, etc, please let me know, and I’ll add THREE extra entries in your name to the drawing.

The drawing will be held on Comments will close at 11 pm Pacific time on Saturday, August 15th, and the drawing will be held Sunday, August 16th.  Thanks!

Giveaway closed.  Thank you all very much for the lovely comments!